Marantz AV7005 AV7005 User Manual - English - Page 89
When setting for zone MAIN ZONE / ZONE2 / ZONE3, When setting for input source, When setting
 |
View all Marantz AV7005 manuals
Add to My Manuals
Save this manual to your list of manuals |
Page 89 highlights
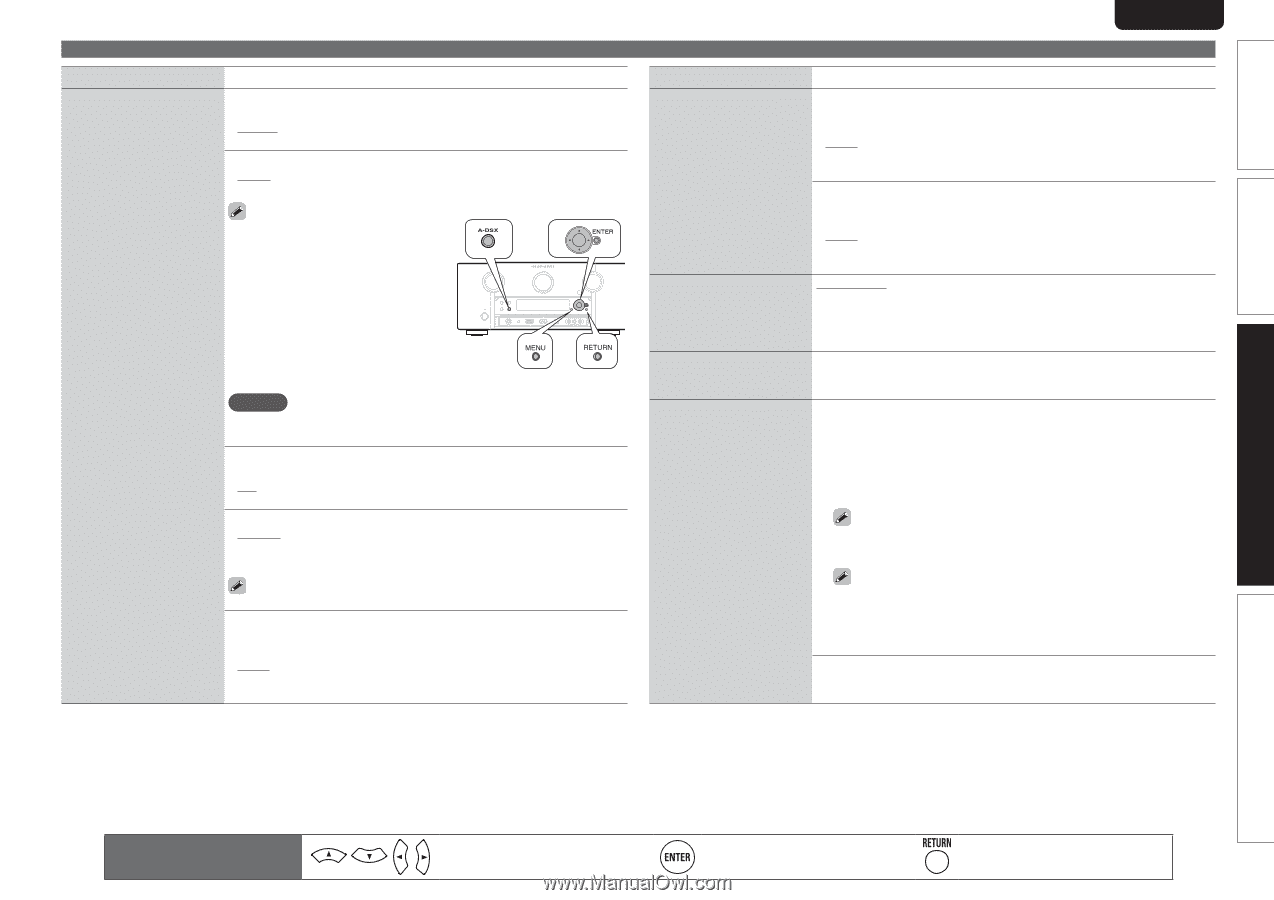
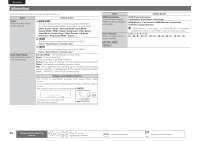
Simple version Basic version Setting items GUI (Continued) SVENSKA NEDERLANDS Setting details Wall Paper : Set wallpaper to display in the background when playback is stopped, etc. • Picture : Set the background to a picture (Marantz logo). • Black : Set the background to black. Format : Set the video signal format to be output for the TV you are using. • NTSC : Select NTSC output. • PAL : Select PAL output. "Format" can also be set by the following procedure. However, the menu screen is not displayed. 1. Press and hold the main unit's A-DSX and RETURN for at least 3 seconds. "Video Format" appears on the display. 2. Press o p and set the video signal format. 3. Press the main unit's ENTER, MENU or RETURN to complete the setting. NOTE When a format other than the video format of the connected TV is set, the picture will not be displayed properly. Text : Display the details of operation when switching surround mode, input mode, etc. • ON : Turn display on. • OFF : Turn display off. Master Volume : Display the master volume during adjustment. • Bottom : Display at the bottom. • Top : Display at the top. • OFF : Turn display off. When the master volume display is hard to see when superimposed on movie subtitles, set to "Top". NET/USB : Set the NET/USB screen display time when the input source is "NET/USB". • Always : Show display continuously. • 30sec : Show display for 30 seconds after operation. • 10sec : Show display for 10 seconds after operation. • OFF : Turn display off. ESPAÑOL ITALIANO FRANÇAIS DEUTSCH ENGLISH Manual Setup Setting items Setting details GUI (Continued) TUNER : Set the tuner screen display time when the input source is "SIRIUS" or "HD Radio". • Always : Show display continuously. • 30sec : Show display for 30 seconds after operation. • 10sec : Show display for 10 seconds after operation. • OFF : Turn display off. iPod : Set the iPod screen display time when the input source is "NET/ USB". • Always : Show display continuously. • 30sec : Show display for 30 seconds after operation. • 10sec : Show display for 10 seconds after operation. • OFF : Turn display off. Component 2 Output Set whether to use the component 2 output terminal as MAIN ZONE or ZONE2. MAIN ZONE : Use the component 2 output terminal as a monitor output for MAIN ZONE. ZONE2 : Use the component 2 output terminal as a monitor output for ZONE2. Zone Rename • Up to 10 characters can be input. Change the display title of • For character input, see page 65. each zone to one you prefer. Trigger Out Trigger Out 1 / Trigger Out 2 Select the condition for nn When setting for zone (MAIN ZONE / ZONE2 / ZONE3) activating Trigger Out 1/2 for Trigger out is activated through linkage to the power of the zone set the input source, surround to "ON". mode, etc. See "DC OUT (TRIGGER nn When setting for input source OUT) jacks" (vpage 54) for Activate trigger out when the input source set to "ON" is selected. more information on trigger Active for the zone set to "ON" with "When Setting for Zone". out. nn When setting for HDMI monitor Activate trigger out when the HDMI monitor set to "ON" is selected. Active when the "MAIN ZONE" set to "ON" with "When Setting for Zone" is selected, and when the input source set to "ON" with "When Setting for Input Source" is selected. • ON : Activate trigger on this mode Do not activate trigger on this mode. Default : The "Trigger Out" settings are returned to the default settings. • Yes : Reset to the defaults. • No : Do not reset to the defaults. Advanced version Information Remote control operation buttons Move the cursor (Up/Down/Left/Right) Confirm the setting Return to previous menu 85
-
 1
1 -
2
-
3
-
4
-
5
-
6
-
7
-
8
-
9
-
10
-
11
-
12
-
13
-
14
-
15
-
16
-
17
-
18
-
19
-
20
-
21
-
22
-
23
-
24
-
25
-
26
-
27
-
28
-
29
-
30
-
31
-
32
-
33
-
34
-
35
-
36
-
37
-
38
-
39
-
40
-
41
-
42
-
43
-
44
-
45
-
46
-
47
-
48
-
49
-
50
-
51
-
52
-
53
-
54
-
55
-
56
-
57
-
58
-
59
-
60
-
61
-
62
-
63
-
64
-
65
-
66
-
67
-
68
-
69
-
70
-
71
-
72
-
73
-
74
-
75
-
76
-
77
-
78
-
79
-
80
-
81
-
82
-
83
-
 84
84 -
 85
85 -
 86
86 -
 87
87 -
 88
88 -
 89
89 -
 90
90 -
 91
91 -
 92
92 -
 93
93 -
 94
94 -
95
-
96
-
97
-
98
-
99
-
100
-
101
-
102
-
103
-
104
-
105
-
106
-
107
-
108
-
109
-
110
-
111
-
112
-
113
-
114
-
115
-
116
-
117
-
118
-
119
-
120
-
121
-
122
-
123
-
124
-
125
-
126
-
127
-
128
 |
 |