Maytag MER6775BAB Use and Care Guide - Page 17
Oven Vent, Lights, Bottom
 |
UPC - 719881178516
View all Maytag MER6775BAB manuals
Add to My Manuals
Save this manual to your list of manuals |
Page 17 highlights
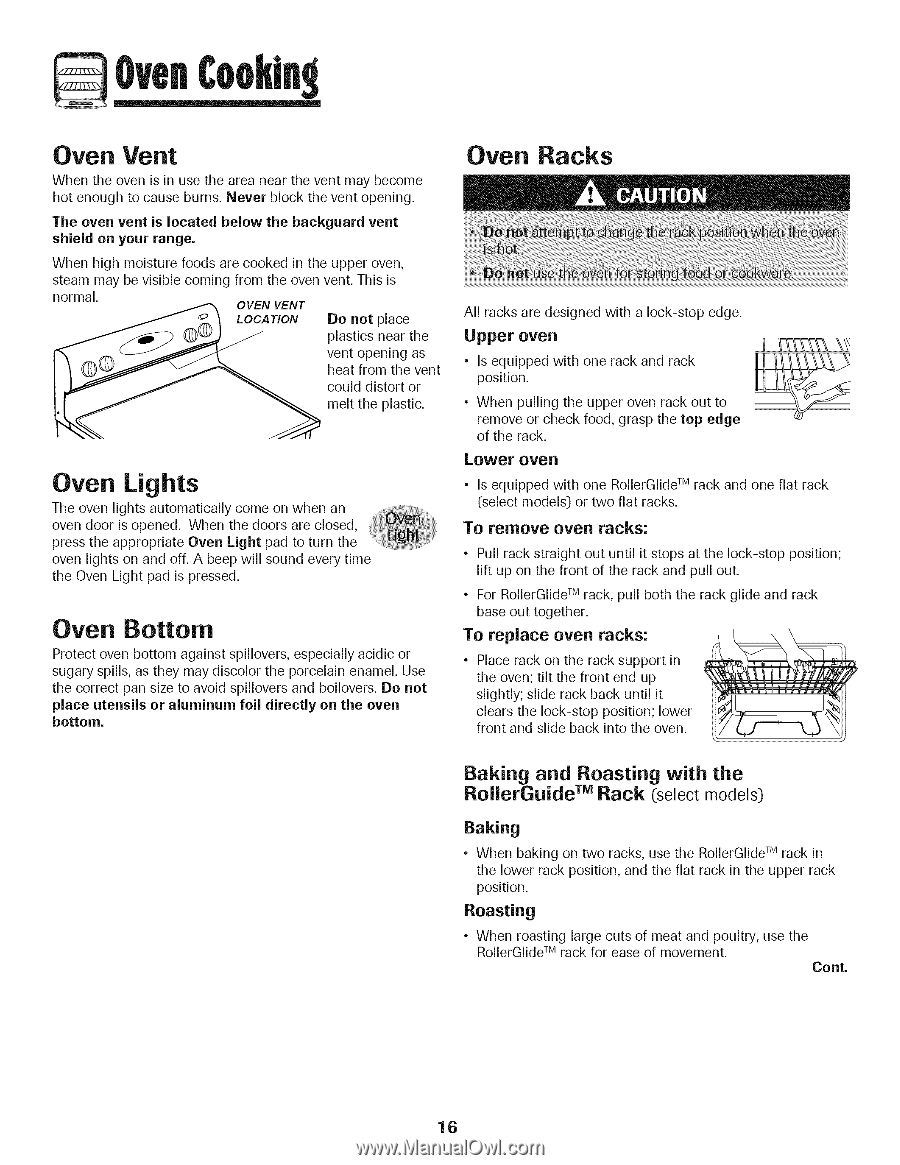
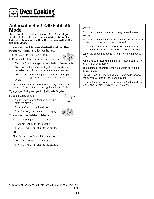
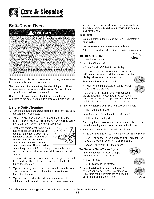
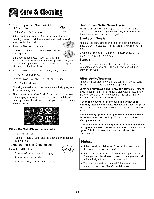
Oven Vent When the oven is in use the area near the vent may become hot enough to cause burns. Never block the vent opening. ]'he oven vent is located below the backguard vent shield on your range. When high moisture foods are cooked in the upper oven, steam may be visible coming from the oven vent. This is normal. OVEN VENT Do not place plastics near the vent opening as heat from the vent could distort or T!ON melt the plastic. Oven Lights Tile oven lights automatically come on when an oven door is opened. When the doors are closed, press the appropriate Oven Light pad to turn the oven lights on and off. A beep will sound every time the Oven Light pad is pressed. Oven Bottom Protect oven bottom against spillovers, especially acidic or sugary spills, as they may discolor the porcelain enamel. Use the correct pan size to avoid spillovers and boilovers. Do not place utensils or aluminum foil directly on the oven bottom. Oven Racks All racks are designed with a lock-stop edge. Upper oven • Is equipped with one rack and rack position. • When pulling the upper oven rack out to remove or check food, grasp the top edge of the rack. Lower oven • Is equipped with one RollerGlideTM rack and one flat rack (select models:) or two flat racks. To remove oven racks: • Pull rack straight out until it stops at the lock-stop position; lift up on the front of the rack and pull out. • For RollerGlideTM rack, pull both the rack glide and rack base out together. To replace oven racks: • Place rack on the rack support in the oven; tilt the front end up slightly; slide rack back until it clears the lock-stop position; lower front and slide back into the oven. Baking and Roasting with the RollerGuide TM Rack (select models:) Baking • When baking on two racks, use the RollerGlideTM rack in the lower rack position, and the flat rack in the upper rack position. Roasting • When roasting large cuts of meat and poultry, use the RollerGlideTM rack for ease of movement. Cont. 16
-
 1
1 -
2
-
3
-
4
-
5
-
6
-
7
-
8
-
9
-
10
-
11
-
 12
12 -
 13
13 -
 14
14 -
 15
15 -
 16
16 -
 17
17 -
 18
18 -
 19
19 -
 20
20 -
 21
21 -
 22
22 -
23
-
24
-
25
-
26
-
27
-
28
-
29
-
30
-
31
-
32
-
33
-
34
-
35
-
36
-
37
-
38
-
39
-
40
-
41
-
42
-
43
-
44
-
45
-
46
-
47
-
48
-
49
-
50
-
51
-
52
-
53
-
54
-
55
-
56
-
57
-
58
-
59
-
60
-
61
-
62
-
63
-
64
-
65
-
66
-
67
-
68
-
69
-
70
-
71
-
72
-
73
-
74
-
75
-
76
-
77
-
78
-
79
-
80
-
81
-
82
-
83
-
84
 |
 |