Motorola MOTOMING A1200 User Manual - Page 2
Transferring Files to Computer - applications
 |
View all Motorola MOTOMING A1200 manuals
Add to My Manuals
Save this manual to your list of manuals |
Page 2 highlights
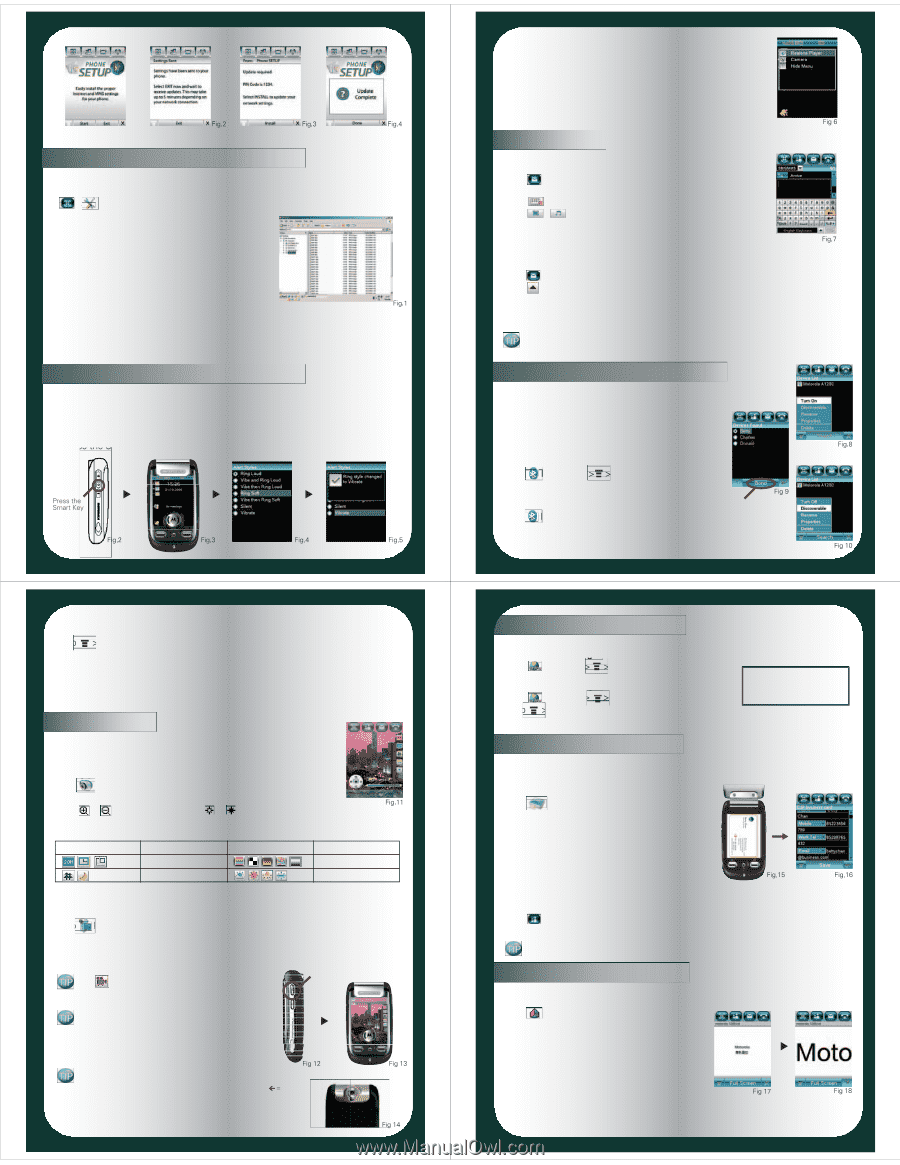
Fig.1 Transferring Files to Computer You can transfer the files saved in memory card from the phone to the computer. On your phone • > Setup > USB Mode > Mass Storage • Plug in USB cable between phone and computer. On your computer • Open 'My Computer' window, where your phone's memory card shows as a 'Removable Disk'. (Fig.1) • Click the icon of your memory card to access the saved files. • Drag and drop the files from memory card to your computer. Note: Please insert the memory card before plugging in the USB cable to connect the phone to the computer for data transfer. If a ringtone stored in the memory card has been selected as the handset's ringtone, it cannot be temporarily applied as ringtone when the phone has been switched to USB Storage (Mass Storage) and is connected to the computer. Accessing Shortcuts You can also access the shortcuts when the flip is closed. Changing Alert Styles 1. Press the Smart Key to illuminate the screen. (Fig.2-3) 2. Press the Up/Down Volume Key to select the desired alert style. (Fig.4) 3. Press the Smart Key again to confirm the alert style. (Fig.5) Making the Phone Visible to Other Devices • Turn Bluetooth on if necessary. • Tap > Discoverable to put the phone into discoverable mode. (Fig.10) • If a device bonds with the phone, enter the passkey (e.g.0000) to create connection. Note: The headset must be charged for 2 hours prior to starting and be paired with the phone first before it can be used. For the operation and other information on the headset, please refer to the user manual of the headset. Imaging A 2.0 mega-pixel camera with macro mode is housed in this handset which lets you capture clear and fine pictures everywhere you like. Taking photos • Tap camera • Point camera lens at the photo subject. • Tap or to zoom in or out; tap or to adjust exposure. (Fig.11) • Tap Capture or press Navigation Key to capture a picture. • You can also tap the following thumbnails to change the photo effect. Thumbnails Description Thumbnails Description Photo Resolution Photo Styles Photo Modes Light Condition Note: For better performance of the handset, it is suggested to set the default storage to removable memory card. To switch the storage device, please refer to the user manual of the handset. Recording videos • Tap Video > point camera lens at subject. • Tap Record to start recording and Done to stop capturing. Note: The length of video captured depends on the available storage on the phone memory and the memory card. Switching back to Camera mode immediately? Press Camera Key to launch camera Tap to change back to Camera mode. Using the camera when the flip is closed? Press the Camera Key twice to launch the camera. Press this key again to capture a photo. (Fig.12-13) Taking close-up photos? Slide the camera mode to switch to the left to set macro mode. (Fig.14) macro mode Launching Applications 1. Press the Smart Key to illuminate the screen. 2. Press the Smart Key again to open the Shortcut Menu. (Fig.6) 3. Press the Up/Down Key to select the application and press the Smart Key to confirm. Messaging Sending Messages3 • Tap > Compose > To... to choose the recipient(s) • Tap the writing area to input text • Tap to close keyboard (Fig.7) • Tap , to insert pictures or audio files respectively • Tap Send to send the message Handwriting Input Method Handwriting input method provides you with an alternative to enter the text in a convenient way. • Tap Message > Compose > tap text - entering area to input text. • Tap and select Handwriting as the input method. • Tap PRT, ESP or ENG to choose to write Portuguese, Spanish or English characters respectively; • Write the Portuguese, Spanish or English characters in the writing areas. Handwriting feature also applies to writing e-mails or jotting down notes. Connecting with Bluetooth® This device supports Bluetooth wireless connection, stereo and printing. You can set up a wireless link with a Bluetooth accessory for data exchange or connection. Turning Bluetooth on • The phone's Bluetooth feature is off by default. • Tap Bluetooth > > Turn On (Fig.8) Pairing with headset • Headset2 must be powered on and in pair mode. • Tap Bluetooth > Search • Choose device from list > Bond (Fig.9) • Bond with device per device instructions. Tap Bond to pair with device Using Opera™ Browser To browse the Internet with Opera™ Browser, the correct Internet profile has to be selected. To browse WAP pages • Tap Browser > > Setup > Profiles To browse WAP pages • Tap Browser > > Setup > Profiles > Internet Call 800-520-6421 for any questions. • Tap > Edit > scroll to Network link • Select desired GPRS profile from list > Save Storing Business Cards Business Card Reader helps you save time from entering information of business cards as contacts in phone's address book just by capturing the cards. Capturing a business card • Tap BCR > Capture Business Card • Use the red border to vertically frame the business card. (Fig.15) • Press the Navigation Key to capture the card. • Information like name, mobile phone number, work telephone number is displayed. (Fig.16) • Tap Save to store the information. The information of the business card will then be automatically saved to Phonebook. To access the information again, • Tap > scroll and tap the entry. Can't capture the card clearly? Remember to switch the camera to macro mode before capturing the business card. Viewing Documents Document Viewer enables you to handle various document types including PDF, Word, PowerPoint, Excel files, images, HTML and plain text. • Tap Viewer > select file from list. • Tap Full Screen to browse the document in full screen mode. Scrolling a document • Tap and drag the document to scroll the document. Zooming in / out a document • Quickly tap the document twice, then drag up and down to zoom in or out a document. • Or you can also press the up/down Volume Keys to zoom in or out. (Fig.17-18)
-
 1
1 -
 2
2
 |
 |