Motorola moto g play User Guide - Page 4
Power on, Sign in, Connect to Wi-Fi, Check your battery charge level, Navigate your phone
 |
View all Motorola moto g play manuals
Add to My Manuals
Save this manual to your list of manuals |
Page 4 highlights
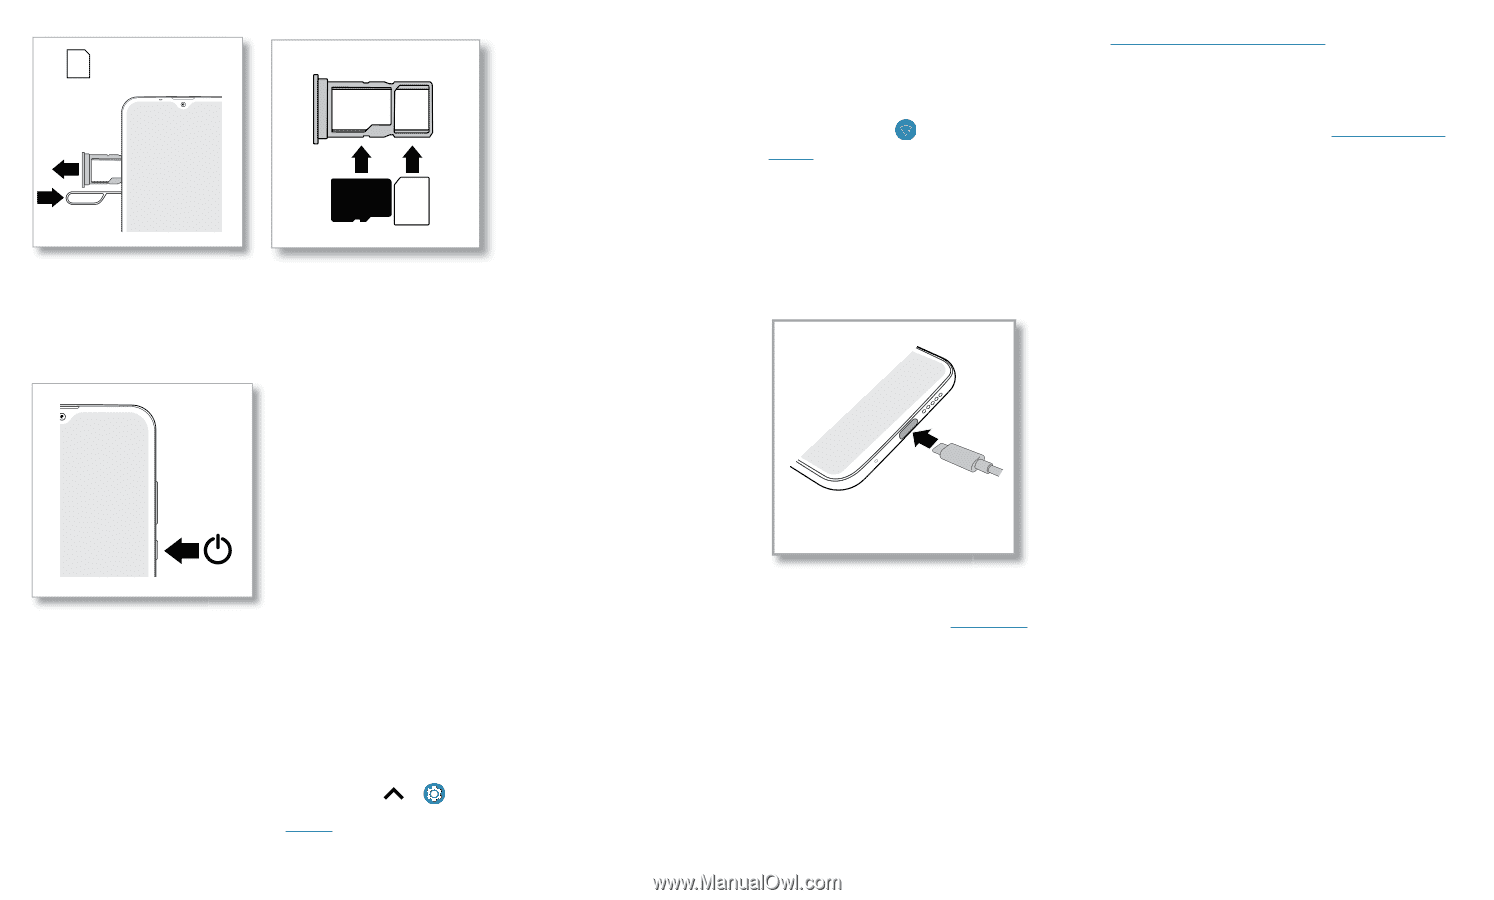
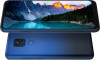
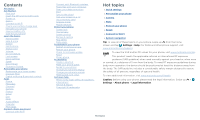
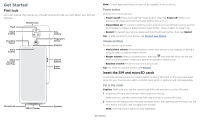
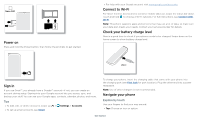
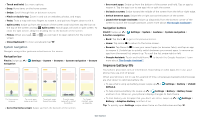
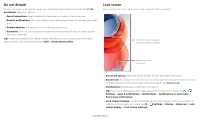
Nano SIM SIM card insert graphic. After the battery is removed, the SIM card is inserted in the slot on the left with the clipped corner to the upper left. The SDcard is inserted in the right slot. Power on Press and hold the Power button, then follow the prompts to get started. SIM » For help with your Google account, visit www.google.com/accounts. Connect to Wi-Fi For faster Internet access and to conserve mobile data use, swipe the status bar down. Touch and hold to choose a Wi-Fi network. For full instructions, see Connect with Wi-Fi. Note: This phone supports apps and services that may use a lot of data, so make sure your data plan meets your needs. Contact your service provider for details. Check your battery charge level Now is a good time to check if your phone needs to be charged. Swipe down on the home screen to show battery charge level. USB-C Power on graphic. Press and hold the Power button until the screen lights up. Sign in If you use Gmail™, you already have a Google™ account-if not, you can create an account during setup. Signing into your Google account lets you access, sync, and backup your stuff. You can see your Google apps, contacts, calendar, photos, and more. Tips » To add, edit, or delete accounts, swipe up > Settings > Accounts. » To set up email accounts, see Gmail. Charge phone graphic. Plug in a charger to charge your phone fully. To charge your phone, insert the charging cable that came with your phone into the charging port (see First look for port location). Plug the other end into a power receptacle. Note: Use of other chargers is not recommended. Navigate your phone Explore by touch Use your fingers to find your way around: » Tap: Choose an icon or option. Get Started
-
 1
1 -
 2
2 -
 3
3 -
 4
4 -
 5
5 -
 6
6 -
 7
7 -
 8
8 -
 9
9 -
 10
10 -
11
-
12
-
13
-
14
-
15
-
16
-
17
-
18
-
19
-
20
-
21
-
22
-
23
-
24
-
25
-
26
-
27
-
28
-
29
-
30
-
31
-
32
-
33
-
34
-
35
-
36
-
37
 |
 |