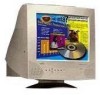
NEC JC-1572VMA-1 User Manual - Page 5
front - headphones
 |
View all NEC JC-1572VMA-1 manuals
Add to My Manuals
Save this manual to your list of manuals |
Page 5 highlights
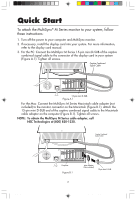
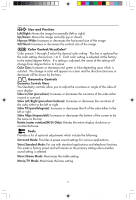
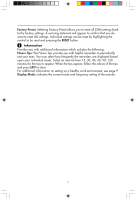
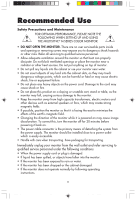
Quick Start 4. Locate the audio output connection on the component(s) which will serve as the source(s) for the built-in speakers. (The component(s) could be your system, CDROM, sound card, etc.). 5. Once you have determined the source, identify the connector present from the source and connect the stereo input cable. Headphone Headphones may be connected to the "Headphones" output on the left of the monitor's bezel marked " ". While the headphones are connected, the sound from the speakers will be disabled. Headphones can be purchased from your local electronics store. Microphone Connect stereo male mini jack cable to the microphone (MIC IN) input on the rear of your system. (Figure A.1, B.1) NOTE: There is a microphone hole on the front of the monitor marked " ". This is the location of the built-in microphone. This is not to be used for the input for the mini jack cable. (Figure D.1) 6. Connect one end of the power cable to the MultiSync M Series monitor and the other end to the power outlet. (Figure C.1) 7. Turn on your MultiSync monitor and computer. NOTE: If you have any problems, please refer to the Troubleshooting section of this User's Manual. Power Outlet Power Cord Figure C.1 78133441 MUTE EXIT PROCEED RESET CONTROL Figure D.1 3 5 6/24/98, 7:50 AM
-
 1
1 -
 2
2 -
 3
3 -
 4
4 -
 5
5 -
 6
6 -
 7
7 -
 8
8 -
 9
9 -
 10
10 -
 11
11 -
12
-
13
-
14
-
15
-
16
-
17
-
18
-
19
-
20
 |
 |
