Netgear EX3110 Installation Guide - Page 1
Netgear EX3110 Manual
 |
View all Netgear EX3110 manuals
Add to My Manuals
Save this manual to your list of manuals |
Page 1 highlights
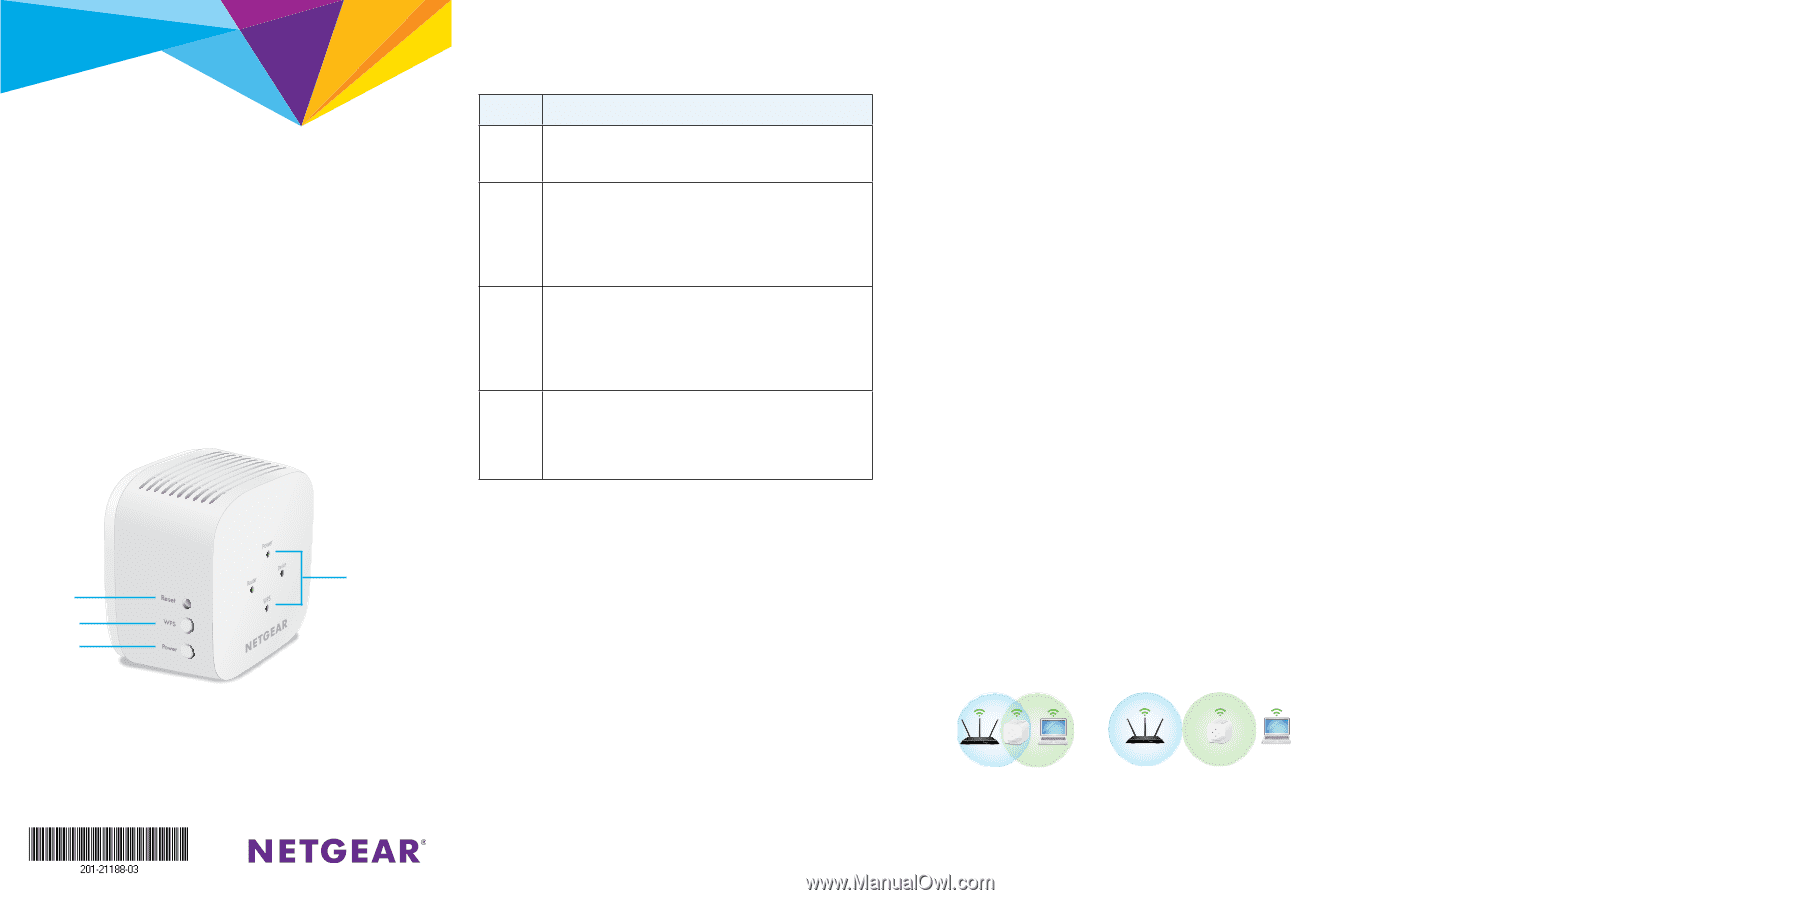
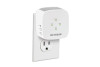
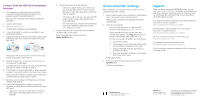
Quick Start AC750 WiFi Range Extender Model EX3110 Reset WPS Power On/Off LEDs Power Router Device WPS LED Descriptions LED Power Router Device WPS Description • Solid amber. The extender is booting. • Solid green. The extender is powered on. • Off. The extender is powered off. This LED indicates the network connection between the extender and the router or access point. • Solid green. Best connection. • Solid amber. Good connection. • Solid red. Poor connection. • Off. No connection. This LED indicates the network connection between the extender and a computer or mobile device. • Solid green. Best connection. • Solid amber. Good connection. • Solid red. Poor connection. • Off. No connection. • Solid green. WiFi security is enabled (WPA or WPA2). • Blinking green. A WPS connection is being established. • Off. WiFi security is not enabled. Place the Extender and Supply Power 1. Place your extender in the same room as your WiFi router. Proximity to the WiFi router is required only during the initial setup process. 2. Plug the extender into an electrical outlet. Wait for the Power LED to light green. If the Power LED does not light, press the Power On/Off button on the side of the extender. Connect the Extender to Your WiFi Network You can connect with WPS or you can use the NETGEAR installation assistant from a web browser. Connect With WPS Wi-Fi Protected Setup (WPS) lets you join a secure WiFi network without typing the network name and password. Note: WPS does not support WEP network security. If you are using WEP security, follow the instructions in Connect With the NETGEAR Installation Assistant on the other side of this quick start guide. 1. Press the WPS button on the extender until the WPS LED blinks. 2. Within two minutes, press the WPS button on your router or access point. When the extender connects to your existing WiFi network, the WPS LED on the extender lights solid green and the Router LED lights. If the Router LED does not light, try again. If it still does not light, see Connect With the NETGEAR Installation Assistant on the other side of this quick start guide. 3. If your WiFi router supports the 5 GHz band, repeat Steps 1 and 2 to connect the extender to the 5 GHz band. 4. Unplug the extender and move it to a new location that is about halfway between your router and the area with a poor router WiFi signal. DO DON'T The location that you choose must be within the range of your existing WiFi router network. 5. Plug the extender into an electrical outlet and wait for the Power LED to light green. 6. Use the Router LED to help you choose a spot where the extender-to-router connection is optimal. 7. If the Router LED doesn't light amber or green, plug the extender into an outlet closer to the router and try again. Keep moving the extender to outlets closer to the router until the Router LED lights amber or green. 8. On your computer or mobile device, find and connect to a new extender WiFi network. The extender creates two new extender WiFi networks. The extender's new WiFi network names are based on your existing WiFi network name, with _2GEXT and _5GEXT at the end of the name. For example: • Existing WiFi network name. MyNetworkName • New extender WiFi network names. MyNetworkName_2GEXT and MyNetworkName_5GEXT Use the same WiFi password that you use for your WiFi router. 9. Test the new extender WiFi range by moving your computer or mobile device to the area with a poor router WiFi signal: a. Leave your computer or mobile device in the area with a poor router WiFi signal and return to the extender. b. Check the Device LED on the extender: • If the Device LED is solid green or amber, your new extender WiFi network reaches the area with a poor router WiFi signal and your network setup is complete. • If the Device LED is red, your new extender WiFi network does not reach the area with a poor router WiFi signal. You must move your computer or mobile device closer to the extender until the Device LED turns solid green or amber. July 2017
-
 1
1 -
 2
2
 |
 |