Netgear FS105 FS105 Installation Guide - Page 3
Unpack the Box and Verify the, Contents, Prepare to Install the Switch - installation
 |
UPC - 606449006865
View all Netgear FS105 manuals
Add to My Manuals
Save this manual to your list of manuals |
Page 3 highlights
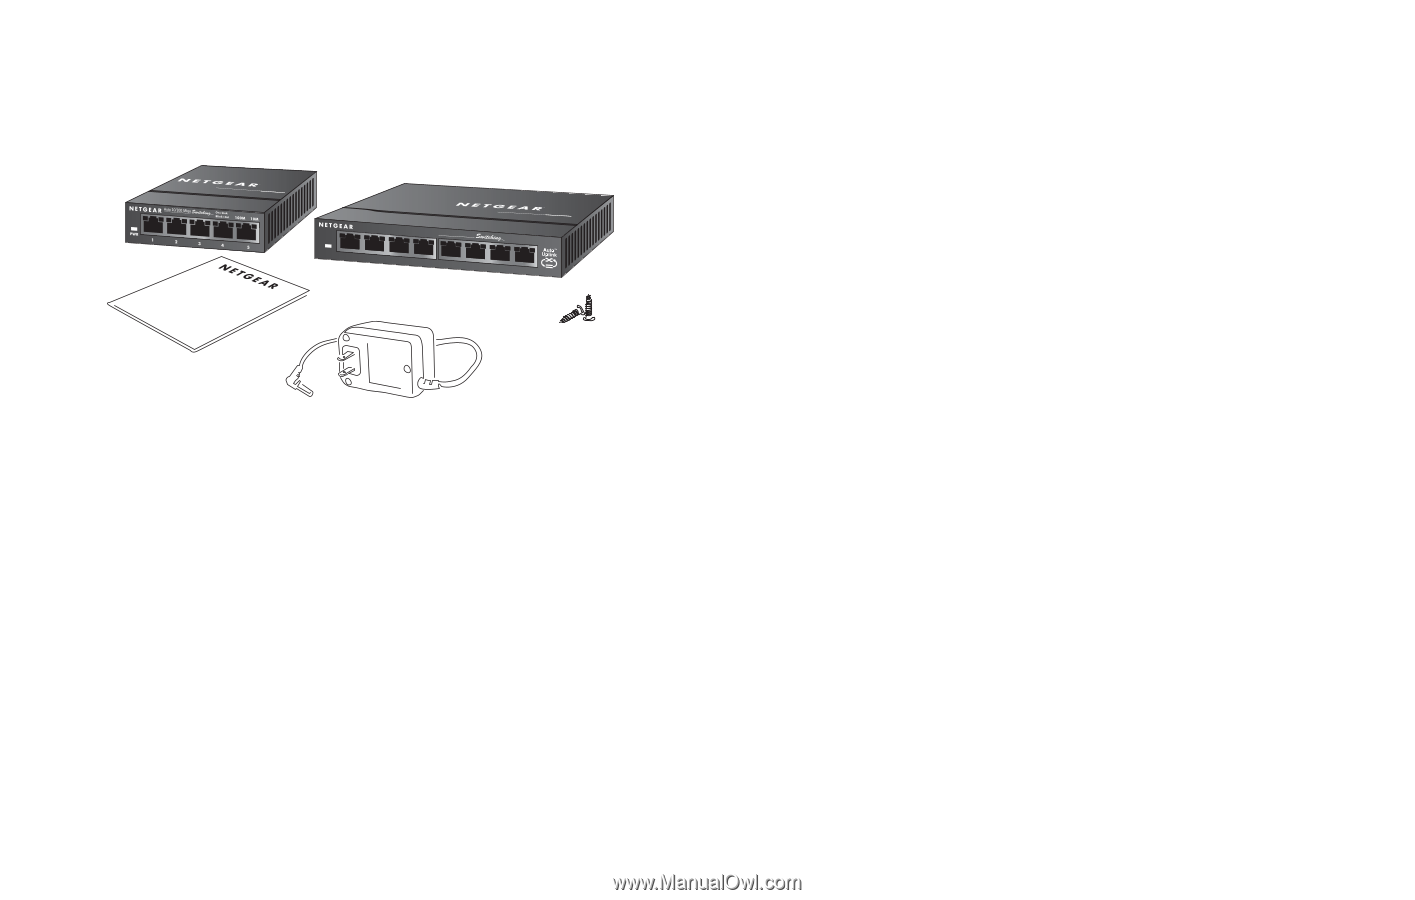
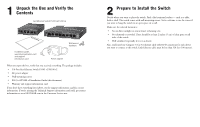
1 Unpack the Box and Verify the Contents Fast Ethernet Switch FS105 v2/FS108 v2 Fast Ethernet Switch MODELFS105 PWR FS108 FAST ETHERNET SWITCH 1 2 3 Auto 10/100 Mbps 4 5 6 Fast Ethernet Switch MODELFS108 100M 10M On=Link Blink=Act 7 8 Wall-mount hardware Installation guide, warranty/registration card and support information card Power adapter When you open the box, verify that you received everything. The package includes: • 5/8-Port Fast Ethernet Switch FS105 v2/FS108 v2 • AC power adapter • Wall-mounting screws • FS105 v2/FS108 v2 Installation Guide (this document) • Warranty and support information card If you don't have everything listed above, see the support information card for contact information. If you're missing the Technical Support information card itself, get contact information at www.NETGEAR.com in the Customer Service area. 2 Prepare to Install the Switch Decide where you want to place the switch. Find a flat horizontal surface - such as a table, desk or shelf. The switch comes with wall-mounting screws. You're welcome to use the screws if you want to hang the switch in an open space on a wall. Make sure the selected location is: • Not in direct sunlight or near a heater or heating vent. • Not cluttered or crowded. There should be at least 2 inches (5 cm) of clear space on all sides of the switch. • Well ventilated (especially if it is in a closet). Also, you'll need one Category 5 (Cat 5) Ethernet cable with RJ-45 connectors for each device you want to connect to the switch. Each Ethernet cable must be less than 328 feet (100 meters).
-
 1
1 -
 2
2 -
 3
3 -
 4
4
 |
 |