Nokia 8265i Nokia 8265i User Guide in English - Page 34
Viewing your phone book, Names, Name+number, Details, TO SELECT A SCROLLING VIEW, Options, Select
 |
View all Nokia 8265i manuals
Add to My Manuals
Save this manual to your list of manuals |
Page 34 highlights
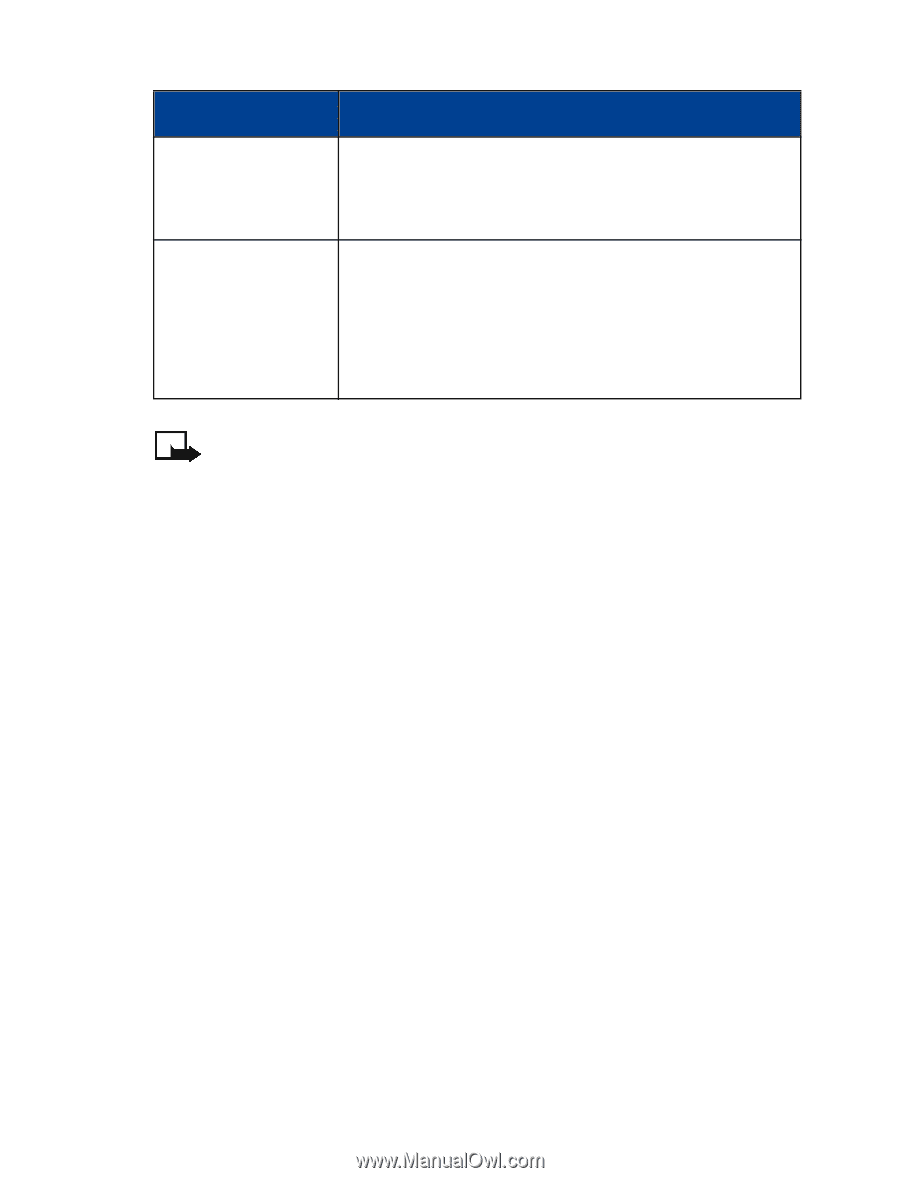
Phone book Menu Choice Caller groups Erase all What it does Allows you to rename or change the ringing tone for a caller group, as well as turn the group graphic on or off. Allows you to erase all names and numbers in the phone book. To erase only one name and number at a time, while viewing a name in the phone book press Details or Options, then scroll to Erase and press Select. Note: There are no shortcuts for accessing the menus and submenus under Names. Viewing your phone book You can view your phone book in three different ways: 1 Name list. Shows all the names that are stored in your phone book. Three names appear on the screen at a time. 2 Name + number. Shows individual names and numbers. Only one name appears on the screen at a time, with its corresponding phone number. Name+number is the default setting. 3 Name only. Displays individual names only, but in larger type. Press Details to view the corresponding phone number. Note: In all views, you can use the scroll keys to move up and down through the list of names. TO SELECT A SCROLLING VIEW 1 Press Names. 2 Scroll to Options and press Select. 3 At Scrolling view, press Select. 4 Scroll to the view you want and press OK. [ 27 ]
-
 1
1 -
2
-
3
-
4
-
5
-
6
-
7
-
8
-
9
-
10
-
11
-
12
-
13
-
14
-
15
-
16
-
17
-
18
-
19
-
20
-
21
-
22
-
23
-
24
-
25
-
26
-
27
-
28
-
 29
29 -
 30
30 -
 31
31 -
 32
32 -
 33
33 -
 34
34 -
 35
35 -
 36
36 -
 37
37 -
 38
38 -
 39
39 -
40
-
41
-
42
-
43
-
44
-
45
-
46
-
47
-
48
-
49
-
50
-
51
-
52
-
53
-
54
-
55
-
56
-
57
-
58
-
59
-
60
-
61
-
62
-
63
-
64
-
65
-
66
-
67
-
68
-
69
-
70
-
71
-
72
-
73
-
74
-
75
-
76
-
77
-
78
-
79
-
80
-
81
-
82
-
83
-
84
-
85
-
86
-
87
-
88
-
89
-
90
-
91
-
92
-
93
-
94
-
95
-
96
-
97
-
98
-
99
-
100
-
101
-
102
-
103
-
104
-
105
-
106
-
107
-
108
-
109
-
110
-
111
-
112
-
113
-
114
-
115
-
116
-
117
-
118
-
119
-
120
-
121
-
122
-
123
-
124
-
125
-
126
-
127
-
128
-
129
-
130
-
131
-
132
-
133
-
134
-
135
-
136
-
137
-
138
-
139
-
140
-
141
-
142
-
143
-
144
-
145
 |
 |