Oki B6100 Guide: Installation (B6100) - Page 41
Add New Hardware Wizard, CD-ROM, Drivers, Win9xMe, Language, Finish, Specify a location, Browse - okidata driver
 |
View all Oki B6100 manuals
Add to My Manuals
Save this manual to your list of manuals |
Page 41 highlights
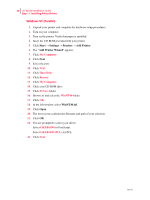
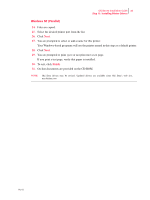
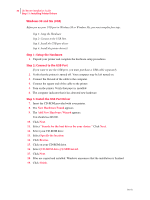
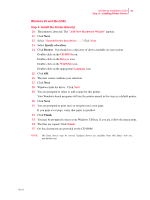
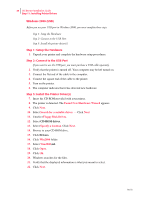
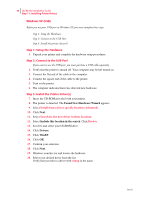
Oki B6100 Installation Guide 33 Step 11: Installing Printer Drivers Windows 98 and Me (USB) Step 4: Install the Printer Driver(s) 20. The printer is detected. The "Add New Hardware Wizard" appears. 21. Click Next. 22. Select "Search for the best driver . . .." Click Next. 23. Select Specify a location. 24. Click Browse. You should see a directory of drives available on your system. Double-click on the CD-ROM icon. Double-click on the Drivers icon. Double-click on the Win9xMe icon. Double-click on the appropriate Language icon 25. Click OK. 26. The next screen confirms your selection. 27. Click Next. 28. Windows finds the driver. Click Next. 29. You are prompted to select or add a name for this printer. Your Windows-based programs will use the printer named in this step as a default printer. 30. Click Next. 31. You are prompted to print (yes) or not print (no) a test page. If you print a test page, verify that paper is installed. 32. Click Finish. 33. You may be prompted to insert your Windows CD here. If you are, follow the instructions. 34. The files are copied. Click Finish. 35. On-line documents are provided on the CD-ROM. NOTE: Oki Data drivers may be revised. Updated drivers are available from Oki Data's web site, my.okidata.com. Oct 02
-
 1
1 -
2
-
3
-
4
-
5
-
6
-
7
-
8
-
9
-
10
-
11
-
12
-
13
-
14
-
15
-
16
-
17
-
18
-
19
-
20
-
21
-
22
-
23
-
24
-
25
-
26
-
27
-
28
-
29
-
30
-
31
-
32
-
33
-
34
-
35
-
 36
36 -
 37
37 -
 38
38 -
 39
39 -
 40
40 -
 41
41 -
 42
42 -
 43
43 -
 44
44 -
 45
45 -
 46
46 -
47
-
48
-
49
-
50
-
51
-
52
-
53
-
54
-
55
-
56
-
57
-
58
-
59
-
60
-
61
-
62
-
63
-
64
-
65
-
66
-
67
-
68
-
69
-
70
 |
 |
