Olympus VN-8100PC VN-8100PC Instructions (English) - Page 11
Rec Menu - features
 |
UPC - 050332175518
View all Olympus VN-8100PC manuals
Add to My Manuals
Save this manual to your list of manuals |
Page 11 highlights
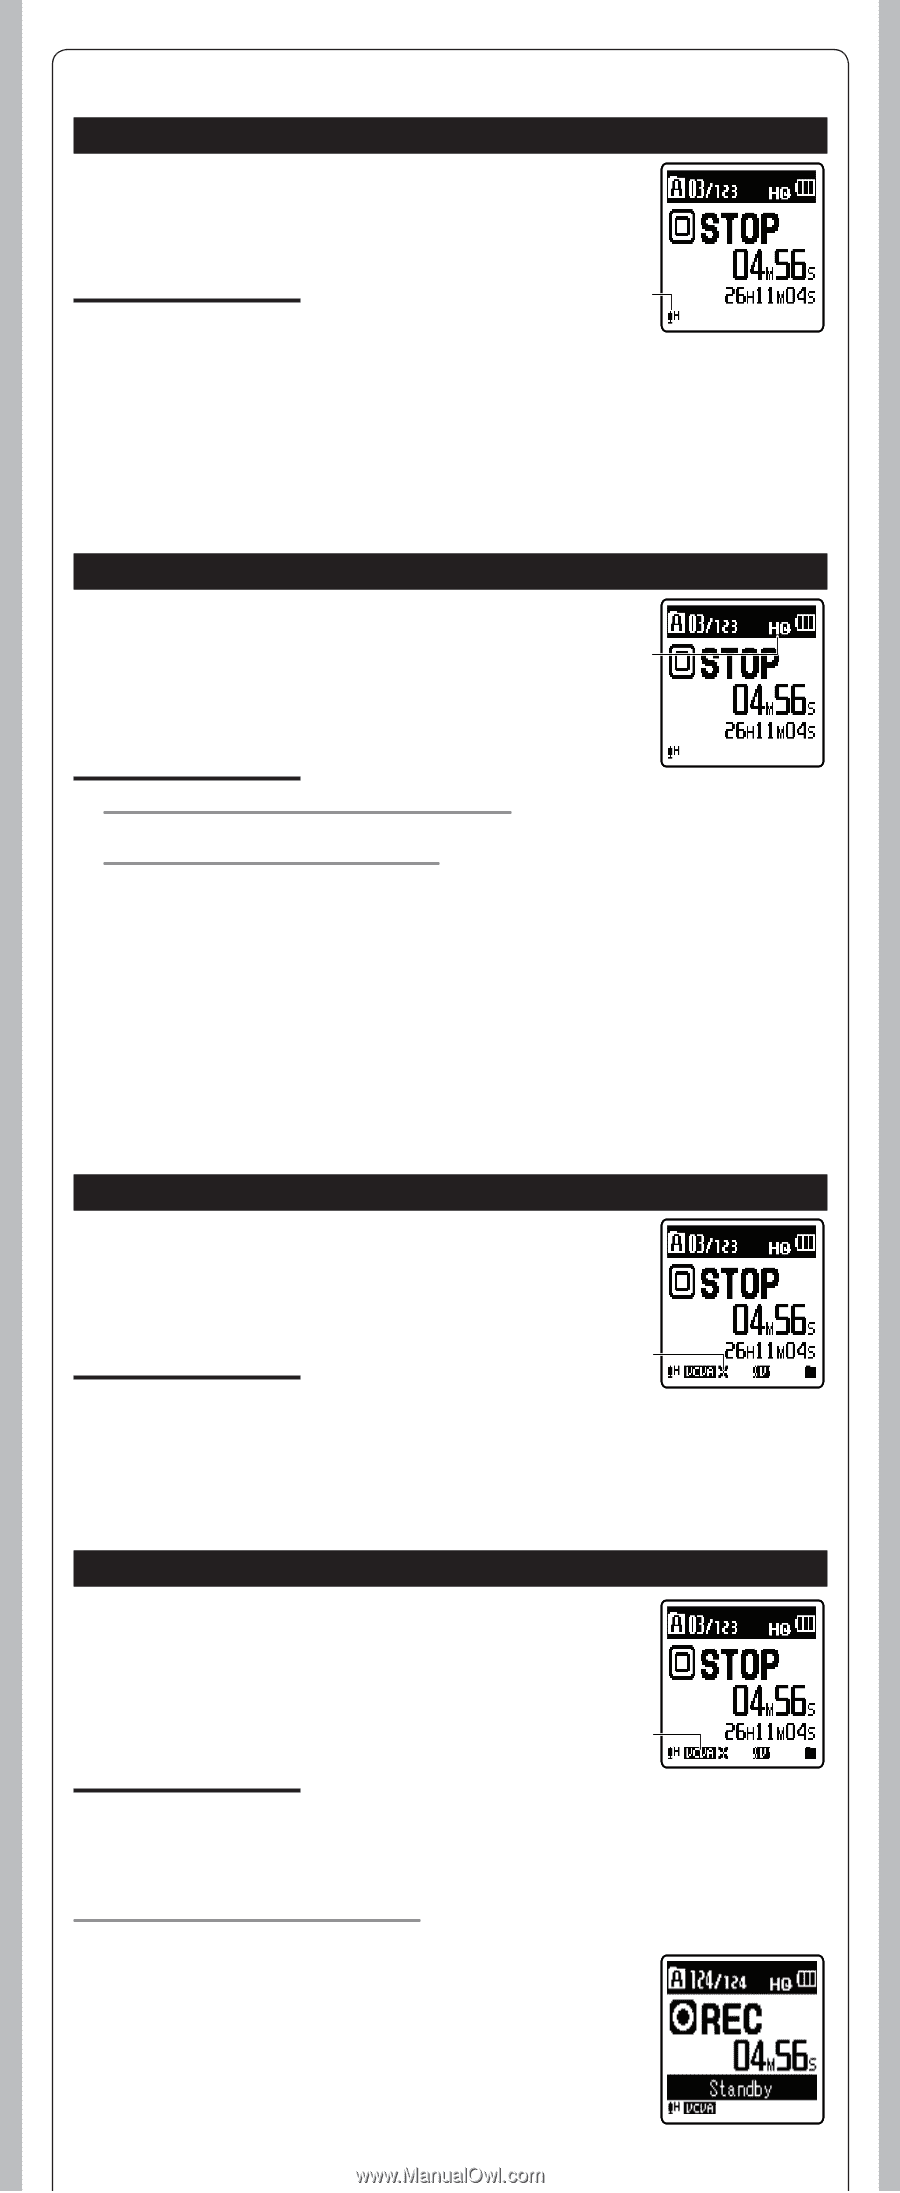
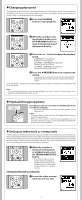
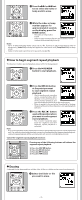
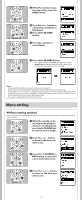
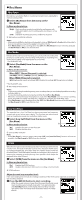
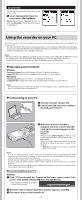
h Rec Menu Mic Sense Microphone sensitivity (Built-in or external microphone) is adjustable to meet recording needs. 1 Select [Mic Sense] from the menu on the [Rec Menu]. In Menu mode selection: a [High]: High recording sensitivity suitable for conferences with many participants and recording audio at a distance or low volume. [Low]: Standard recording sensitivity suitable for dictation. a Microphone sensitivity indicator Notes: • When you would like to clearly record a speaker's voice, set [Mic Sense] to [Low] and hold recorder's built-in microphone close to the speaker's mouth (5-10 cm). • If the [Rec Scene] is set to a setting other than [Off], the [Mic Sense] function will not be available. Set [Rec Scene] to [Off] to use this function. Rec Mode Besides stereo* and monaural recording, you can also select recording with priority to sound quality, and recording with priority to recording time. Select the recording mode appropriate to your needs. a * For VN-8100PC only. 1 Select [Rec Mode] from the menu on the [Rec Menu]. In Menu mode selection: When [MP3]* (Stereo/Monaural) is selected: [192 kbps] (Stereo), [128 kbps] (Stereo), [48 kbps] (Monaural) When [WMA] (Monaural) is selected: [HQ] (high quality sound recording), [SP] (standard recording), [LP] (long-term recording) * For VN-8100PC only. a Recording mode indicator Notes: • To ensure recording from the beginning, start recording after you see the display and the recording indicator light on. • To record a meeting and lecture clearly, set other than [LP] in [Rec Mode]. • When the external monaural microphone is used while [Rec Mode] is set to a stereo recording mode, it enables recording only with the L channel microphone (For VN-8100PC only). • If the [Rec Scene] is set to a setting other than [Off], the [Rec Mode] function will not be available. Set [Rec Scene] to [Off] to use this function. Low Cut Filter The recorder has a Low Cut Filter function to minimize low-frequency sounds and record voices more clearly. This function can reduce noise from air conditioners, projectors and other similar noises. 1 Select [Low Cut Filter] from the menu on the [Rec Menu]. In Menu mode selection: a [On]: Enables the Low Cut Filter function. [Off]: Disables this function. a Low Cut Filter indicator Note: • If the [Rec Scene] is set to a setting other than [Off], the [Low Cut Filter] function will not be available. Set [Rec Scene] to [Off] to use this function. VCVA When the microphone senses that sounds have reached a preset threshold volume level, the built-in Variable Control Voice Actuator (VCVA) starts recording automatically, and stops when the volume drops below the threshold level. The VCVA feature extends recording time and conserves memory by stopping recording during silent periods, which helps the playback to be more efficient. 1 Select [VCVA] from the menu on the [Rec Menu]. a In Menu mode selection: [On]: Enables the VCVA function. [Off]: Disables this function. Will resume recording in normal mode. a VCVA indicator Adjust the start/stop actuation level: If the surrounding noise is loud, the starting sensitivity of the VCVA can be adjusted according to the recording situation. 1 Press the REC (s) button to start recording. • When the sound volume is lower than the preset threshold sound level, recording automatically stops after 1 sec approximately, and [Standby] flashes on the display. The recording indicator light glows when recording starts and flashes when recording pauses. - 11 -
-
 1
1 -
2
-
3
-
4
-
5
-
 6
6 -
 7
7 -
 8
8 -
 9
9 -
 10
10 -
 11
11 -
 12
12 -
 13
13 -
 14
14 -
 15
15 -
 16
16 -
17
-
18
 |
 |