Panasonic AGHMC150PJ User Manual - Page 41
Shooting techniques for different targets, Low angle recording, Self-portrait shooting, Zebra pattern
 |
View all Panasonic AGHMC150PJ manuals
Add to My Manuals
Save this manual to your list of manuals |
Page 41 highlights
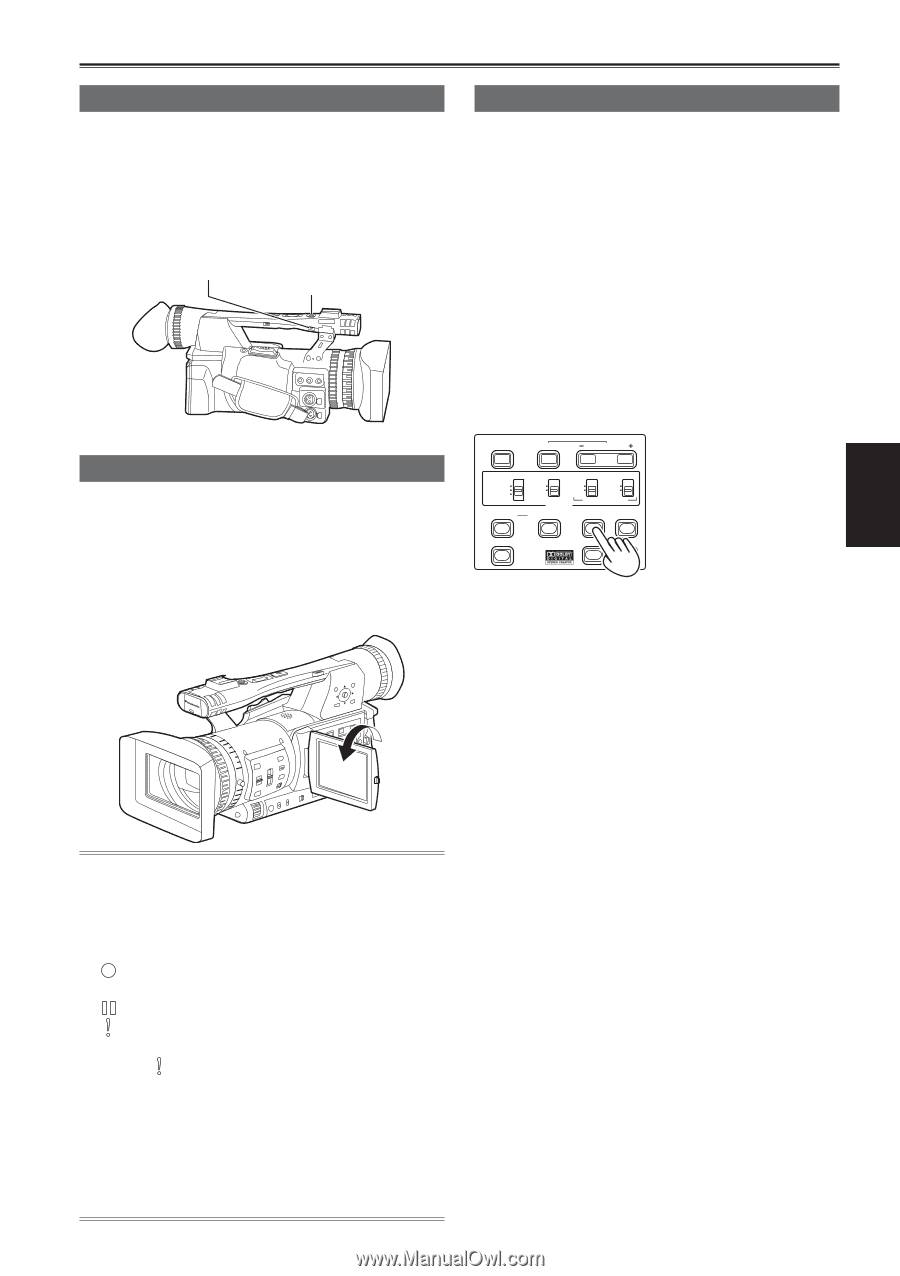
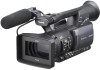
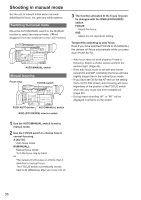
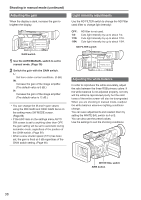
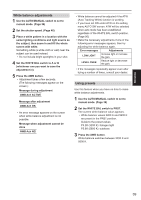
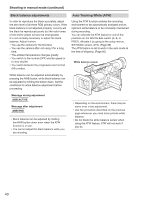
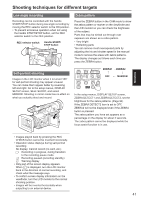
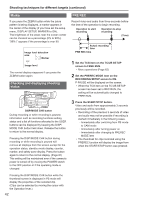
Shooting techniques for different targets Low angle recording Recording can be controlled with the handle START/STOP button during low angle recording by moving the REC selector switch to the ON position. • To prevent erroneous operation when not using the handle START/STOP button, set the REC selector switch to the OFF position. REC selector switch Handle START/ STOP button Zebra pattern Press the ZEBRA button in the CAM mode to show the zebra pattern or marker on the viewfinder and the LCD monitor so you can check the brightness of the subject. Parts that may be whited out through over exposure are shown as a zebra pattern. • Very bright • Reflecting parts You can remove most overexposed parts by adjusting the iris and shutter speed in the manual mode to remove the areas with zebra patterns. The display changes as follows each time you press the ZEBRA button. Self-portrait shooting Images in the LCD monitor when it is turned 180° for self-portrait shooting may appear unusual. You can make them appear better by reversing left and right. Go to the setup menus, DISPLAY SETUP screen, SELF SHOOT, and select MIRROR. Shooting in mirror mode has no effect on what you actually shoot and record. BARS SHUTTER SPEED SELECT CH1 SELECT CH2 SELECT INPUT 1 INPUT 2 INT(L) INPUT1 INPUT2 INT(R) INPUT2 ON ON OFF OFF MIC POWER +48V AUDIO COUNTER RESET/TC SET ZEBRA OIS ZEBRA1 → ZEBRA2 ↑ ↓ OFF ← MARKER LCD EVF DTL WFM In the setup menus, DISPLAY SETUP screen, ZEBRA DETECT1 and ZEBRA DETECT2, set the brightness for the zebra patterns. (Page 94) If the ZEBRA DETECT2 item is set to OFF, ZEBRA2 will not be displayed even if the ZEBRA button is pressed. The zebra pattern you have set appears as a percentage on the display for about 2 seconds. The zebra pattern cannot be displayed while the focus assist function is in use. Shooting • Images played back by pressing the REC CHECK button cannot be inverted horizontally. • Operation status displays during self-portrait recording No display: Cannot record (no card, etc.) : Recording in progress, during transition to the recording pause mode : Recording paused (recording standby) : Warning display • Only part of the screen display appears. When [ ] is displayed, turn the LCD monitor back in the direction of normal recording, and check what the message says. • To confirm screen display information on the viewfinder, turn the LCD monitor to the normal shooting position. • Images will be inverted horizontally when outputting to an external device. 41
-
 1
1 -
2
-
3
-
4
-
5
-
6
-
7
-
8
-
9
-
10
-
11
-
12
-
13
-
14
-
15
-
16
-
17
-
18
-
19
-
20
-
21
-
22
-
23
-
24
-
25
-
26
-
27
-
28
-
29
-
30
-
31
-
32
-
33
-
34
-
35
-
 36
36 -
 37
37 -
 38
38 -
 39
39 -
 40
40 -
 41
41 -
 42
42 -
 43
43 -
 44
44 -
 45
45 -
 46
46 -
47
-
48
-
49
-
50
-
51
-
52
-
53
-
54
-
55
-
56
-
57
-
58
-
59
-
60
-
61
-
62
-
63
-
64
-
65
-
66
-
67
-
68
-
69
-
70
-
71
-
72
-
73
-
74
-
75
-
76
-
77
-
78
-
79
-
80
-
81
-
82
-
83
-
84
-
85
-
86
-
87
-
88
-
89
-
90
-
91
-
92
-
93
-
94
-
95
-
96
-
97
-
98
-
99
-
100
-
101
-
102
-
103
-
104
-
105
-
106
-
107
-
108
-
109
-
110
-
111
-
112
 |
 |