Panasonic KXTG5566 KXTG5561 User Guide - Page 18
Setting The Unit Before Use
 |
View all Panasonic KXTG5566 manuals
Add to My Manuals
Save this manual to your list of manuals |
Page 18 highlights
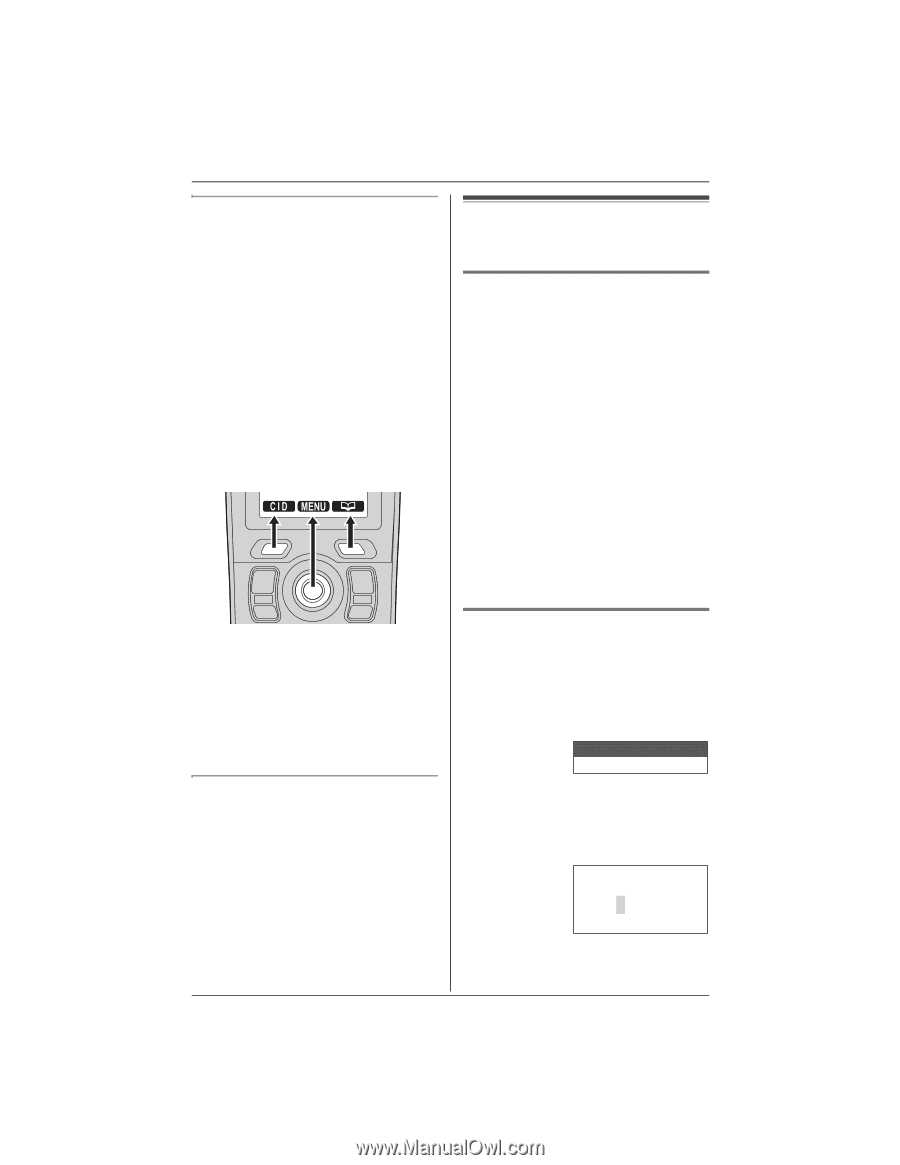
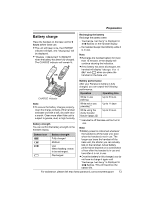
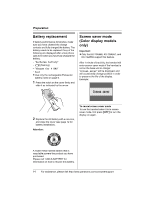
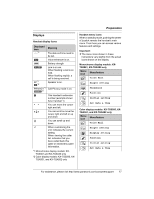
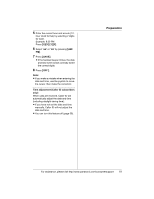
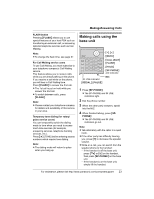
Preparation Handset soft keys The handset features 2 soft keys and a joystick. By pressing a soft key, or by pressing the center of the joystick, you can select the function displayed directly above it. L Pressing the left or right soft key selects the leftmost or rightmost soft key icon respectively. L Pressing the center of the joystick selects the center soft key icon. L The functions displayed will vary depending on how you are using the unit. L When a function does not appear above a soft key, the soft key has no function. Setting the unit before use Setting the dialing mode If you cannot make calls, change this setting depending on your telephone line service. The default setting is "Tone". "Tone": For tone dial service. "Pulse": For rotary pulse dial service. 1 Press {MENU} (center of joystick). 2 Scroll to N, then press {SELECT}. 3 Scroll to "Set tel line", then press {SELECT}. 4 Scroll to "Set dial mode", then press {SELECT}. 5 Push the joystick up or down repeatedly to select the desired setting. 6 Press {SAVE}, then press {OFF}. Note: L In these operating instructions, soft key names are written inside brackets, the same way as other unit keys. Example: Unit keys: {C}, {OFF}, etc. Soft keys: {CID}, {MENU}, {C}, etc. Handset backlit display and handset keypad The handset display and dialing buttons will light for a few seconds after pressing any of the handset's controls or lifting the handset off the base unit or charger. They will also light when a call is being received. Setting the date and time O 1 Press {MENU} (center of joystick). 2 Scroll to O, then press {SELECT}. 3 Scroll to "Date and time", then press {SELECT}. Date and time Time adjustment 4 Enter the current month, day, and year by selecting 2 digits for each. Example: June 15, 2005 Press {0}{6} {1}{5} {0}{5}. Date:06.15.2005 Time:12:00 AM 0-9=Date&Time 18 For assistance, please visit http://www.panasonic.com/consumersupport
-
 1
1 -
2
-
3
-
4
-
5
-
6
-
7
-
8
-
9
-
10
-
11
-
12
-
 13
13 -
 14
14 -
 15
15 -
 16
16 -
 17
17 -
 18
18 -
 19
19 -
 20
20 -
 21
21 -
 22
22 -
 23
23 -
24
-
25
-
26
-
27
-
28
-
29
-
30
-
31
-
32
-
33
-
34
-
35
-
36
-
37
-
38
-
39
-
40
-
41
-
42
-
43
-
44
-
45
-
46
-
47
-
48
-
49
-
50
-
51
-
52
-
53
-
54
-
55
-
56
-
57
-
58
-
59
-
60
-
61
-
62
-
63
-
64
-
65
-
66
-
67
-
68
-
69
-
70
-
71
-
72
-
73
-
74
-
75
-
76
-
77
-
78
-
79
-
80
-
81
-
82
-
83
-
84
 |
 |