Pfaff 212 Owner's Manual - Page 15
Sewing, buttonholes, buttonhole, seam., right
 |
View all Pfaff 212 manuals
Add to My Manuals
Save this manual to your list of manuals |
Page 15 highlights
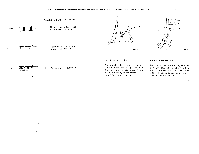
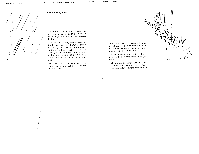
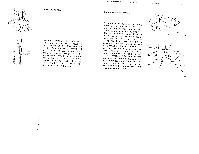
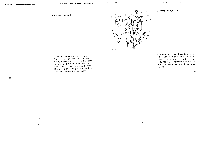
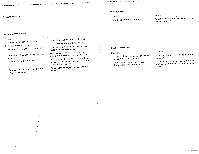
Fig 25 Sewing buttonholes Attach the clear-view foot Mark the position arid length of the buttonhole on the material Turn the colour range selec 26 for until its mark is at the top and turn the utility stitch selector to the left buttonhole seam. Regulate the stitch length so that the stitches are close together Turn the balance wheel toward you until the needle is positioned at the far tell (at tin Fig 26) Adjust the material so that the point at which the buttonhole seam is to begin is exactly under the needle, arid tower the sewing Ioot Sew the left seam in the desired length and stop with the needle positioned above point 2 Turn the utility stitch selector to 'bartack" and sew about 5 bartacking stitches Stop with the needle positioned above point 3 Turn the utility stitch selector to the right buttonhole seam and sew the right seam the same length as the letl Stop sewing at point 4 and raise the needle out of the fabric 1 45 IH L 3 H = FIg 20 left seam barfack right seam Turn the utility stitch selector to "bartack' again and sew about 5 bartacking stitches Stop with the needle positioned above point 5 [urn the utility stitch selector to 7 and sew several tying slitches Carefully cut the but tonhole open with a seam ripper, making sure you do not damage the buttonhole seams and the bartacks 27
-
 1
1 -
2
-
3
-
4
-
5
-
6
-
7
-
8
-
9
-
 10
10 -
 11
11 -
 12
12 -
 13
13 -
 14
14 -
 15
15 -
 16
16 -
 17
17 -
 18
18 -
 19
19 -
 20
20 -
21
-
22
-
23
 |
 |
