Pfaff 213 Owner's Manual - Page 12
reposition
 |
View all Pfaff 213 manuals
Add to My Manuals
Save this manual to your list of manuals |
Page 12 highlights
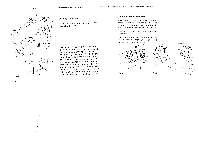
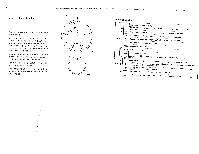
Changing the needle ss7ahnnnTecn0aeeeuerdt5eeeernsddwtdHphillldueteeenhes2eebhtoesaIataendbbritgtsillateeea1sulrissaipsntsocnhnarFacaaetsoeUntwirnhtktswseateehrwfhh2aeiianeocgsepnsianhnillnreidyegotdteesopwadtSwewitltplrrelyaaoaokngsryni3dteonetefterwm ycdooTLooilmuituevoght1eohysu3rsittotnzeh0heutenene/i,l 20 Fig 20 Changing the sewing foot Raise the needle and Press the red hutton sewing foot shoe the sewing foot 1 to release the prpiuTneirnnopedpos2aelssatrieetctarniteochtenbhewrasirsttthhheslweeilfoyitsstneoeergu3wwr.afiironnlieoggdftttathoothoooaltttndhdseeshrhosoaLeaero,midwspeoehlarotctilhtmdehaeetiitt Hole 4 and edge guide dealer screw 5 serve br which you can buy tilting an from your 'sir () ( 2 ( L -, - Fig. 21
-
 1
1 -
2
-
3
-
4
-
5
-
6
-
 7
7 -
 8
8 -
 9
9 -
 10
10 -
 11
11 -
 12
12 -
 13
13 -
 14
14 -
 15
15 -
 16
16 -
 17
17 -
18
-
19
-
20
-
21
-
22
-
23
 |
 |
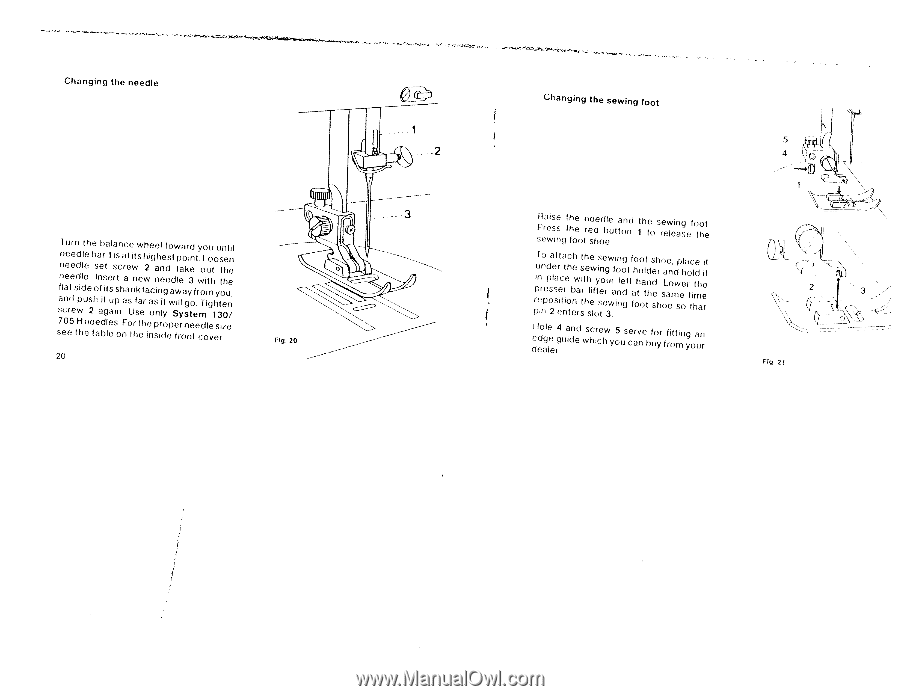
Changing
the
sewing
foot
Changing
the
needle
Turn
the
balance
wheel
toward
you
until
needle
bar
1
is
at
its
highest
point
Loosen
needle
set
screw
2
and
take
out
the
needle
Insert
a
new
needle
3
with
the
hat
side
ot
its
shank
facing
away
from
you,
and
push
it
up
as
tar
as
it
will
go
Tighten
screw
2
again
Use
only
System
130/
705
H
needles
For
the
proper
needle
size
see
the
table
on
the
inside
tront
cover
To
attach
the
sewing
toot
shoe,
place
it
under
the
sewing
foot
holder
arid
hold
it
in
place
with
your
left
hand
Lower
the
presser
bar
lifter
arid
at
the
same
time
reposition
the
sewing
toot
shoe
so
that
pin
2
enters
slot
3.
Hole
4
and
screw
5
serve
br
tilting
an
edge
guide
which
you
can
buy
from
your
(
2
(
L
—
‘sir
()
Raise
the
needle
and
the
sewing
foot
Press
the
red
hutton
1
to
release
the
sewing
foot
shoe
Fig
20
dealer
Fig.
21
20