Pfaff 339 Owner's Manual - Page 37
Zigzag, Stitching, Fashion, Stitches - manual
 |
View all Pfaff 339 manuals
Add to My Manuals
Save this manual to your list of manuals |
Page 37 highlights
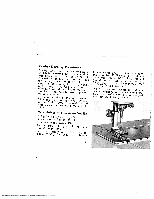
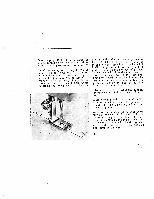
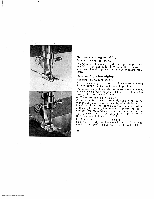
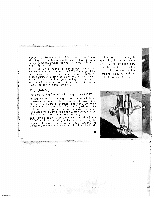
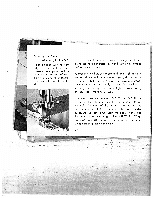
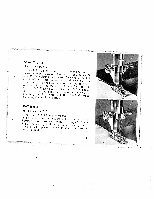
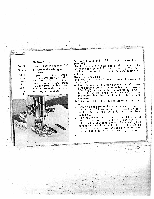
_____ 4. Tips for Zigzag Stitching and Fashion Stitches Page Ordinary zigzag stitching 40 Overcasting, overedging 40 Edge joining 41 Sewing on lace 42 Shell edging 43 Roll hems 43 Buttonholes 44 Sewing on buttons 46 Blindstitching 46 Automatic fashion stitches . . . . 48-51 Twin needle fashion stitches 49 Manual fashion stitches 52 Satin stitch 53 Cording 53 Appliqué Work 54 Hole embroidery . 54 Elastic curve seam 56 Patching 56 All sewing feet and attachments shown on the following pages although not mention ed on page 6, are available at a reason able extra charge. The sewing feet and the needle plate used for zigzag stitching both have an oval needle hole due to the deflection of the needle. Setting the Machiize The cam control must be set to indicate the zigzag symbol. Adjust the zigzag lever to the desired zigzag width, the stitch length regulator to the stitch length re quired, with the needle positioning lever generally on centre (for details see page 22 "Adjusting to Straight or Zigzag Stitch ing"). Your attention will be drawn to any devitations from the directions given above. The thread tension for zigzag sewing must not be too strong. When adjusting for zigzag width 4 (5/32") and stitch length about 1/16", the upper thread should ap pear on the underside of the fabric as small points. 39
-
 1
1 -
2
-
3
-
4
-
5
-
6
-
7
-
8
-
9
-
10
-
11
-
12
-
13
-
14
-
15
-
16
-
17
-
18
-
19
-
20
-
21
-
22
-
23
-
24
-
25
-
26
-
27
-
28
-
29
-
30
-
31
-
 32
32 -
 33
33 -
 34
34 -
 35
35 -
 36
36 -
 37
37 -
 38
38 -
 39
39 -
 40
40 -
 41
41 -
 42
42 -
43
-
44
-
45
-
46
-
47
-
48
-
49
-
50
-
51
-
52
-
53
-
54
-
55
-
56
-
57
-
58
-
59
-
60
-
61
-
62
-
63
-
64
-
65
-
66
-
67
-
68
-
69
-
70
-
71
-
72
 |
 |