Pfaff 6250 Owner's Manual - Page 85
evenly, doing, üver, again, slowly.
 |
View all Pfaff 6250 manuals
Add to My Manuals
Save this manual to your list of manuals |
Page 85 highlights
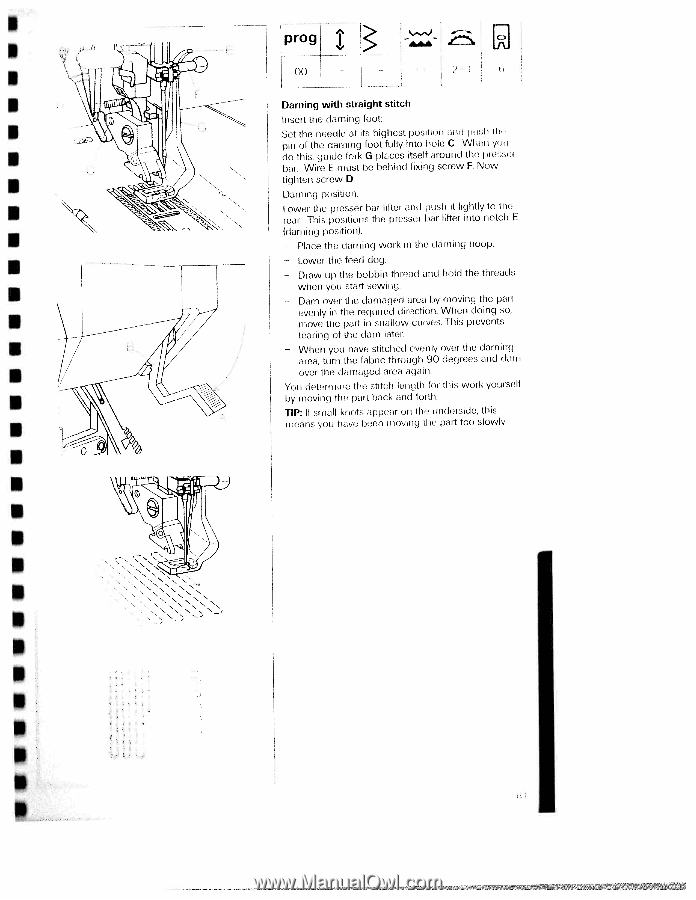
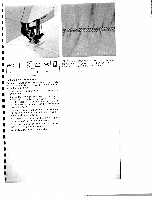
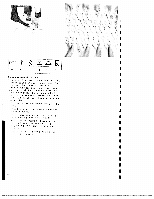
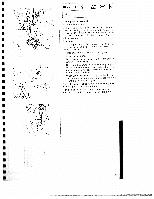
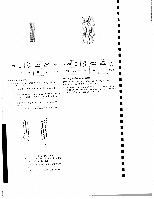
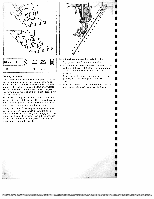
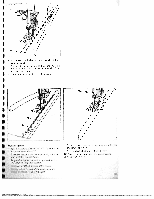
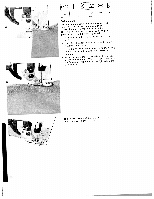
Darning with straight stitch Insert the darning toot: Set the needle at its highest positrol i anc I .I I cc pin of the darning foot fully into hole C. WIsii ycic do this, guide fork G places itself around the pu "sri bar. Wire E must be behind fixing screw F Now tighten screw D. Darning position: Lower the presser bar hitter and push it lightly to the rear. This positions the presser bar lifter into notch E (darning position>. Place the darning work iii the darning hoop. - Lower the feed dog - Draw up the bobbin thread and hold the threads - when you start sowing. Darn over the damaged area by moving the part - evenly in the inquired direction. When doing so, move the part iii shallow curves. This prevents tearing of the darn later. When you have stitched evenly over the damn ig area, turn the fabric through 90 do iees and dan ii üver the damaged area again You detvriniiiie thin stitch leirqthi for thus work yourself by inovin ig thin part back aid forth. TIP: If small knots appear on the underside, this iiieaiis you hive been iiir)vilig tire bt -° too slowly.
-
 1
1 -
2
-
3
-
4
-
5
-
6
-
7
-
8
-
9
-
10
-
11
-
12
-
13
-
14
-
15
-
16
-
17
-
18
-
19
-
20
-
21
-
22
-
23
-
24
-
25
-
26
-
27
-
28
-
29
-
30
-
31
-
32
-
33
-
34
-
35
-
36
-
37
-
38
-
39
-
40
-
41
-
42
-
43
-
44
-
45
-
46
-
47
-
48
-
49
-
50
-
51
-
52
-
53
-
54
-
55
-
56
-
57
-
58
-
59
-
60
-
61
-
62
-
63
-
64
-
65
-
66
-
67
-
68
-
69
-
70
-
71
-
72
-
73
-
74
-
75
-
76
-
77
-
78
-
79
-
 80
80 -
 81
81 -
 82
82 -
 83
83 -
 84
84 -
 85
85 -
 86
86 -
 87
87 -
 88
88 -
 89
89 -
 90
90 -
91
-
92
-
93
-
94
-
95
-
96
-
97
-
98
-
99
-
100
-
101
-
102
-
103
-
104
-
105
-
106
-
107
-
108
-
109
-
110
-
111
-
112
-
113
-
114
-
115
-
116
-
117
-
118
-
119
 |
 |