Pfaff Tiptronic 2020 Owner's Manual - Page 46
tape/ribbon.
 |
View all Pfaff Tiptronic 2020 manuals
Add to My Manuals
Save this manual to your list of manuals |
Page 46 highlights
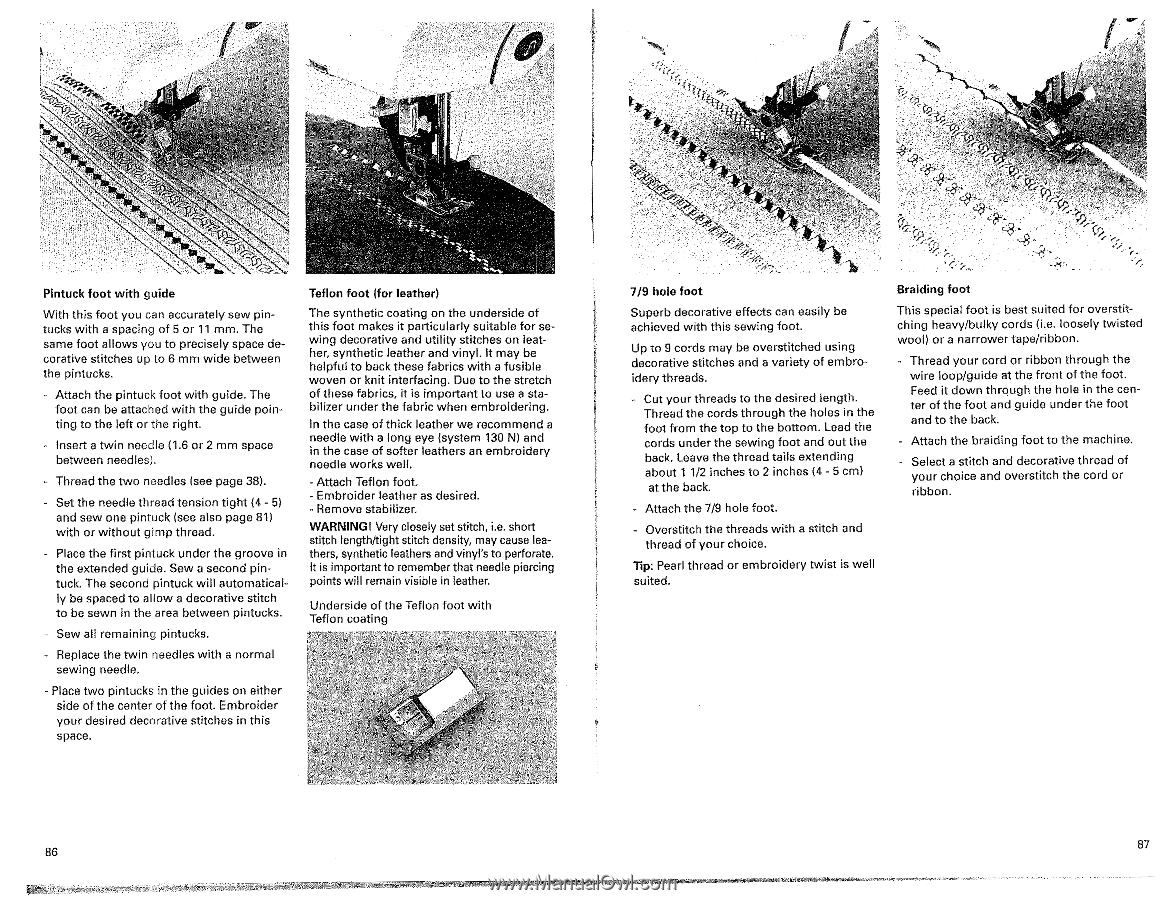
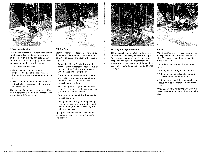
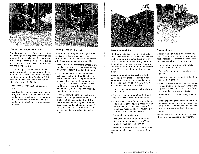
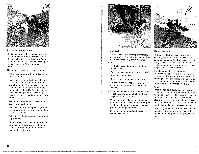
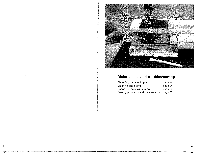
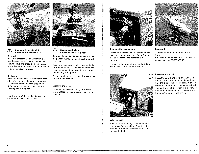
crx 6. 4 •:,1..• rA, lA •:1,',1 r lir • Pintuck foot with guide With this foot you can accurately sew pintucks with a spacing of 5 or 11 mm. The same foot allows you to precisely space decorative stitches up to 6 mm wide between the pintucks. - Attach the pintuck foot with guide. The foot can be attached with the guide poin• ting to the left or the right. - Insert a twin needle (1.6 or 2 mm space between needles). - Thread the two needles (see page 38). - Set the needle thread tension tight (4 - 5) and sew one pintuck (see also page 81) with or without gimp thread. - Place the first pintuck under the groove in the extended guide. Sew a second pintuck. The second pintuck will automatically be spaced to allow a decorative stitch to be sewn in the area between pintucks. - Sew all remaining pintucks. - Replace the twin needles with a normal sewing needle. - Place two pintucks in the guides on either side of the center of the foot. Embroider your desired decorative stitches in this space. Teflon foot (for leather) The synthetic coating on the underside of this foot makes it particularly suitable for sewing decorative and utility stitches on leather, synthetic leather and vinyl. It may be helpful to back these fabrics with a fusible woven or knit interfacing. Due to the stretch of these fabrics, it is important to use a stabilizer under the fabric when embroidering. In the case of thick leather we recommend a needle with a long eye (system 130 N) and in the case of softer leathers an embroidery needle works well. - Attach Teflon foot. - Embroider leather as desired. - Remove stabilizer. WARNINGI Very closely set stitch, i.e. short stitch length/tight stitch density, may cause leathers, synthetic leathers and vinyl's to perforate. It is important to remember that needle piercing points will remain visible in leather. Underside of the Teflon foot with Teflon coating YET 44. t. x. • 4 7/9 hole foot Superb decorative effects can easily be achieved with this sewing foot. Up to 9 cords may be overstitched using decorative stitches and a variety of embroidery threads. Cut your threads to the desired length. Thread the cords through the holes in the foot from the top to the bottom. Lead the cords under the sewing foot and out the back. Leave the thread tails extending about 1 1/2 inches to 2 inches (4 - 5 cm) at the back. - Attach the 7/9 hole foot. - Overstitch the threads with a stitch and thread of your choice. Tip: Pearl thread or embroidery twist is well suited. ve: ' • .e. •-;"1 • Braiding foot This special foot is best suited for overstitching heavy/bulky cords (i.e. loosely twisted wool) or a narrower tape/ribbon. - Thread your cord or ribbon through the wire loop/guide at the front of the foot. Feed it down through the hole in the center of the foot and guide under the foot and to the back. - Attach the braiding foot to the machine. - Select a stitch and decorative thread of your choice and overstitch the cord or ribbon. 86 •Vek,P,10 le,n7R, V1, ta, ...",,, , rerr"... , anWPGIODoomplamesicanarilwoor....* 87
-
 1
1 -
2
-
3
-
4
-
5
-
6
-
7
-
8
-
9
-
10
-
11
-
12
-
13
-
14
-
15
-
16
-
17
-
18
-
19
-
20
-
21
-
22
-
23
-
24
-
25
-
26
-
27
-
28
-
29
-
30
-
31
-
32
-
33
-
34
-
35
-
36
-
37
-
38
-
39
-
40
-
 41
41 -
 42
42 -
 43
43 -
 44
44 -
 45
45 -
 46
46 -
 47
47 -
 48
48 -
 49
49 -
 50
50 -
 51
51 -
52
-
53
-
54
 |
 |