Pfaff hobbylock 4870 Owner's Manual - Page 20
back., automatically
 |
View all Pfaff hobbylock 4870 manuals
Add to My Manuals
Save this manual to your list of manuals |
Page 20 highlights
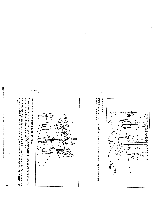
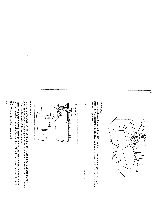
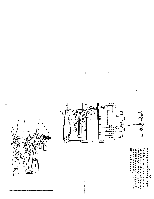
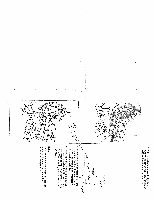
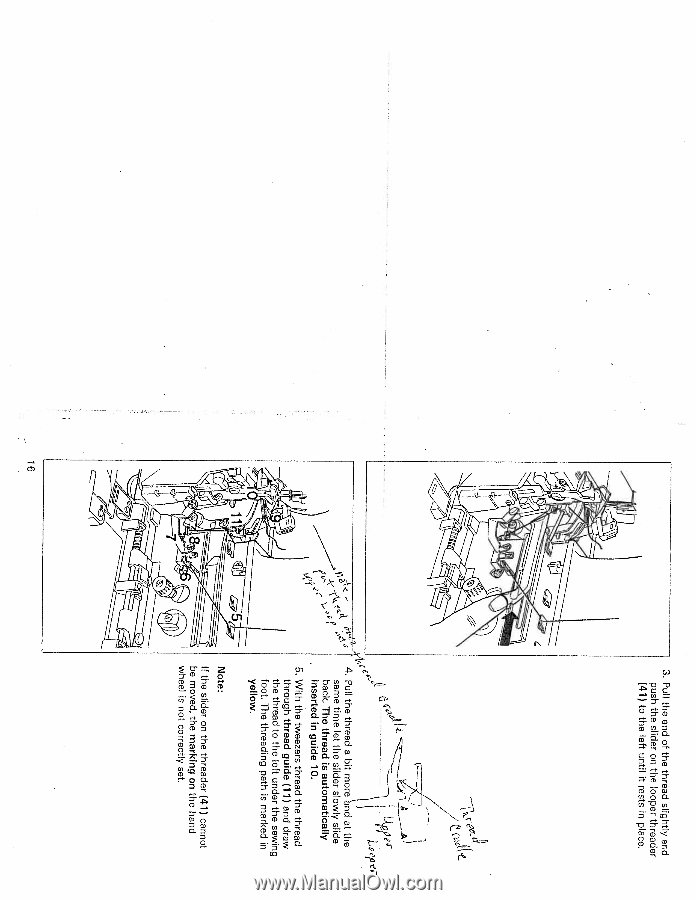
N , 11 7 0 16 3. Pull the end of the thread slightly and push the slider on the looper threader (41) to the left until it rests in place. çgtL /Q 4. Pull the thread a bit more nd at the same time let the slider slowly slide back. The thread is automatically inserted in guide 10. 5. With the tweezers thread the thread through thread guide (1 1) and draw the thread to the left under the sewing foot. The threading path is marked in yellow. Note: If the slider on the threader (41) cannot be moved, the marking on the hand wheel is not correctly set.
-
 1
1 -
2
-
3
-
4
-
5
-
6
-
7
-
8
-
9
-
10
-
11
-
12
-
13
-
14
-
 15
15 -
 16
16 -
 17
17 -
 18
18 -
 19
19 -
 20
20 -
 21
21 -
 22
22 -
 23
23 -
 24
24 -
 25
25 -
26
-
27
-
28
-
29
-
30
-
31
-
32
-
33
-
34
-
35
-
36
-
37
-
38
-
39
-
40
-
41
-
42
-
43
-
44
-
45
-
46
-
47
-
48
-
49
-
50
-
51
-
52
-
53
-
54
-
55
-
56
-
57
-
58
-
59
-
60
-
61
-
62
-
63
-
64
-
65
-
66
-
67
-
68
-
69
-
70
-
71
-
72
-
73
-
74
-
75
-
76
-
77
-
78
-
79
-
80
-
81
-
82
-
83
-
84
-
85
-
86
-
87
-
88
-
89
 |
 |
3.
Pull
the
end
of
the thread
slightly
and
push
the
slider
on
the
looper
threader
(41)
to
the
left
until
it
rests
in
place.
çgtL
/
Q
4.
Pull
the
thread
a
bit
more
nd
at
the
same
time
let
the
slider
slowly
slide
back.
The
thread
is
automatically
inserted
in
guide
10.
5.
With
the
tweezers
thread
the
thread
through
thread
guide
(1
1)
and
draw
the
thread
to
the
left
under
the
sewing
foot.
The
threading
path
is
marked
in
yellow.
Note:
If
the
slider
on
the
threader
(41)
cannot
be
moved,
the
marking
on
the
hand
wheel
is
not
correctlyset.
N
,
11
7
0
16