Pioneer CDJ-1000 Owner's Manual - Page 16
Using Cue Points/loop Points Memory
 |
View all Pioneer CDJ-1000 manuals
Add to My Manuals
Save this manual to your list of manuals |
Page 16 highlights
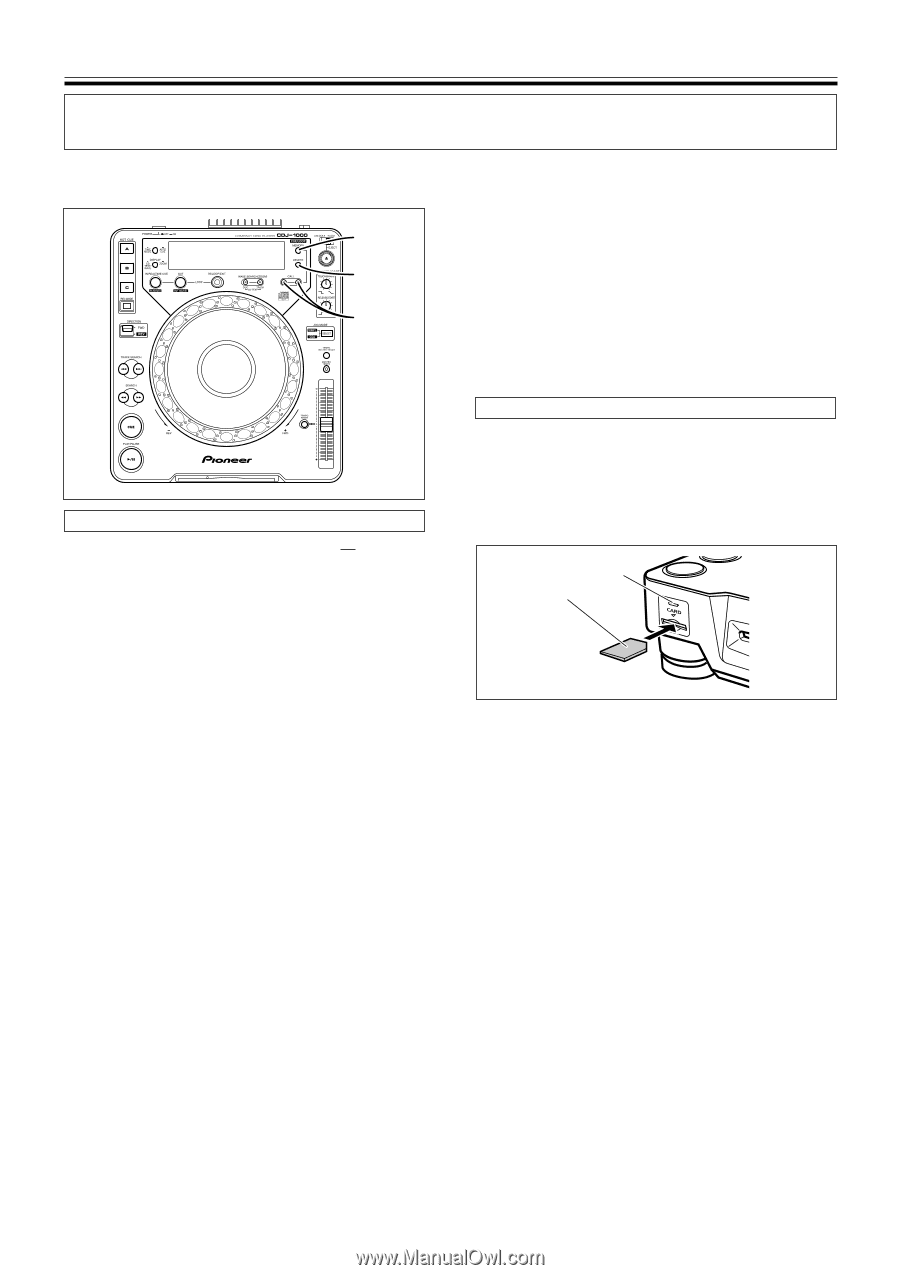
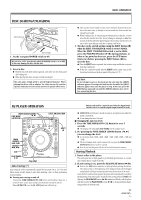
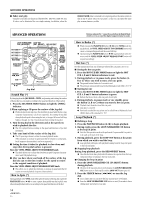
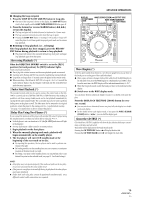
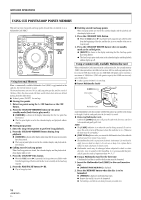
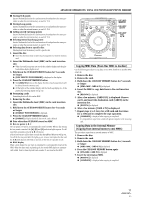
ADVANCED OPERATIONS USING CUE POINTS/LOOP POINTS MEMORY This unit can store Cue points and Loop points for each disc in internal or on a Multimedia Card (MMC). CUE/LOOP MEMORY CUE/LOOP DELETE CUE/LOOP CALL 2, 3 Using Internal Memory When a commercially available Multimedia Card (MMC) is not inserted in the card slot, the internal memory is used. The internal memory can store 10 Cue and Loop points per disc and for a total of 100 discs. When the data exceeds 100 discs worth of data, data items are deleted starting from the oldest items. ¶ It takes 2 points (IN/OUT) for one loop. 7 Storing Cue points 1. Enter Cue points using the A. CUE function or the CUE button. 2. Press the CUE/LOOP MEMORY button in Cue point standby mode (back Cue in play mode). ¶ [MEMORY] is shown in the display indicating that the Cue point has been stored. ¶ The Cue point lights in red in the calendar display and playback address display. 7 Storing Loop points 1. Enter the Loop in/out points to perform loop playback. 2. Press the CUE/LOOP MEMORY button during loop playback. ¶ [MEMORY] is shown in the display indicating that the Loop in/out points have been stored. ¶ The Loop in point lights in red in the calendar display and playback ad- dress display. 7 Calling stored Cue/Loop points When Cue/Loop points are stored, the calendar display and the playback address display lights in red. 1. Press the CUE/LOOP CALL button. ¶ When the CALL button (3) is pressed, Cue/Loop points are called in order from the beginning of the disc and the disc is set to standby at the Cue/Loop in point. 2. Press the PLAY/PAUSE button (6). ¶ Play or loop play starts. 7 Deleting stored Cue/Loop points When Cue/Loop points are stored, the calendar display and the playback address display lights in red. 1. Press the CUE/LOOP CALL button. ¶ When the CALL button (3) is pressed, Cue/Loop points are called in order from the beginning of the disc and the disc is set to standby at the cue or loop in point. 2. Press the CUE/LOOP DELETE button when in standby mode at the called point. ¶ [DELETE] is shown in the display indicating that the Cue/Loop points have been deleted. ¶ The Cue/Loop in point indication in the calendar display and the playback address display go off. Using a Commercially Available Multimedia Card When a Multimedia Card is inserted in the card insertion slot, the external memory (MMC) takes precedence. An 8 MB card can store 100 Cue and Loop points per disc for a total of 5000 discs. In the case of a 16MB MMC 100 points can be stored for a maximum of 10000 discs. (MMC with greater capacity that 16MB can store only upto 10,000 discs) ¶ It takes 2 points (IN/OUT) for one loop. 7 Insert Multimedia Cards [CARD] Indicator Level surface Multimedia Card Insert Multimedia Cards horizontally with the flat surface up and the notch facing to the right. Push the card gently into the slot until it is seated. ¶ Removing Multimedia Cards Confirm the [CARD] indicator is off, press the card in the slot once, wait for it to be ejected and gently pull it out. NOTE: ¶ The [CARD] indicator is on when the card is being accessed. Do not remove the card or turn off the power when this indicator is on. (Otherwise the data may be corrupted.) ¶ [MMC I/O Err] shows when you insert the Multimedia Card, then take the card out and try to insert it once more. ¶ The Multimedia Card is a precision electronic instrument. Do not bend it, apply force or shock or drop it. Do not use or keep it in a place that is subject to static electricity or electric noise. ¶ Multimedia cards may be damaged when subjected to shock or static elecricity. Care is needed in their handling. It is recommended that periodical copies be made of important data. P. 17 7 Using a Multimedia Card for the first time A Multimedia Card that is used for the first time must be formatted. 1. Insert the Multimedia Card (MMC) in the card insertion slot. ¶ [FORMAT?PUSH MEMORY] is displayed. 2. Press the MEMORY button when the disc is to be formatted. ¶ [FORMAT] is displayed and formatting starts. ¶ Remove the card if it is not to be formatted. ¶ Formatting a card deletes any data previously recorded on it. 16 En
-
 1
1 -
2
-
3
-
4
-
5
-
6
-
7
-
8
-
9
-
10
-
 11
11 -
 12
12 -
 13
13 -
 14
14 -
 15
15 -
 16
16 -
 17
17 -
 18
18 -
 19
19 -
 20
20
 |
 |