Pioneer DV-45A Owner's Manual - Page 25
Getting Started, Setting up with the Setup, Navigator, Using the on-screen displays
 |
View all Pioneer DV-45A manuals
Add to My Manuals
Save this manual to your list of manuals |
Page 25 highlights
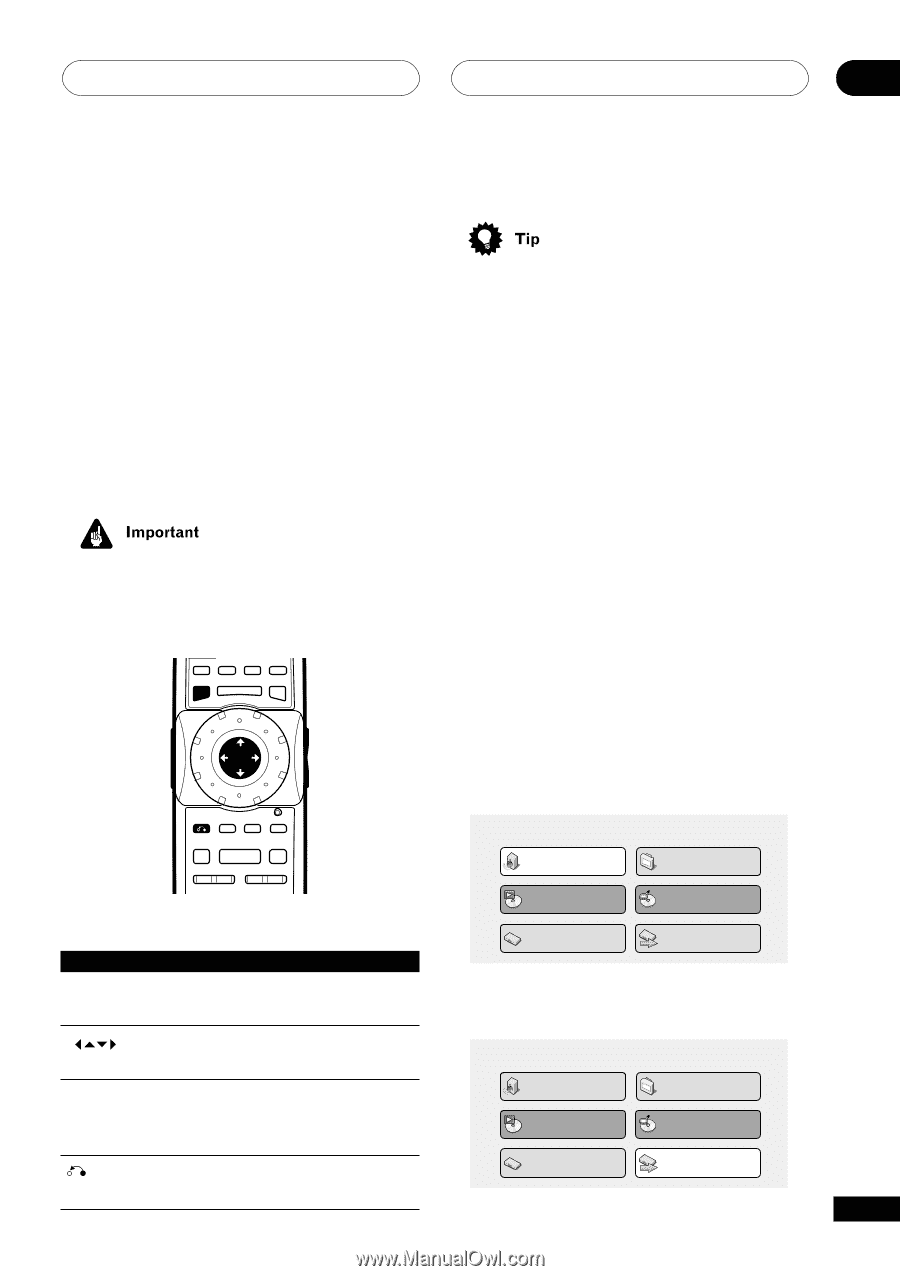
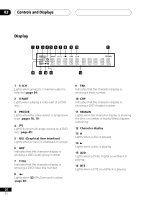
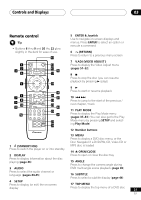
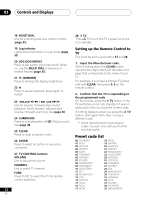
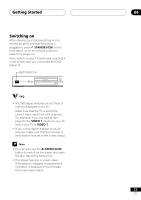
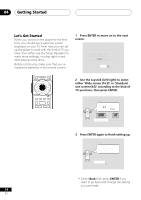
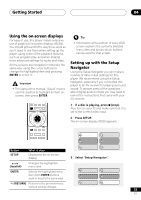
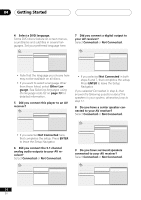
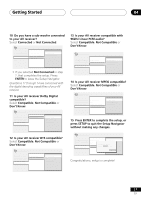
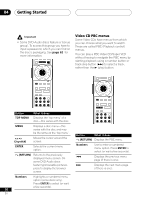
Getting Started 04 Using the on-screen displays For ease of use, this player makes extensive use of graphical on-screen displays (OSDs). You should get used to the way these work as you'll need to use them when setting up the player, using some of the playback features, such as program play, and when making more advanced settings for audio and video. All the screens are navigated in basically the same way, using the cursor buttons to change the highlighted item and pressing ENTER to select it. • Throughout this manual, 'Select' means use the Joystick to highlight an item onscreen, then press ENTER. DISPLAY AUDIO SUBTITLE ANGLE SETUP MENU TOP MENU - MULTI SPEED + ENTER • Information at the bottom of every OSD screen explains the currently selected menu item and shows which buttons can be used for that screen. Setting up with the Setup Navigator Using the Setup Navigator you can make a number of other initial settings for this player. We recommend using the Setup Navigator, especially if you connected this player to an AV receiver for playing surround sound. To answer some of the questions about digital audio formats you may need to look at the instructions that came with your AV receiver. 1 If a disc is playing, press 7 (stop). Also turn on your TV and make sure that it is set to the correct video input. 2 Press SETUP. The on-screen display (OSD) appears. VIDEO RETURN ADJUST DIMMER JOG MODE V.ADJ FL JOG 7 3 8 4¢ E/ E/ 1¡ PLAY MODE SURROUND Audio Settings Play Mode Video Adjust Disc Navigator Button SETUP What it does Display/exit the on-screen display Initial Settings Setup Navigator 3 Select 'Setup Navigator'. (Joystick) Changes the highlighted menu item ENTER Selects the highlighted menu item (both ENTER buttons work in exactly the same way) Audio Settings Play Mode Video Adjust Disc Navigator (RETURN) Returns to the previous menu Initial Settings Setup Navigator without saving changes 25 En
-
 1
1 -
2
-
3
-
4
-
5
-
6
-
7
-
8
-
9
-
10
-
11
-
12
-
13
-
14
-
15
-
16
-
17
-
18
-
19
-
 20
20 -
 21
21 -
 22
22 -
 23
23 -
 24
24 -
 25
25 -
 26
26 -
 27
27 -
 28
28 -
 29
29 -
 30
30 -
31
-
32
-
33
-
34
-
35
-
36
-
37
-
38
-
39
-
40
-
41
-
42
-
43
-
44
-
45
-
46
-
47
-
48
-
49
-
50
-
51
-
52
-
53
-
54
-
55
-
56
-
57
-
58
-
59
-
60
-
61
-
62
-
63
-
64
-
65
-
66
-
67
-
68
-
69
-
70
-
71
-
72
-
73
-
74
-
75
-
76
-
77
-
78
-
79
-
80
 |
 |