Pioneer GEX-FM903XM Operation Manual - Page 6
Basic Operation IP-BUS MODE, Using the XM tuner IP-BUS MODE - audio
 |
View all Pioneer GEX-FM903XM manuals
Add to My Manuals
Save this manual to your list of manuals |
Page 6 highlights
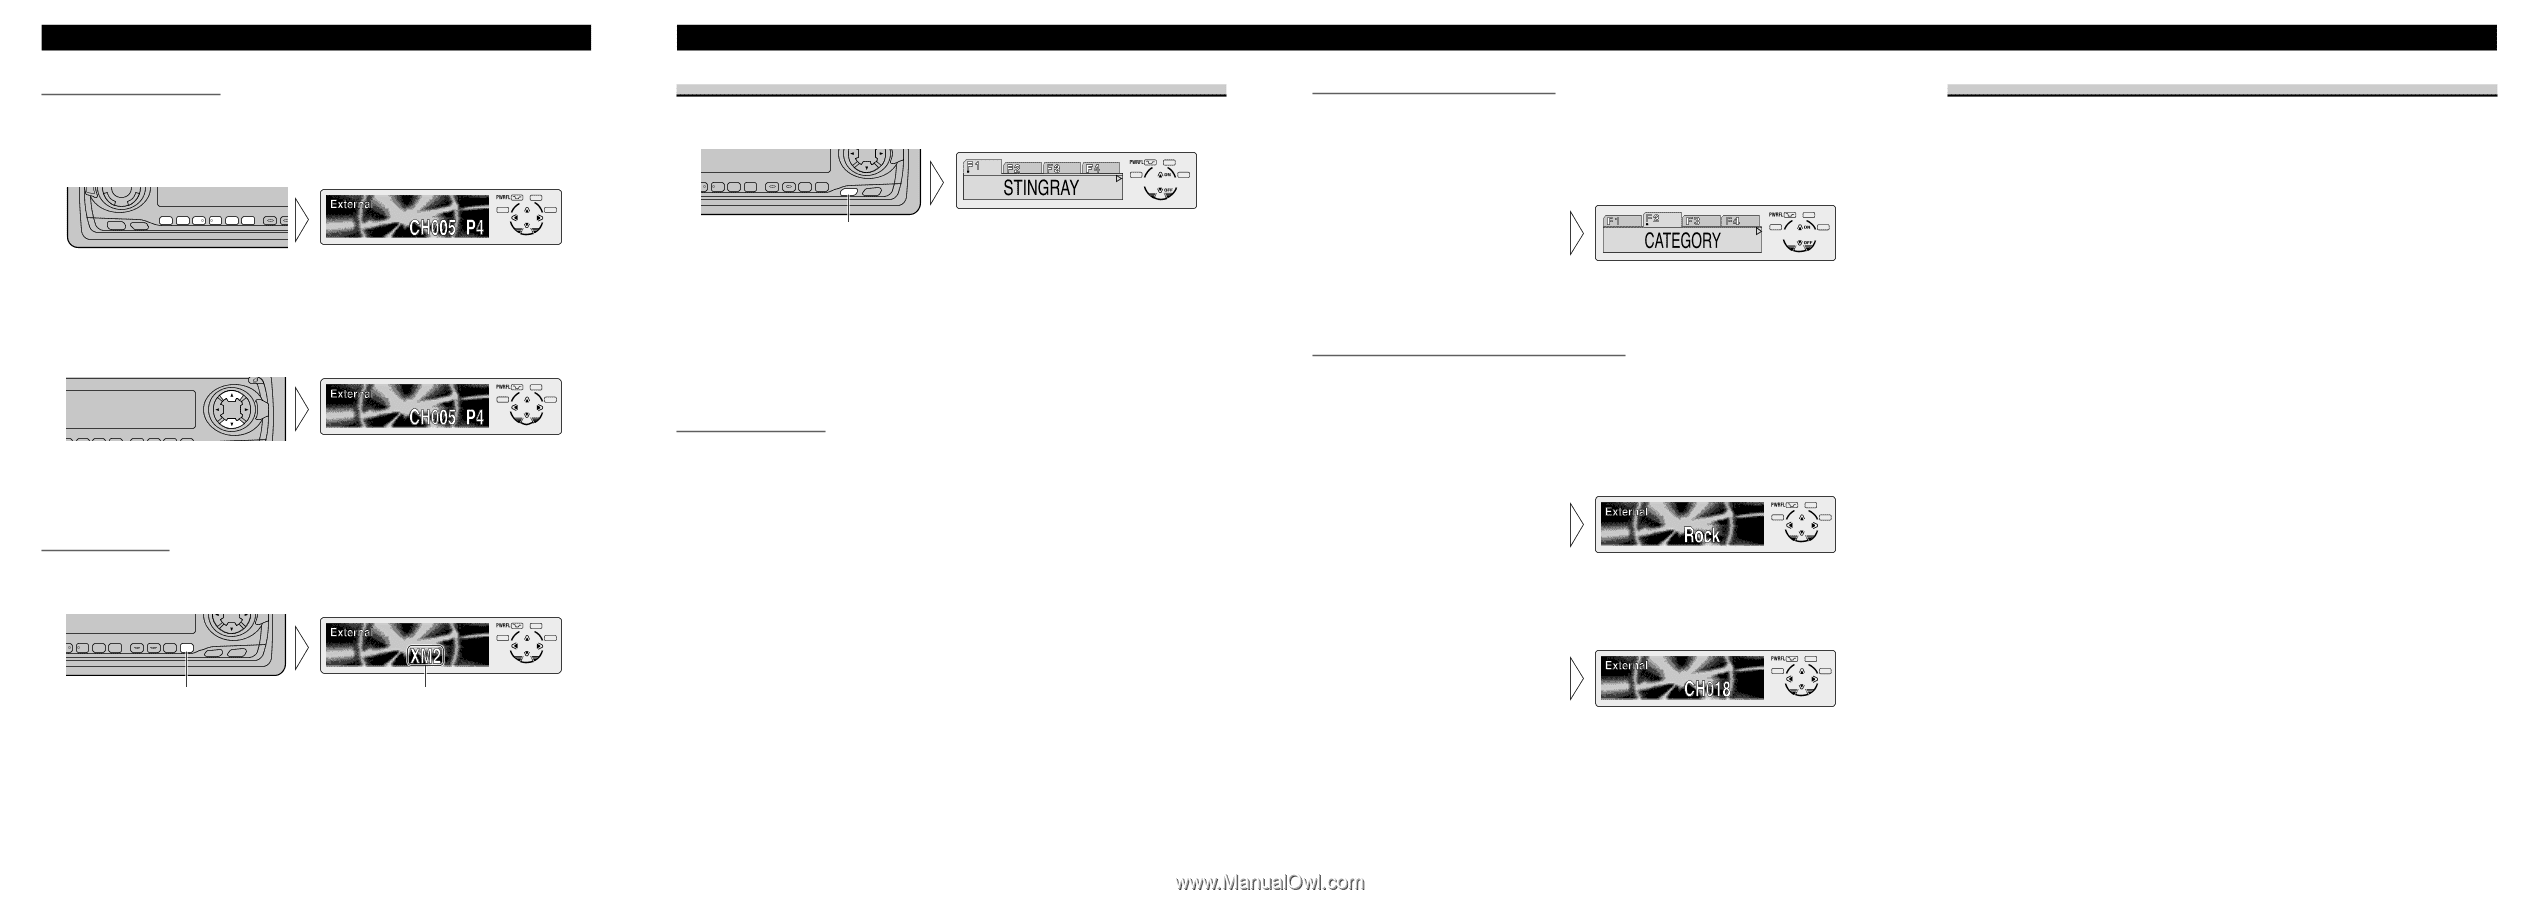
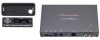
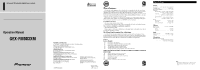
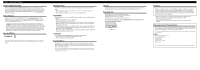
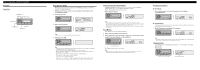
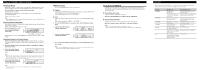
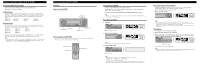
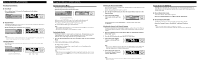
Basic Operation (IP-BUS MODE) Recalling Preset Channels 7 Direct Recall • Press a button from 1-6 to recall a Channel preset in the button. (e.g. Press button 4.) EQ SOURCE DISP 1 2 3 4 5 6 7 Sequential Recall When Channel Number Select mode is selected, you can use the sequential recall. (Refer to "Switching the Channel Select Mode".) • Recall Channels preset in buttons 1-6 in sequence. SELECT SFEQ 3 4 5 6 E B Note: • If a Channel you have recalled cannot be selected, a message is displayed for 2 seconds and the unit returns to the operating status before the Channel was recalled. Changing the Band To enable this product to memorize more Channels, they are stored in three bands: XM1, XM2 and XM3. • Switch bands. SELECT SFEQ 3 4 5 6 E B FUNC AUDIO Each press changes the Band ... XM1 = XM2 = XM3 Using the XM tuner (IP-BUS MODE) Entering the Function Menu This menu enables selection of XM functions. • Select the desired mode in the Function Menu. SELECT SFEQ 3 4 5 6 E B FUNC AUDIO Each press changes the Mode ... Each press of the FUNCTION button selects the mode in the following order: Switching the Display (F1) = Switching the Channel Select mode (F2) = No Function (F3) = No Function (F4) = No Function (A/M) To cancel the Function Menu, press the BAND button. Note: • After entering the Function Menu, if you do not perform an operation within about 30 seconds, the Function Menu is automatically canceled. • This product does not feature F3, F4 and A/M function capability. Switching the Display XM Channels each have a channel number and channel name. XM programing also carries song or program title, artist name, and other information such as lyrics, when available. When the source is XM, display indications are up to eight letters long. 1. Press the FUNCTION button and select the Display mode (F1) in the Function Menu. 2. Select the desired display with the 5/∞ buttons. The display changes as follows: Channel Number = Channel Name = Artist Name/Feature = Song/Program Title = Additional Information Initially, Channel Name is selected. Note: • If the Additional Information in the Function Menu is longer than the length of the display, you can scroll the text by pressing the 5/∞ buttons for 2 seconds. Scrolling automatically stops after being repeated 3 times. Switching the Channel Select Mode You can switch if you select a Channel with a Channel Number or from a Channel Category when you select a channel. Initially, Channel Number Select mode is selected. 1. Press the FUNCTION button and select the Channel Select mode (F2) in the Function Menu. 2. Select the desired Channel Select mode with the 5/∞ buttons. Channel Number Select mode (CHNUMBER) Ô Channel Category Select mode (CATEGORY) Selecting the Channel in the Channel Category Channels are organized into various program categories, e.g. Rock, Classic, Jazz. You can search between different categories, and then search among channels within each channel category. 1. Select the Channel Category Select mode. (Refer to "Switching the Channel Select Mode" above.) 2. Press the BAND button and cancel the FUNCTION Menu. 3. Select the desired Channel Category with the 5/∞ buttons. Note: • Once you select a Channel Category, the unit searches for Channels in that category. During search, the channel category doesn't immediately change even if you press the button. To successively change the Channel Category, continue pressing the button. 4. Select the desired Channel in the selected Channel Category with the 2/3 buttons. Note: • Channels that cannot currently be selected are skipped, and the next Channel in that Channel Category is selected. Display the ID Code (RADIO ID) Each XM tuner is identified with a unique Radio ID. You will need the Radio ID when activating XM service or when reporting a problem. How to display the ID Code depends on the Channel Select mode. 7 Channel Number Select mode If you select "CH 00", the ID Code is displayed. • Select the Channel Number zero (CH 00) with the 2/3 buttons. 7 Channel Category Select mode "RADIO ID" is provided as a Channel Category for displaying the ID Code. • Select the Channel Category "RADIO ID" with the 5/∞ buttons. Note: • If you select another Channel, display of the ID Code is canceled. • Display of the ID Code repeats displaying "RADIO ID" and the ID Code one after the other.
-
 1
1 -
 2
2 -
 3
3 -
 4
4 -
 5
5 -
 6
6
 |
 |