Poulan PLN1510 User Manual - Page 7
guide guide
 |
View all Poulan PLN1510 manuals
Add to My Manuals
Save this manual to your list of manuals |
Page 7 highlights
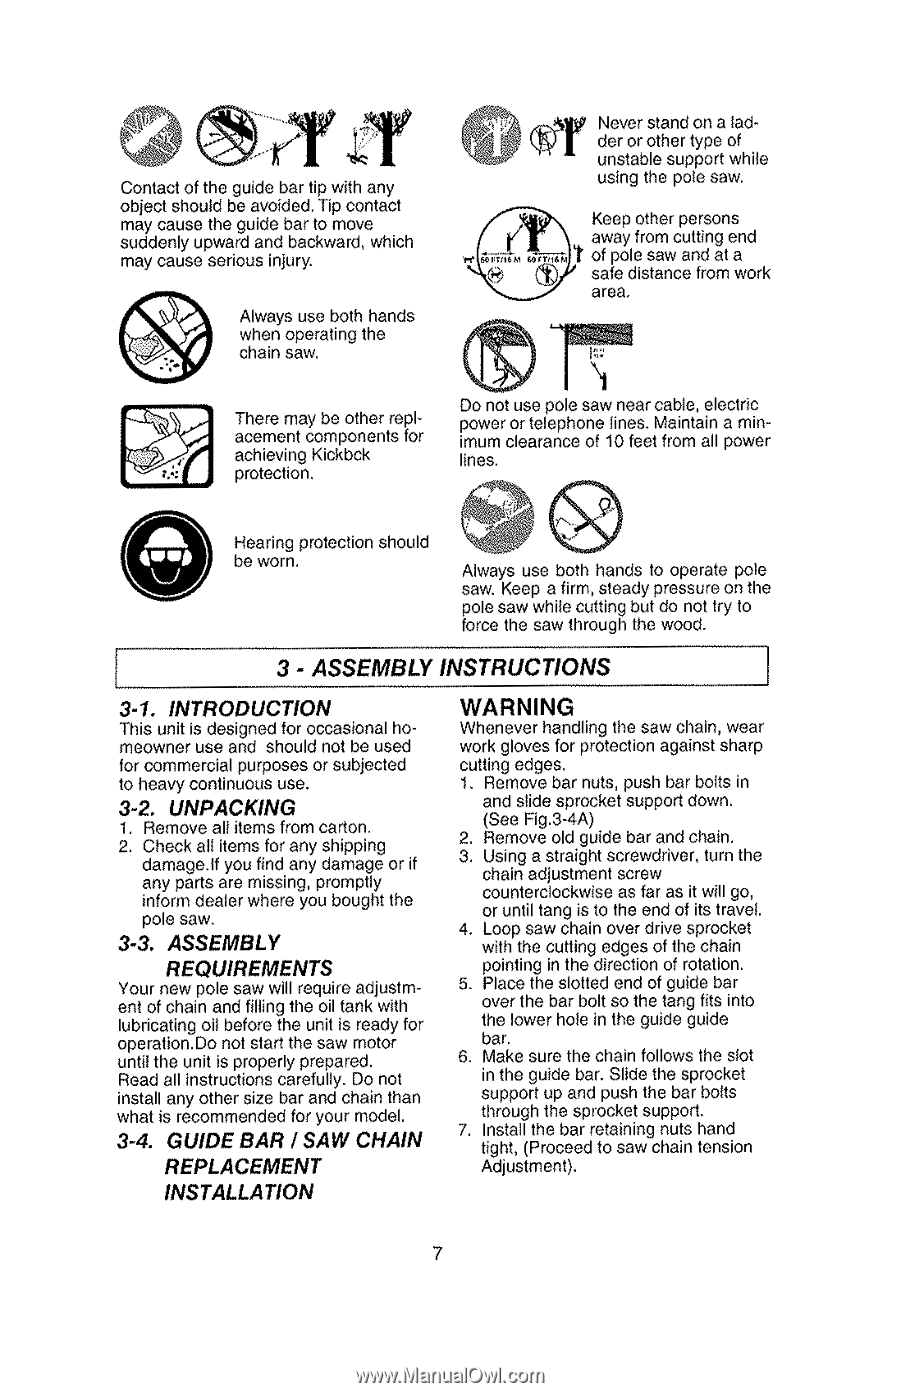
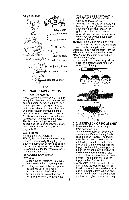
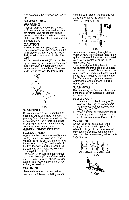
Contact of the guide bar tip with any object should be avoided. Tip contact may cause the guide bar to move suddenly upward and backward, which may cause serious injury. Always use both hands when operating the chain saw. Never stand on a ladder or other type of unstable support while using the pole saw. Keep other persons away from cutting end ril Al t 71 11; of pole saw and at a safe distance from work area. There may be other replacement components for achieving Kickbck protection, Do not use pole saw near cable, electric power or telephone lines. Maintain a minimum clearance of 10 feet from all power lines. Hearing protection should ~1 be worn. Always use both hands to operate pole saw. Keep a firm, steady pressure on the pole saw while cutting but do not try to force the saw through the wood. 3 - ASSEMBLY INSTRUCTIONS 3-1. INTRODUCTION This unit is designed for occasional homeowner use and should not be used for commercial purposes or subjected to heavy continuous use. 3-2. UNPACKING 1. Remove all items from carton. 2. Check all items for any shipping damage.lf you find any damage or if any parts are missing, promptly inform dealer where you bought the pole saw. 3-3. ASSEMBLY REQUIREMENTS Your new pole saw will require adjustment of chain and filling the oil tank with lubricating oil before the unit is ready for operation.Do not start the saw motor until the unit is properly prepared. Read all instructions carefully. Do not install any other size bar and chain than what is recommended for your model. 3-4. GUIDE BAR I SAW CHAIN REPLACEMENT INSTALLATION WARNING Whenever handling the saw chain, wear work gloves for protection against sharp cutting edges. 1. Remove bar nuts, push bar bolts in and slide sprocket support down. (See Fig.3-4A) 2. Remove old guide bar and chain. 3. Using a straight screwdriver, turn the chain adjustment screw counterclockwise as far as it will go, or until tang is to the end of its travel. 4. Loop saw chain over drive sprocket with the cutting edges of the chain pointing in the direction of rotation. 5. Place the slotted end of guide bar over the bar bolt so the tang fits into the lower hole in the guide guide bar. 6. Make sure the chain follows the slot in the guide bar. Slide the sprocket support up and push the bar bolts through the sprocket support. 7. Install the bar retaining nuts hand tight, (Proceed to saw chain tension Adjustment). 7
-
 1
1 -
 2
2 -
 3
3 -
 4
4 -
 5
5 -
 6
6 -
 7
7 -
 8
8 -
 9
9 -
 10
10 -
 11
11 -
 12
12 -
13
-
14
-
15
-
16
 |
 |