ProForm 375e English Manual - Page 5
Assembly
 |
View all ProForm 375e manuals
Add to My Manuals
Save this manual to your list of manuals |
Page 5 highlights
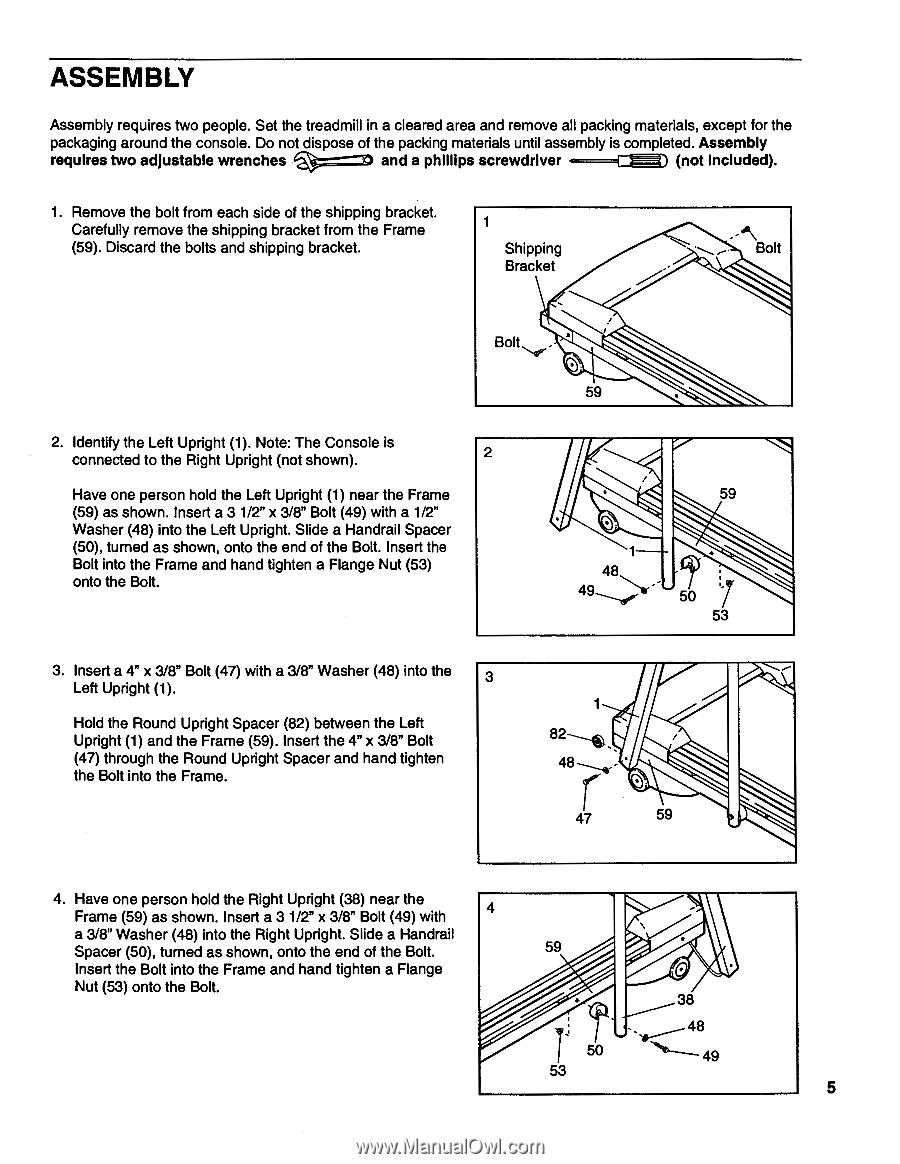
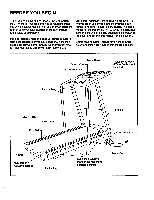
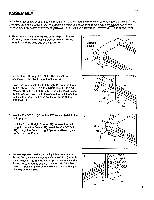
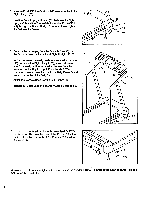
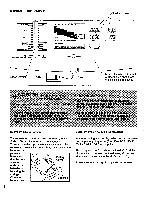
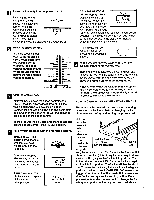
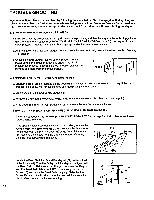
ASSEMBLY Assembly requires two people. Set the treadmill in a cleared area and remove all packing materials, except for the packaging around the console. Do not dispose of the packing materials until assembly is completed. Assembly requires two adjustable wrenches and a phillips screwdriver 4-L_Uma) (not included). 1. Remove the bolt from each side of the shipping bracket. Carefully remove the shipping bracket from the Frame (59). Discard the bolts and shipping bracket. Shipping Bracket Bolt • Bolt 2. Identify the Left Upright (1). Note: The Console is connected to the Right Upright (not shown). 2 Have one person hold the Left Upright (1) near the Frame (59) as shown. Insert a 3 1/2" x 3/8" Bolt (49) with a 1/2" Washer (48) into the Left Upright. Slide a Handrail Spacer (50), turned as shown, onto the end of the Bolt. Insert the Bolt into the Frame and hand tighten a Flange Nut (53) onto the Bolt. 59 48 49 59 50 53 3. Insert a 4" x 3/8" Bolt (47) with a 3/8" Washer (48) into the 3 Left Upright (1). Hold the Round Upright Spacer (82) between the Left Upright (1) and the Frame (59). Insert the 4" x 3/8" Bolt (47) through the Round Upright Spacer and hand tighten the Bolt into the Frame. 1 82 48 47 59 4. Have one person hold the Right Upright (38) near the Frame (59) as shown. Insert a 3 1/2" x 3/8" Bolt (49) with 4 a 3/8" Washer (48) into the Right Upright. Slide a Handrail Spacer (50), turned as shown, onto the end of the Bolt. 59 Insert the Bolt into the Frame and hand tighten a Flange Nut (53) onto the Bolt. 48 50 49 53 5
-
 1
1 -
 2
2 -
 3
3 -
 4
4 -
 5
5 -
 6
6 -
 7
7 -
 8
8 -
 9
9 -
 10
10 -
 11
11 -
12
-
13
-
14
-
15
-
16
-
17
-
18
-
19
 |
 |