ProForm 385 English Manual - Page 8
walking, roved, console, rtrol, general, guidelines, console, Avoid, spilling, liquids
 |
View all ProForm 385 manuals
Add to My Manuals
Save this manual to your list of manuals |
Page 8 highlights
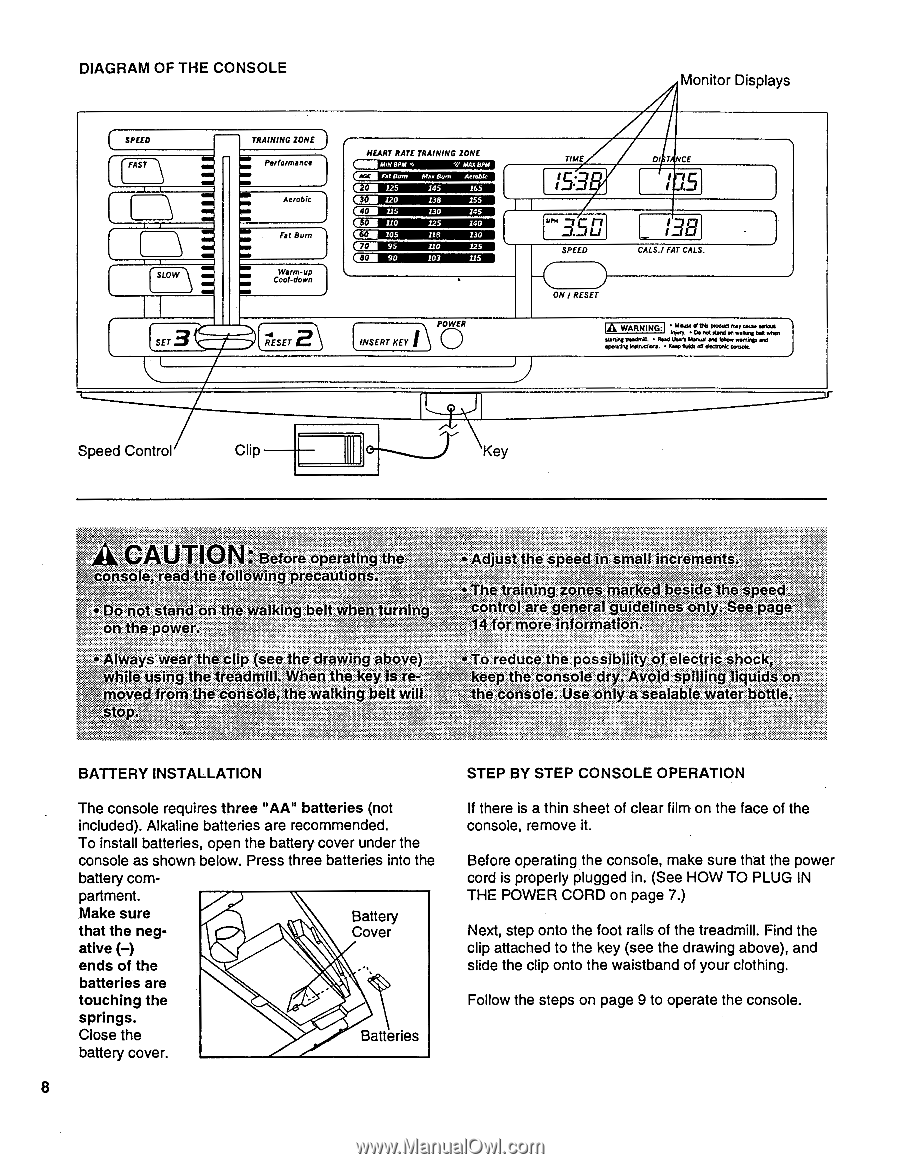
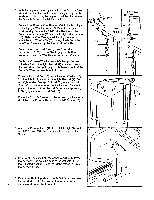
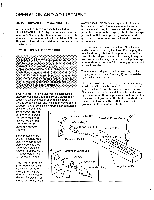
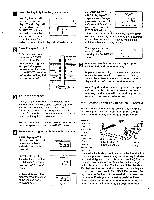
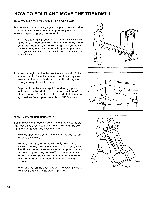
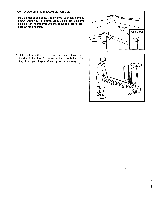
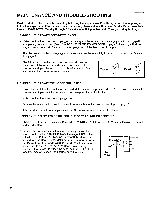
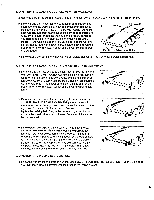
DIAGRAM OF THE CONSOLE SPEED FAST MVI CMG MEI OM SLOW MIN NMI TRAINING ZONE Performance Ole WV Aerobic awa IMO Fat Burn 1111 - Warm-up MED Cool-down IM su 3 -au RESET HEART RATE TRAINING ZONE OLE 120 138 155 fan 115 IFLII 130 145 125 140 CAI 105 110 130 tall 95 120 125 ELM 90 103 115 -\ POWER INSERT KEY Monitor Displays TIME t..7cr -/-1/O .3 v n Li SPEED DI CE / I.5 _ _I CALS./ FAT CALS. ON / RESET A WARNING: • Mu:seat* product nvy case wt. be,. • bevel elord m volltiv WA *ten Weeny PeedreiO. • WO Use:1 Manua: ., War varnirep eve el:eating Ireuvetiers. • keep norm eA elecieenic cavole. Speed Control Clip Key Before operating t e;rea e folloWing Precaution o not stan onthe walking belt when urro tf*ObWe fiOyS wet c (see.the drawing above re roved from the console, the walking belt wil just the speed in small increment . . 0;4 0. rtrol are general guidelines on o reduce the possibility of eleCfric shoe eep the console dry Avoid spilling liquids o e.:0Onsoie.Dse only a sealable water bottle:; BATTERY INSTALLATION The console requires three "AA" batteries (not included). Alkaline batteries are recommended. To install batteries, open the battery cover under the console as shown below. Press three batteries into the battery com- partment. Make sure that the neg- Battery Cover ative (-) ends of the batteries are touching the springs. Close the Batteries battery cover. 8 STEP BY STEP CONSOLE OPERATION If there is a thin sheet of clear film on the face of the console, remove it. Before operating the console, make sure that the power cord is properly plugged in. (See HOW TO PLUG IN THE POWER CORD on page 7.) Next, step onto the foot rails of the treadmill. Find the clip attached to the key (see the drawing above), and slide the clip onto the waistband of your clothing. Follow the steps on page 9 to operate the console.
-
 1
1 -
2
-
 3
3 -
 4
4 -
 5
5 -
 6
6 -
 7
7 -
 8
8 -
 9
9 -
 10
10 -
 11
11 -
 12
12 -
 13
13 -
14
-
15
-
16
-
17
-
18
-
19
 |
 |