Radio Shack 15-1245 Owner's Manual - Page 2
Preliminary Testing, Installation - rotator
 |
UPC - 040293636807
View all Radio Shack 15-1245 manuals
Add to My Manuals
Save this manual to your list of manuals |
Page 2 highlights
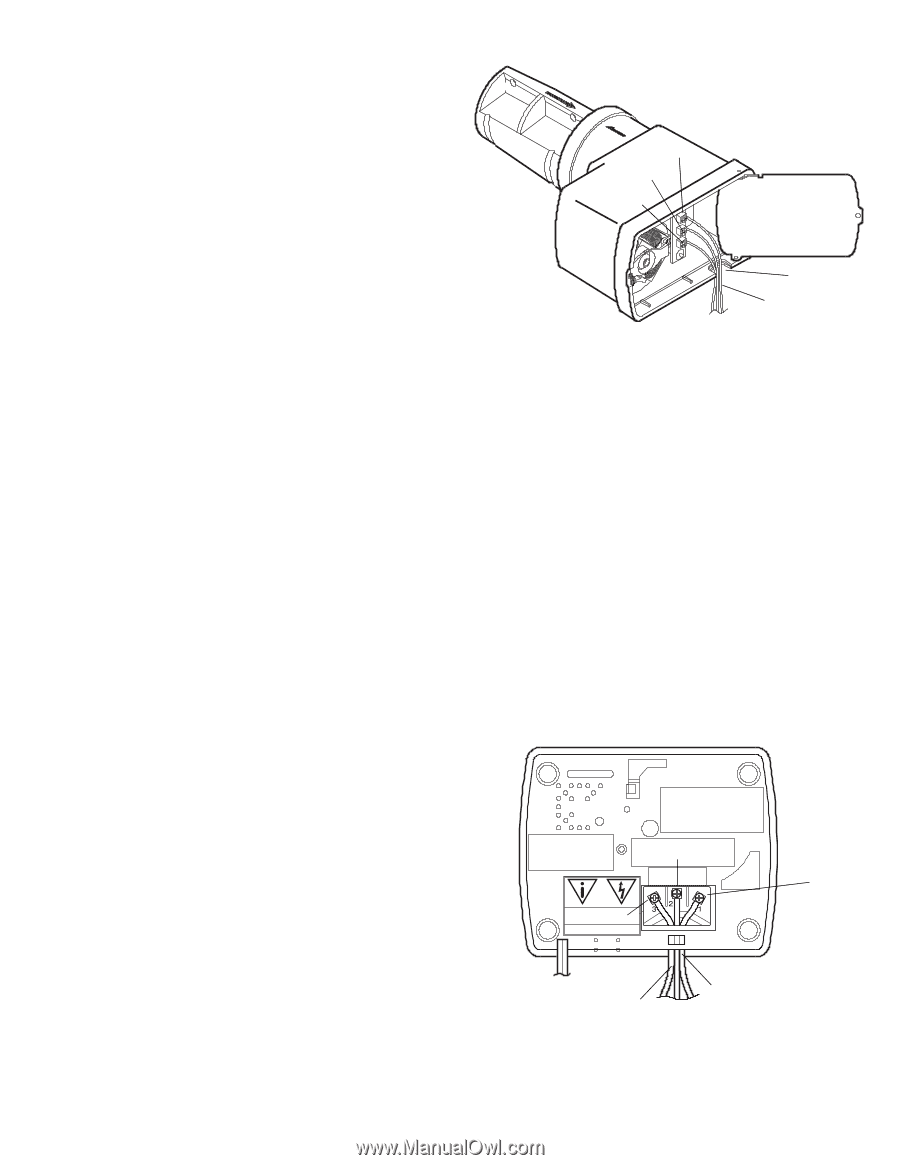
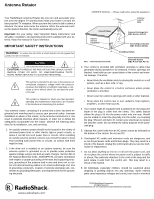
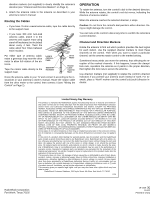
shock. Objects dropped into the control may also result in a fire hazard. 9. Never expose the control to rain or water. If it becomes damp or wet, or if liquids are spilled into it, unplug the control and have it inspected by a service technician before further use. Liquids, rain, or excessive moisture may cause electrical shorts which can result in fire or shock hazards. Never operate the control near water (such as a swimming pool, bathtub, sink, or washing machine) or in a wet basement. 10. Unplug the control before cleaning it. Use a slightly damp (not wet) cloth. Do not use an aerosol directly on the control, since it may overspray and cause electrical shock. 11. Whenever the rotator exhibits a distinct change in performance, unplug the control and call your dealer or service technician. 12. Any attempt to disassemble the control or drive portions of the rotator may expose you to high voltage or other hazards. Observe all cautionary labels, warnings, and safeguards. 13. If the control has been dropped or the case has been damaged, fire and shock hazards may exist. Unplug the control and have it checked by a service technician before use. 14. When replacement parts are required, have the service technician verify that the replacement parts have the same safety characteristics as the original parts. Unauthorized substitutions may result in a risk of fire or electric shock, or other risks. 15. Upon completion of any service or repairs to the rotator, please ask the service technician to perform routine safety checks to determine that the rotator is in a safe operating condition. 16. For added protection of the control during a lightning storm or when the control is to be left unattended for an extended period of time, unplug it from the wall outlet and disconnect the drive cable. This will prevent possible shock, fire hazard, and damage to the control due to lightning storms or power line surges. 17. Always use extreme caution when installing a rooftop antenna and drive system to reduce the risk of falls. Wear rubber-soled shoes and use a sturdy ladder. Do not install the antenna or drive system on a windy day or when the roof is wet or covered with ice or snow. Wiring the Drive Motor Terminal 3 Terminal 2 Terminal 1 Grommet Slot 3-Wire Rotator Cable Follow these steps to wire the drive motor. 1. Use a screwdriver to remove the screw from the drive motor's cover and open the cover. 2. Separate the cable's three wires about 11/2 inches down the cable and strip off about 1/2 inch of insulation from each wire. 3. Remove the cable grommet, then insert the rotator cable's three wires through the grommet's slot. 4. Loosen the three terminal screws, then connect the silver-colored wire to Terminal 1, the center wire (copper) to Terminal 2, and the third wire (copper) to Terminal 3. 5. Recheck the wiring order, then tighten all three terminal screws. 6. Slide the grommet back up the wire, then place the grommet back into its slot in the housing. 7. Close the cover, then secure it with the screw. Wiring the Control PRELIMINARY TESTING Before you install the antenna rotator, do the following: • In your home, temporarily connect the drive motor to the control (see "Wiring the Drive Motor" and "Wiring the Control"). • Test the antenna rotator (see "Synchronizing and Testing" on Page 3). INSTALLATION Use 20-gauge three-wire rotator cable, available at your local RadioShack store, to connect the drive motor to the control. The instructions in the following two sections include specific references to this RadioShack rotator cable. It has a silver-colored ground (or neutral) wire, while the cable's other two wires are copper. If you use another brand of cable to connect your antenna rotator, one of the three wires in the cable should be different in some way - this is the ground (or neutral) wire. Be sure to connect this wire as described for the silvercolored wire in the RadioShack cable. Terminal 2 Terminal 3 Terminal 1 3-Wire Rotator Cable Strain Relief Slot Follow these steps to wire the control. 1. On the other end of the rotator cable, separate the cable's three wires about 11/2 inches down the cable and strip off about 1/2 inch of insulation from each wire. 2
-
 1
1 -
 2
2 -
 3
3 -
 4
4
 |
 |