Reebok Cyc6 English Manual - Page 9
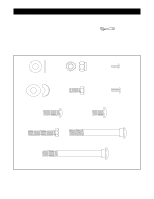
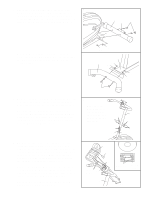
repeatedly until a P-2, P-3, P-4, P-5, or P-6
 |
View all Reebok Cyc6 manuals
Add to My Manuals
Save this manual to your list of manuals |
Page 9 highlights
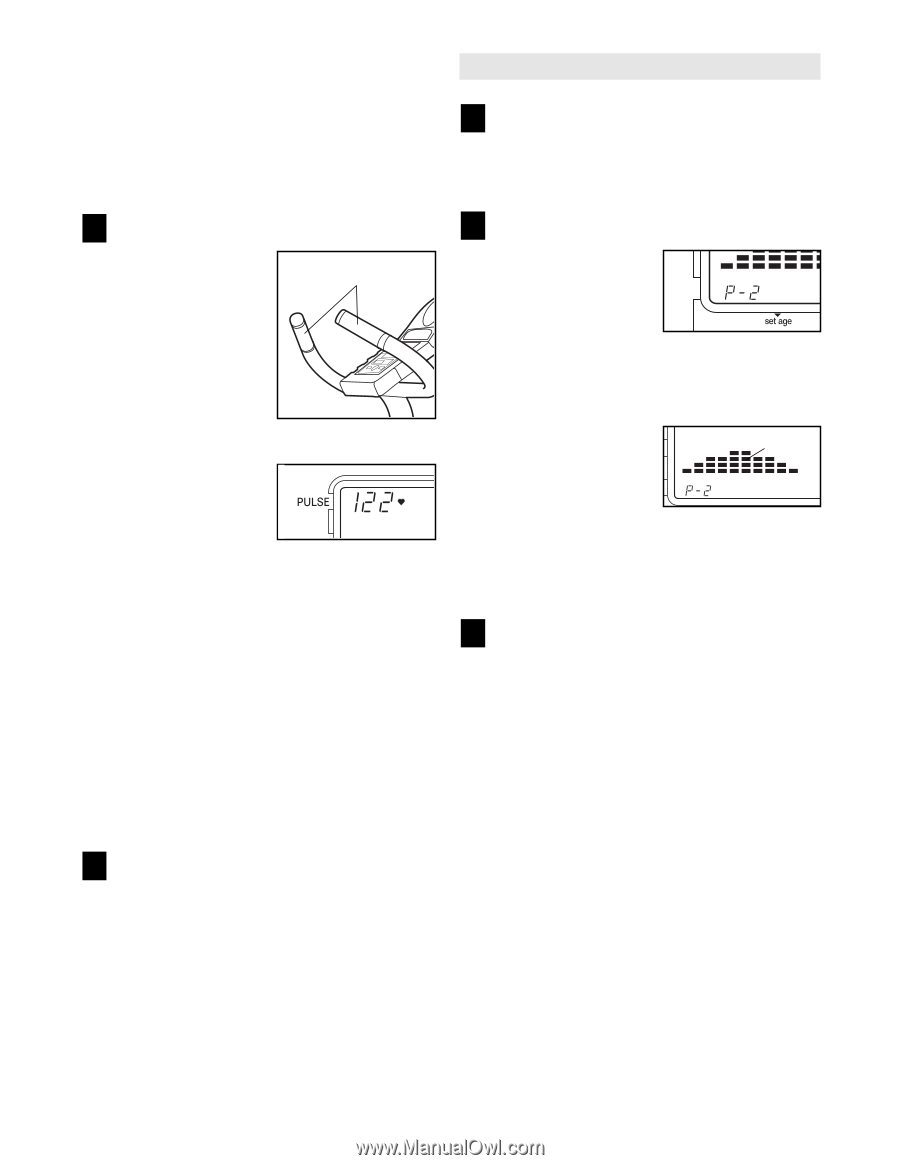
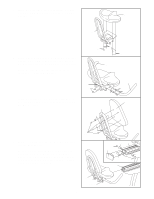
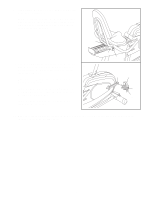
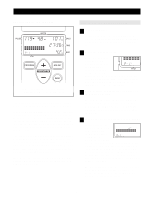
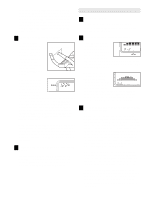
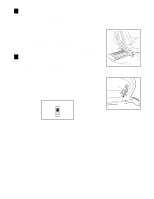
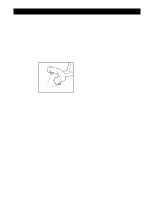
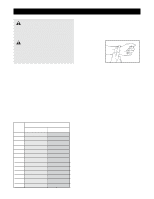
In addition to the matrix, the display will show your pedaling speed, the number of Calories you have burned, the elapsed time, and the distance you have pedaled. The display will also show your heart rate when the pulse sensor is used (see step 5). Note: If your heart rate is not shown, press the reset button to reset the pulse sensor. HOW TO USE A RESISTANCE PROGRAM 1 Turn on the power To turn on the power, press any button on the console. Note: If batteries were just installed, the power will already be on. 5 Measure your heart rate if desired To use the pulse sensor, place your hands on the metal contacts. Your palms must be resting on the upper contacts and your fingers must be touching the lower contacts. Avoid moving your hands. Metal Contacts After a moment, the heart-shaped indicator in the display will begin to flash and your heart rate will be shown. For the most accurate heart rate reading, continue to hold the contacts for about 15 seconds. WARNING: The pulse sensor is not a medical device. Various factors, including the user's movement, may affect the accuracy of heart rate readings. The pulse sensor is intended only as an exercise aid in determining heart rate trends in general. Note: If your heart rate is not shown, press the reset button to reset the pulse sensor. In addition, make sure that your hands are positioned as described above. Be careful not to move your hands excessively or squeeze the metal contacts too tightly. 6 When you are finished exercising, turn off the power To turn off the power, simply wait for a few minutes. If the pedals are not moved and the console buttons are not pressed for a few minutes, the power will turn off automatically. 2 Select one of the resistance programs Each time the power is turned on, the manual program will be selected, as shown by the "P-1" in the display. To select one of the resistance programs, press the program button repeatedly until a "P-2," "P-3," "P-4," "P-5," or "P-6" appears in the display. As you select each resistance program, Matrix the matrix will show the resistance settings for the program you have selected. If you select program 2, for example, the matrix will show that the resistance will gradually increase during the first half of the program and then decrease during the last half of the program. 3 Begin pedaling and follow your progress with the console display As you exercise, follow your progress with the matrix on the left side of the display (refer to the drawing above). During the first minute of the program, the first column of the matrix will flash; during the second minute, the second column will flash; during the third minute, the third column will flash. In addition, the resistance of the pedals will automatically change according to the height of the flashing column-the higher the column is, the greater the resistance will be. After ten minutes, the program will be completed. Note: If the program is too easy or too difficult, press the resistance + or - button to adjust the intensity level of the program. As you press the resistance + or - button, the height of all of the columns in the matrix will increase or decrease. In addition to the matrix, the display will show your pedaling speed, the number of Calories you have burned, the elapsed time, and the distance you have pedaled. The display will also show your heart rate when you use the pulse sensor (see step 4). 9
-
 1
1 -
2
-
3
-
 4
4 -
 5
5 -
 6
6 -
 7
7 -
 8
8 -
 9
9 -
 10
10 -
 11
11 -
 12
12 -
 13
13 -
 14
14 -
15
-
16
 |
 |