Samsung CLX-9252NA Installation Guide Easy Manual Ver.3.00 (English) - Page 25
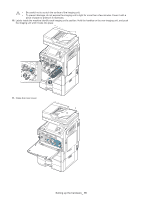
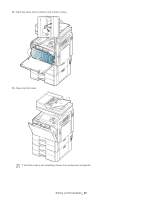
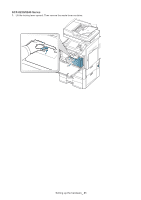
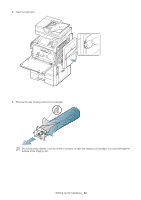
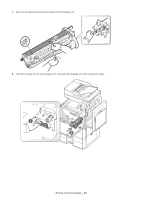
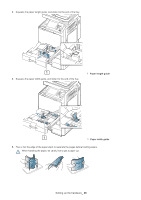
Remove the paper protecting the surface of the imaging unit., Hold the handles on the new imaging
 |
View all Samsung CLX-9252NA manuals
Add to My Manuals
Save this manual to your list of manuals |
Page 25 highlights
7. Remove the paper protecting the surface of the imaging unit. 8. Hold the handles on the new imaging unit, and push the imaging unit until it locks into place Setting up the hardware_ 24
-
 1
1 -
2
-
3
-
4
-
5
-
6
-
7
-
8
-
9
-
10
-
11
-
12
-
13
-
14
-
15
-
16
-
17
-
18
-
19
-
 20
20 -
 21
21 -
 22
22 -
 23
23 -
 24
24 -
 25
25 -
 26
26 -
 27
27 -
 28
28 -
 29
29 -
 30
30 -
31
-
32
-
33
-
34
-
35
-
36
-
37
-
38
-
39
-
40
-
41
-
42
-
43
-
44
-
45
-
46
-
47
-
48
-
49
-
50
-
51
-
52
-
53
-
54
-
55
-
56
-
57
-
58
-
59
-
60
-
61
 |
 |

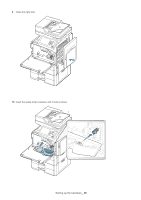
Setting up the hardware
_ 24
7.
Remove the paper protecting the surface of the imaging unit.
8.
Hold the handles on the new imaging unit, and push the imaging unit until it locks into place