Samsung RF4267HAWP User Manual (user Manual) (ver.0.2) (English, French, Spani - Page 6
ACCESSORIES AND REQUIRED, TOOLS, REMOVING THE REFRIGERATOR, DOORS, Required Tools Not provided - manual
 |
UPC - 036725560680
View all Samsung RF4267HAWP manuals
Add to My Manuals
Save this manual to your list of manuals |
Page 6 highlights
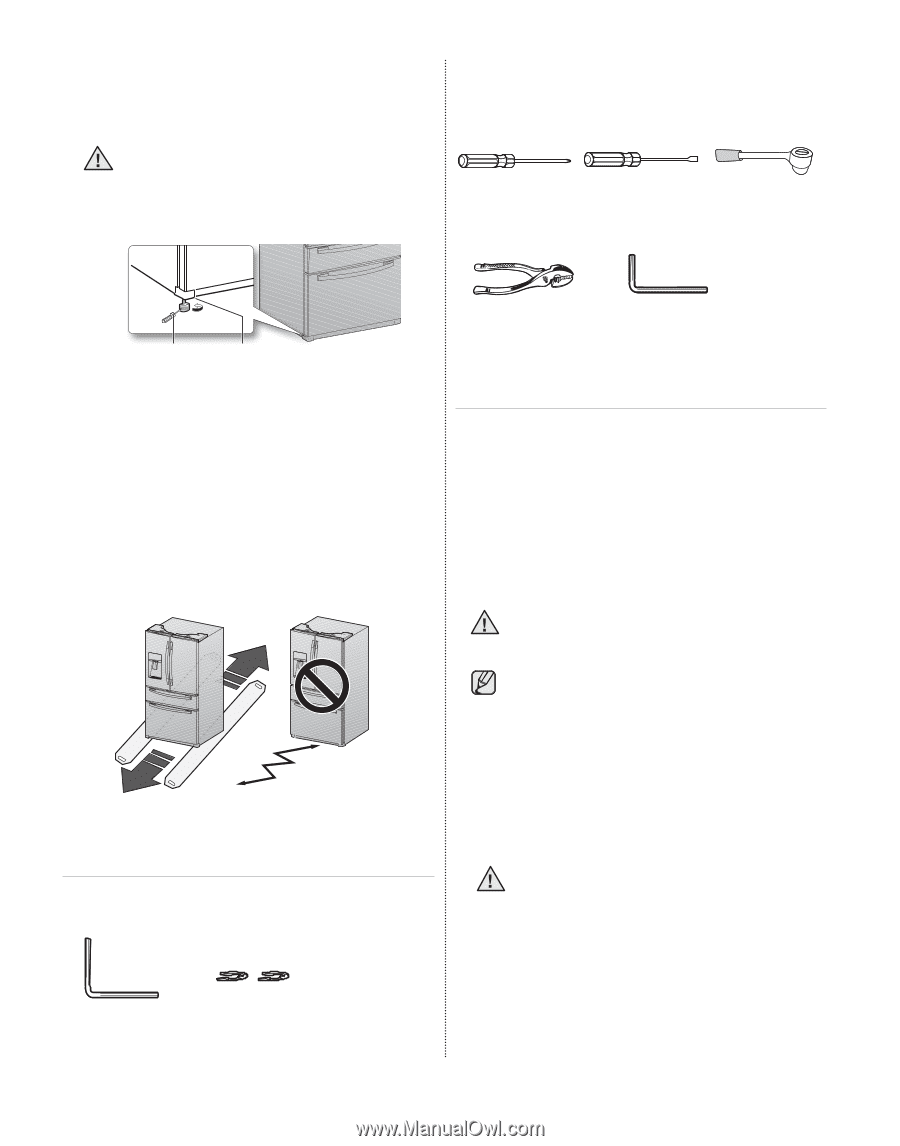
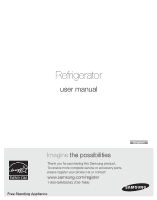
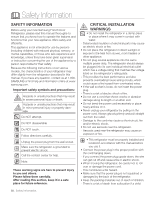
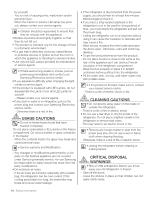
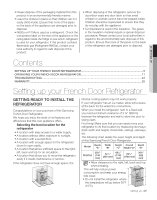
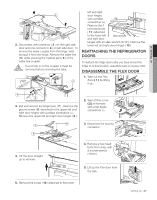
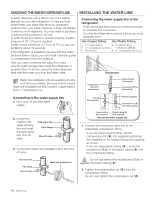
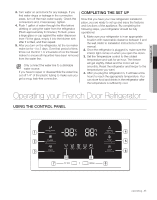
• Do not locate the refrigerator where it may become wet. When moving your refrigerator To prevent floor damage, be sure the front caution adjusting legs are in the up position (above the floor). Refer to 'Adjusting the doors' in the manual (on page 9). Required Tools (Not provided) You need the following tools to complete the installation of your refirgerator: Philips screw- Flat-blade screw- Socket wrench driver (+) driver (-) (10mm) Pliers Allen wrench (3/16") (5mm) Flat-blade Control Lever screw driver(-) FLOORING For proper installation, you must place this refrigerator on a level, hard surface that is the same height as the rest of the floor. This surface should be strong enough to support a fully loaded refrigerator, or approximately 359lbs (165kg). To protect the finish of the flooring, cut a large section of the cardboard carton and place it under the refrigerator where you are working. When moving the refrigerator, you need to pull and push it straight forwards or back. Do not wiggle it from side to side. Removing the refrigerator doors For some installations you need to remove the fridge and flex doors and the freezer drawer so you can move the refrigerator to its final location. Do not remove the doors/drawer if you don't need to. If you do not need to remove the doors/drawer, go to Adjusting the Level on page 8. If you need to remove the doors/drawer, continue below. Before removing the door/drawer, make sure you read the following items: Disconnect power to the refrigerator before warning removing the door or drawer. Accessories and required tools The following accessories are included with your refigerator: Hex wrench Fastener • Be careful not to drop, damage or scratch the door/drawer while removing them. • Be careful not to get injured while removing the door/drawer. • Reattach the door/drawer properly to avoid: - Moisture from air leakage. - Uneven door alignment. - Wasting energy due to improper door seal. Disassemble the refrigerator doors Be careful not to drop and scratch the doors warning while removing the doors. Disassemble the refrigerator doors 1. With the door opened, remove the cap top table ( 1 ) with a flat-blade screwdriver(-). and close the door. Remove 2 screws holding down the cover hinge ( 2 ) and turn it with several wires connected. 06_ setting up
-
 1
1 -
 2
2 -
 3
3 -
 4
4 -
 5
5 -
 6
6 -
 7
7 -
 8
8 -
 9
9 -
 10
10 -
 11
11 -
 12
12 -
13
-
14
-
15
-
16
-
17
-
18
-
19
-
20
-
21
-
22
-
23
-
24
-
25
-
26
-
27
-
28
-
29
-
30
-
31
-
32
-
33
-
34
-
35
-
36
-
37
-
38
-
39
-
40
-
41
-
42
-
43
-
44
-
45
-
46
-
47
-
48
-
49
-
50
-
51
-
52
-
53
-
54
-
55
-
56
-
57
-
58
-
59
-
60
-
61
-
62
-
63
-
64
-
65
-
66
-
67
-
68
-
69
-
70
-
71
-
72
-
73
-
74
-
75
-
76
-
77
-
78
-
79
-
80
-
81
-
82
-
83
-
84
 |
 |