Sharp LC 42D43U Operation Manual - Page 27
Press 41/1_ to select On or On: Display. - black screen
 |
UPC - 074000370166
View all Sharp LC 42D43U manuals
Add to My Manuals
Save this manual to your list of manuals |
Page 27 highlights
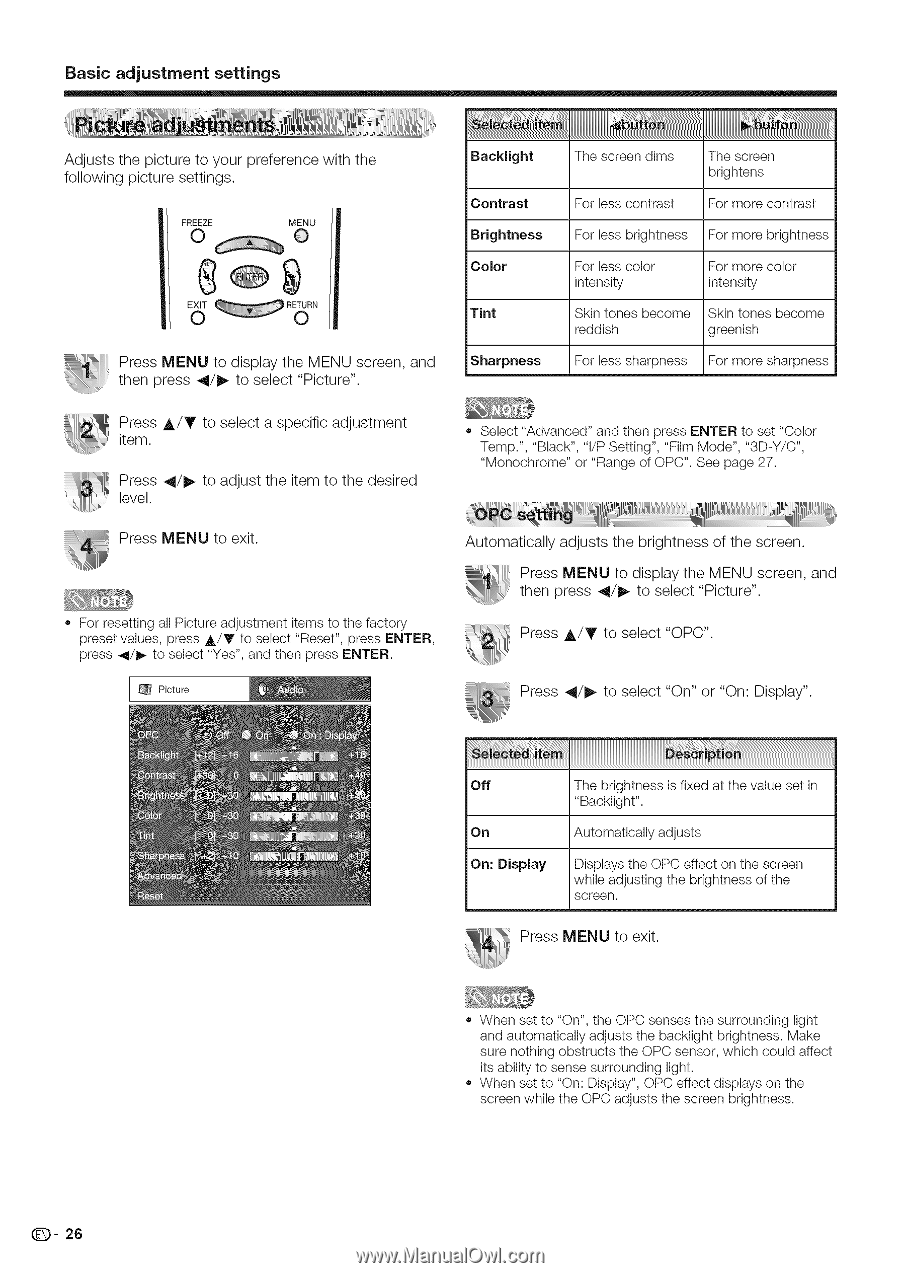
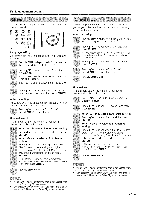
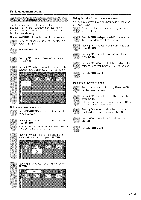
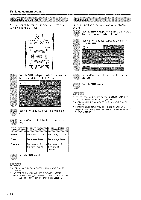
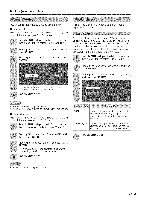
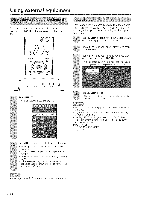
Basic adjustment settings Adjusts the picture to your preference with the following picture settings. Backlight Contrast Brightness Color Tint Press MENU to display the MENU screen, and then press _11/1_to select "Picture". Sharpness Tile screen dims For less contrast The screen brig htens For more contrast For less brightness For more brightness For less color intensity For more color intensity Skin tones become reddish Skin tones become greenish For less sharpness For more sharpness Press J,/Y to select a specific adjustment item. Press _11/_ to adjust the item to the desired level. Press MENU to exit. For resetting all Picture adjustment items to the factory preset values, press A/T to select "Reset", press ENTER, press 4/I_ to select "Yes", and then press ENTER. Select "Advanced" and then press ENTER to set "Color Temp.", "Black", "I/P Setting", "Film Mode", "3D-Y/C", "Monochrome" or "Range of ()PC". See page 27. Automatically adjusts the brightness of the screen. Press MENU to display the MENU screen, and then press 41/1_ to select "Picture". Press A/Y to select "OPC". Press 41/1_ to select "On" or "On: Display". Off On On: Display The brightness is fixed at the value set in "Backlight". Automatically adjusts Displays the ()PC effect on the screen while adjusting the brightness of the screen. Press MENU to exit. When set to "On", the ()PC senses the surrounding light and automatically adjusts the backlight brightness. Make sure nothing obstructs the OPC sensor, which could affect its ability to sense surrounding light. When set to "On: Display", OPC effect displays on the screen while the ()PC adjusts the screen brightness. (D- 26
-
 1
1 -
2
-
3
-
4
-
5
-
6
-
7
-
8
-
9
-
10
-
11
-
12
-
13
-
14
-
15
-
16
-
17
-
18
-
19
-
20
-
21
-
 22
22 -
 23
23 -
 24
24 -
 25
25 -
 26
26 -
 27
27 -
 28
28 -
 29
29 -
 30
30 -
 31
31 -
 32
32 -
33
-
34
-
35
-
36
-
37
-
38
-
39
-
40
-
41
-
42
-
43
-
44
-
45
-
46
-
47
-
48
-
49
-
50
-
51
-
52
-
53
-
54
-
55
-
56
-
57
-
58
-
59
-
60
-
61
 |
 |