Sharp LC-60LE810UN LC-40LE810UN LC-46LE810UN LC-52LE810UN LC-60LE810UN - Page 53
Displaying Updated Information and Support Service, Interactive Service, Sidebar Widget
 |
UPC - 074000372580
View all Sharp LC-60LE810UN manuals
Add to My Manuals
Save this manual to your list of manuals |
Page 53 highlights
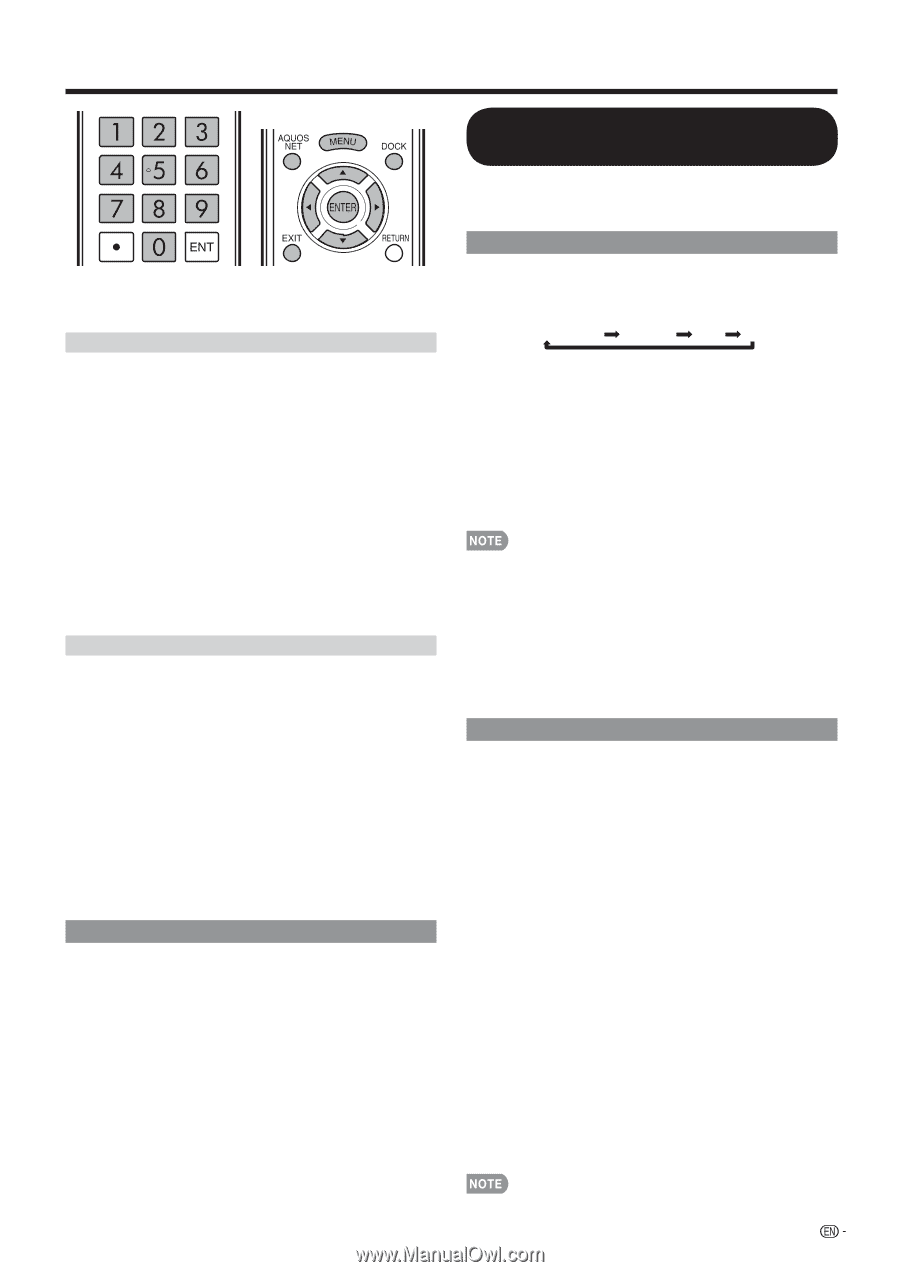
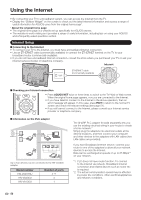
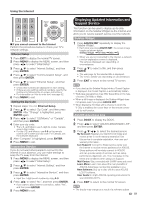
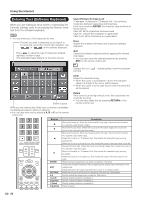
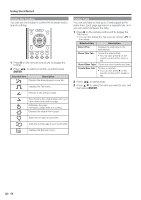
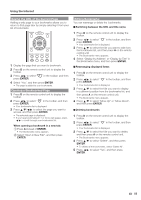
Using the Internet H If you cannot connect to the Internet Perform the procedures below to check your TV's network settings. Ethernet Setup 1 Press EXIT to display the normal TV screen. 2 Press MENU to display the MENU screen, and then press c/d to select "Initial Setup". 3 Press a/b to select "Internet Setting", and then press ENTER. 4 Press a/b to select "Communication Setup", and then press ENTER. 5 Press a/b to select "Ethernet Setup", and then press ENTER. • Check that numbers are displayed for each setting. • If there are any settings without numbers, specify the numbers by following the on-screen instructions. • For information on how to enter text, see page 52. 6 Press MENU to exit. Setting the Zip Code 1 Repeat steps 1 to 4 in Ethernet Setup. 2 Press a/b to select "Zip Code", and then press ENTER. After "Change" is highlighted, press ENTER again. 3 Press c/d to select "US/Mexico" or "Canada", and then press ENTER. 4 Enter your zip code. • The U.S. and Mexico use 5-digit zip codes. Canada uses 6-digit codes. • For the U.S. and Mexico, use 0-9 on the remote control unit to enter your zip code. For Canada, use the software keyboard. 5 After "Complete" is highlighted, press ENTER. 6 Press MENU to exit. Interactive Service If you do not want other people to connect to the Internet in your absence, you can make settings to keep the TV away from the Internet. 1 Press MENU to display the MENU screen, and then press c/d to select "Initial Setup". 2 Press a/b to select "Internet Setting", and then press ENTER. 3 Press a/b to select "Interactive Service", and then press ENTER. • Input the 4-digit secret number by using 0-9. 4 Press c/d to select "No", and then press ENTER. • If you want to allow Internet connection, select "Yes", and then press ENTER. 5 Press MENU to exit. Displaying Updated Information and Support Service This function can be used to display up-to-date information on the Sidebar Widget via the Internet and allow you to receive support service over the network. Sidebar Widget 1 Press AQUOS NET repeatedly to display the Sidebar Widget. • Each time you press AQUOS NET, the screen image toggles as shown below: Sidebar Widget TV+Web Web TV • When you are not connected to the Internet, a network function explanation screen is displayed. The services displayed vary depending on circumstances. 2 Press a/b to select a title, and then press ENTER. • The web page for the selected title is displayed. • The service details vary depending on circumstances. 3 Press EXIT to return to the normal TV screen. • If you start up the Sidebar Widget while a Closed Caption is displayed, the Closed Caption is automatically hidden. • Web page appearances may differ depending on the type of screen (TV+Web or Web). • When a still image is displayed, the Sidebar Widget does not appear even if you press AQUOS NET. • When displaying TV+Web with a channel in which the V-Chip is enabled, the cursor keys on the remote control unit do not function. AQUOS Advantage Live 1 Press DOCK to display the DOCK. 2 Press c/dto select "AQUOS ADVANTAGE LIVE", and then press ENTER. 3 Press a/b/c/d to select the desired service. My Account: Register your AQUOS LCD today and receive a free 3 month warranty extension! Use this service to complete registration, view user and warranty information. Live Support: Connect to Sharp service center over the internet to receive remote assistance for AQUOS. Sharp advisors will remotely connect to AQUOS and can provide variety of services such as setup, performance diagnostic, etc. You must agree to the terms and conditions when using Live Support. Mail Center: Stay connected with SHARP news and more! Learn More: Learn more about the many benefits of AQUOS Advantage membership available to you. New Software: Stay up to date with the latest AQUOS LCD TV software. User Guide: In depth AQUOS operating instructions for your AQUOS LCD TV. 4 Press EXIT to return to the normal TV screen. • The display may change as a result of a software update. 51
-
 1
1 -
2
-
3
-
4
-
5
-
6
-
7
-
8
-
9
-
10
-
11
-
12
-
13
-
14
-
15
-
16
-
17
-
18
-
19
-
20
-
21
-
22
-
23
-
24
-
25
-
26
-
27
-
28
-
29
-
30
-
31
-
32
-
33
-
34
-
35
-
36
-
37
-
38
-
39
-
40
-
41
-
42
-
43
-
44
-
45
-
46
-
47
-
 48
48 -
 49
49 -
 50
50 -
 51
51 -
 52
52 -
 53
53 -
 54
54 -
 55
55 -
 56
56 -
 57
57 -
 58
58 -
59
-
60
-
61
-
62
-
63
-
64
-
65
-
66
-
67
-
68
-
69
-
70
-
71
-
72
 |
 |