Singer The SINGER 160 Instruction Manual - Page 54
Other Information
 |
View all Singer The SINGER 160 manuals
Add to My Manuals
Save this manual to your list of manuals |
Page 54 highlights
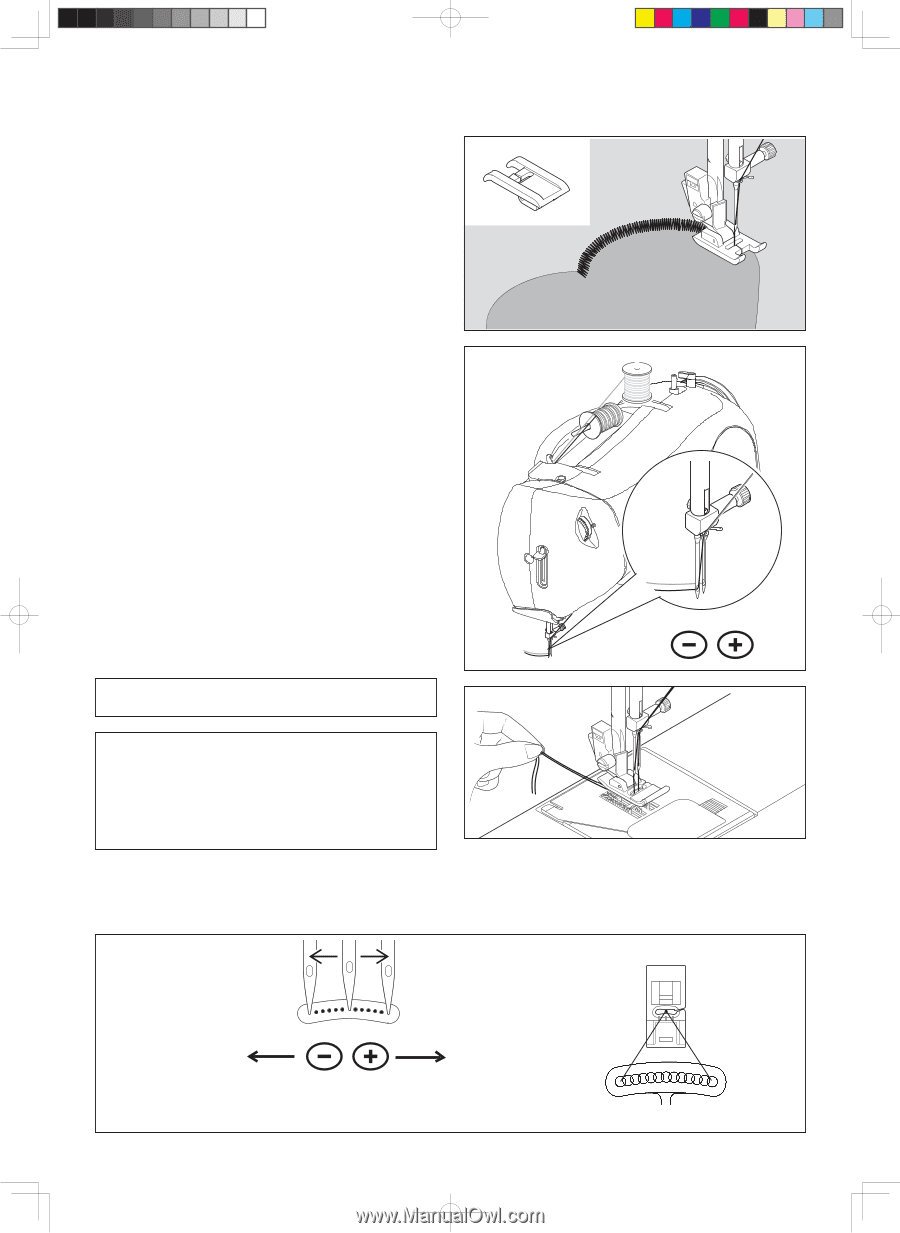
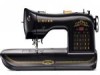
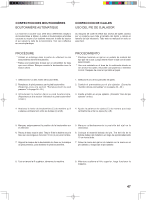
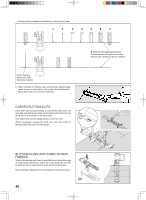
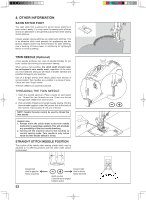
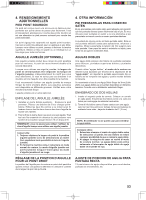
4. OTHER INFORMATION SATIN STITCH FOOT The satin stitch foot is grooved to permit dense stitching to pass under it easily. It is most useful for sewing satin stitches and as an alternative to the general purpose foot when sewing stretch stitches. Closely spaced zig-zag stitches are called satin stitches. This is an attractive stitch used primarily for appliqueing and bar tacking. Slightly loosen top thread tension for satin stitching. Use a backing of tissue paper or interfacing for lightweight fabrics to avoid puckering. TWIN NEEDLE (Optional) A twin-needle produces two rows of parallel stitches for pin tucks, double top stitching and decorative sewing. When using a twin-needles, the stitch width should never be set beyond a twin needle mark, regardless of the stitch you have selected. Doing so will result in broken needles and possible damage to your machine. Use of a Singer brand 3mm (Style 2025) twin needle is recommended. Twin needles are available in a range of sizes. Check with your Singer retailer. The twin needle is an optional purchase. THREADING THE TWIN NEEDLE 1. Insert the second spool pin. Place a spool on each spool pin. Thread the two threads as one. Draw one thread through each needle from front to back. 2. Pick up bobbin thread as for single needle sewing. Pull the three threads together under the presser foot to the back of the machine, leaving about 6" (15 cm) of thread. NOTE: Needle threader cannot be used to thread the twin needle. Helpful hints: 1. Always move the stitch width to the twin needle mark prior to selecting a pattern. This will preclude any possibility of the twin needle breaking. 2. Turning off the machine returns the machine to normal sewing mode. Twin needle is only active when the twin needle switch is lit red. STRAIGHT STITCH NEEDLE POSITION The position of the needle when sewing straight stitch may be adjusted to 13 different positions with the stitch width control as illustrated: Toward left Vers la gauche Hacia izquierda 52 Width control Contrôle de la largeur Control ancho Toward right Vers la droite Hacia derecha
-
 1
1 -
2
-
3
-
4
-
5
-
6
-
7
-
8
-
9
-
10
-
11
-
12
-
13
-
14
-
15
-
16
-
17
-
18
-
19
-
20
-
21
-
22
-
23
-
24
-
25
-
26
-
27
-
28
-
29
-
30
-
31
-
32
-
33
-
34
-
35
-
36
-
37
-
38
-
39
-
40
-
41
-
42
-
43
-
44
-
45
-
46
-
47
-
48
-
 49
49 -
 50
50 -
 51
51 -
 52
52 -
 53
53 -
 54
54 -
 55
55 -
 56
56 -
 57
57 -
 58
58 -
 59
59 -
60
 |
 |