Sony CCD-TRV118 Operating Instructions - Page 20
After charging the battery pack, The BATTERY INFO is not displayed in the following cases
 |
View all Sony CCD-TRV118 manuals
Add to My Manuals
Save this manual to your list of manuals |
Page 20 highlights
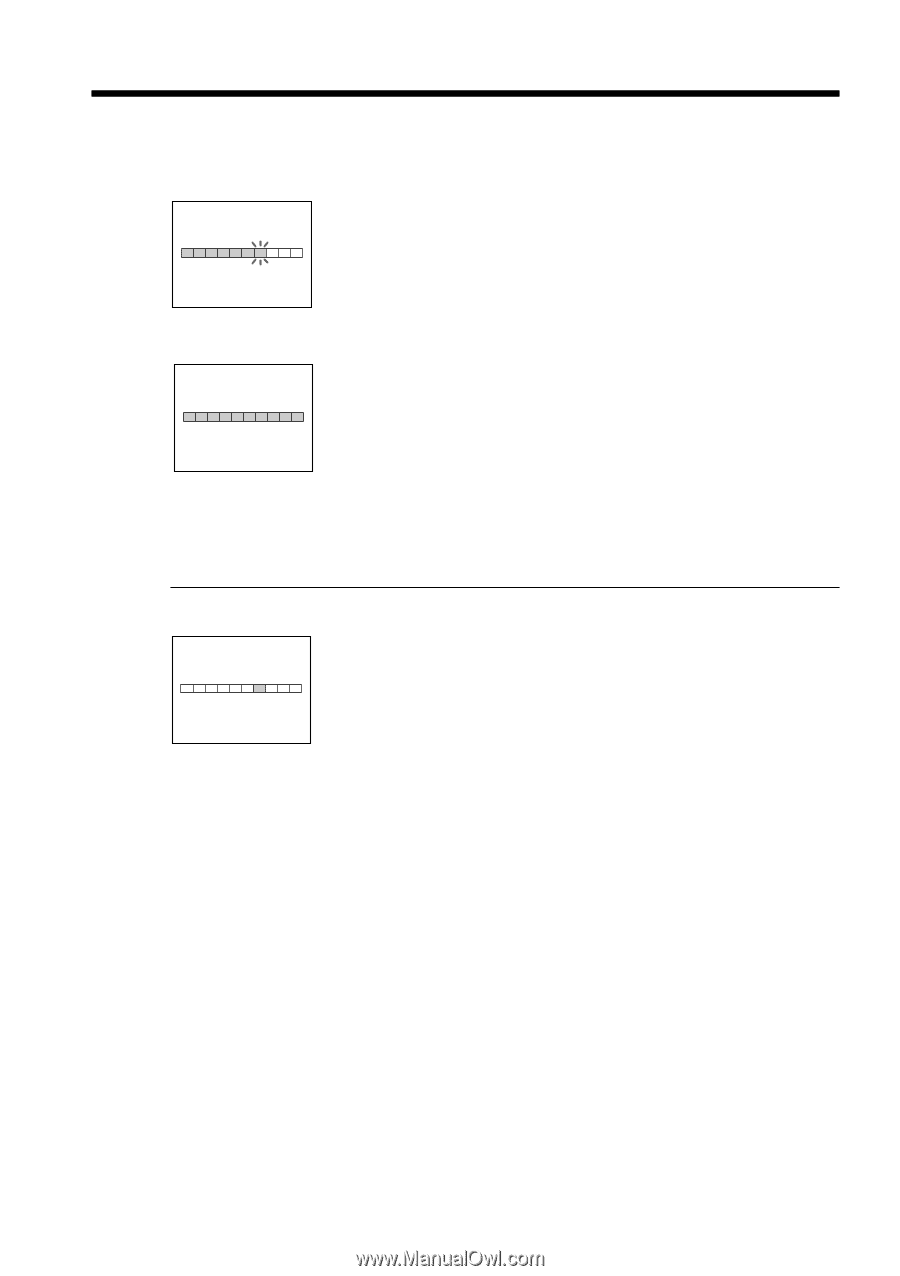
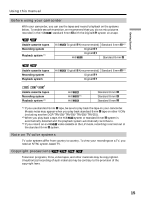
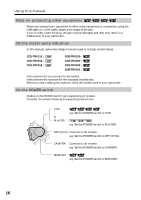
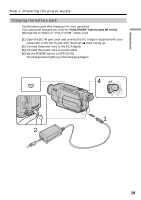
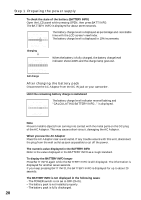
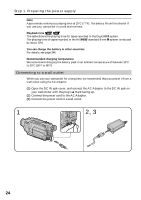
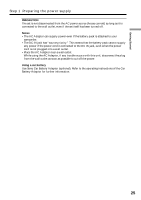
Step 1 Preparing the power supply To check the state of the battery (BATTERY INFO) Open the LCD panel while pressing OPEN, then press BATT INFO. The BATTERY INFO is displayed for about seven seconds. BATTERY INFO BATTERY CHARGE LEVEL 0% 50% 100% REC TIME AVAILABLE LCD SCREEN: 56 min VIEWFINDER: 73 min Charging j BATTERY INFO BATTERY CHARGE LEVEL 0% 50% 100% The battery charge level is displayed as percentage and recordable time with the LCD screen/viewfinder. The battery charge level is displayed in 10% increments. When the battery is fully charged, the battery charge level indicator shows 100% and the charge lamp goes out. REC TIME AVAILABLE LCD SCREEN: 80 min VIEWFINDER: 105 min Full charge After charging the battery pack Disconnect the AC Adaptor from the DC IN jack on your camcorder. Until the remaining battery charge is calculated BATTERY INFO BATTERY CHARGE LEVEL 0% 50% 100% The battery charge level indicator moves flashing and "CALCULATING BATTERY INFO..." is displayed. CALCULATING BATTERY INFO... Note Prevent metallic objects from coming into contact with the metal parts on the DC plug of the AC Adaptor. This may cause a short-circuit, damaging the AC Adaptor. When you use the AC Adaptor Place the AC Adaptor near a wall outlet. If any trouble occurs with this unit, disconnect the plug from the wall outlet as soon as possible to cut off the power. The numeric value displayed in the BATTERY INFO Refer to the value displayed in the BATTERY INFO as a rough standard. To display the BATTERY INFO longer Press BATT INFO again while the BATTERY INFO is still displayed. The information is displayed for another seven seconds. If you keep pressing BATT INFO, the BATTERY INFO is displayed for up to about 20 seconds. The BATTERY INFO is not displayed in the following cases: - The POWER switch is not set to OFF (CHG). - The battery pack is not installed properly. - The battery pack is fully discharged. 20
-
 1
1 -
2
-
3
-
4
-
5
-
6
-
7
-
8
-
9
-
10
-
11
-
12
-
13
-
14
-
 15
15 -
 16
16 -
 17
17 -
 18
18 -
 19
19 -
 20
20 -
 21
21 -
 22
22 -
 23
23 -
 24
24 -
 25
25 -
26
-
27
-
28
-
29
-
30
-
31
-
32
-
33
-
34
-
35
-
36
-
37
-
38
-
39
-
40
-
41
-
42
-
43
-
44
-
45
-
46
-
47
-
48
-
49
-
50
-
51
-
52
-
53
-
54
-
55
-
56
-
57
-
58
-
59
-
60
-
61
-
62
-
63
-
64
-
65
-
66
-
67
-
68
-
69
-
70
-
71
-
72
-
73
-
74
-
75
-
76
-
77
-
78
-
79
-
80
-
81
-
82
-
83
-
84
-
85
-
86
-
87
-
88
-
89
-
90
-
91
-
92
-
93
-
94
-
95
-
96
-
97
-
98
-
99
-
100
-
101
-
102
-
103
-
104
-
105
-
106
-
107
-
108
-
109
-
110
-
111
-
112
-
113
-
114
-
115
-
116
-
117
-
118
-
119
-
120
-
121
-
122
-
123
-
124
-
125
-
126
-
127
-
128
-
129
-
130
-
131
-
132
-
133
-
134
-
135
-
136
-
137
-
138
-
139
-
140
-
141
-
142
-
143
-
144
-
145
-
146
-
147
-
148
-
149
-
150
-
151
-
152
-
153
-
154
-
155
-
156
-
157
-
158
-
159
-
160
-
161
-
162
-
163
-
164
-
165
-
166
-
167
-
168
-
169
-
170
-
171
-
172
-
173
-
174
-
175
-
176
-
177
-
178
-
179
-
180
-
181
-
182
-
183
-
184
-
185
-
186
-
187
-
188
-
189
-
190
-
191
-
192
-
193
-
194
-
195
-
196
-
197
-
198
-
199
-
200
-
201
-
202
-
203
-
204
-
205
-
206
-
207
-
208
-
209
-
210
-
211
-
212
-
213
-
214
-
215
-
216
-
217
-
218
-
219
-
220
-
221
-
222
-
223
-
224
-
225
-
226
-
227
-
228
-
229
-
230
-
231
-
232
-
233
-
234
-
235
-
236
-
237
-
238
-
239
-
240
-
241
-
242
-
243
-
244
-
245
-
246
-
247
-
248
-
249
-
250
-
251
-
252
-
253
-
254
-
255
-
256
-
257
-
258
-
259
-
260
-
261
-
262
-
263
-
264
-
265
-
266
-
267
-
268
 |
 |