Sony DCR-HC40 Computer Applications Guide - Page 30
Other functions, Creating a DVD (Direct Access to “Click to DVD - software xp
 |
View all Sony DCR-HC40 manuals
Add to My Manuals
Save this manual to your list of manuals |
Page 30 highlights
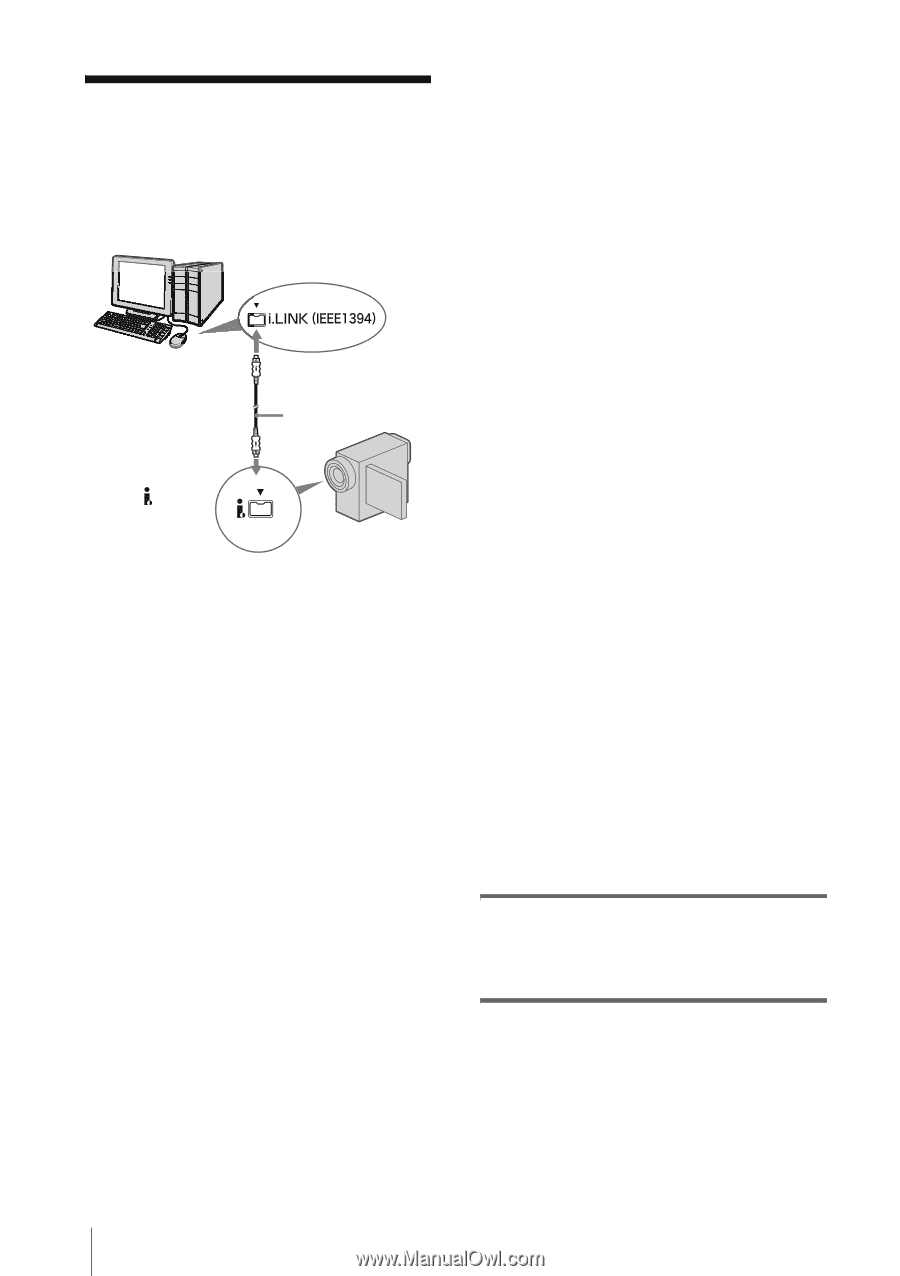
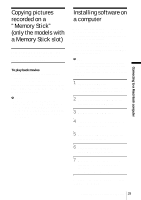
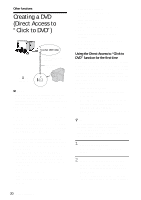
Other functions Creating a DVD (Direct Access to "Click to DVD") to i.LINK (IEEE1394) connector i.LINK cable (optional) to DV Interface b Notes • Some models are not compatible for this operation. Regarding supported models, check to see if there is a listing for the Burn DVD feature in the index of the Camera Operations Guide. • You can only use an i.LINK cable for this operation. You cannot use a USB cable. You can create DVDs when you connect your camcorder to a Sony VAIO series computer* that supports "Click to DVD" via an i.LINK cable (optional). The picture is automatically copied and written to a DVD. The following procedures describe how to create a DVD from a picture recorded on a tape. For system and operation requirements, visit the following URL: * Note that you need a Sony VAIO computer equipped with a DVD drive that can be used to write DVDs. You also need the computer with "Click to DVD Ver.1.2" (Sony original software) or later installed. - Europe http://www.vaio-link.com/ - USA http://www.ita.sel.sony.com/support/ dvimag/ - Asia Pacific Regional http://www.css.ap.sony.com/ - Korea http://scs.sony.co.kr/ - Taiwan http://vaio-online.sony.com/tw/vaio/ - China http://www.sonystyle.com.cn/vaio/ - Thailand http://www.sony.co.th/vaio/index.html - Latin America http://vaio-online.sony.com/ Using the Direct Access to "Click to DVD" function for the first time The Direct Access to "Click to DVD" function enables you to copy pictures recorded on a tape to a DVD easily if your camcorder is connected to a computer. Before operating the Direct Access to "Click to DVD" function, follow the steps below to start "Click to DVD Automatic Mode Launcher." 1 Turn on the computer. 2 Click the start menu, then select [All Programs]. 3 Select [Click to DVD] from the programs displayed, then click [Click to DVD Automatic Mode Launcher]. [Click to DVD Automatic Mode Launcher] starts up. z Tips • After you start up [Click to DVD Automatic Mode Launcher] once, from then on it starts up automatically when you turn on your computer. • [Click to DVD Automatic Mode Launcher] is set up for each Windows XP user. 1 Turn on the computer. Quit all applications running with an i.LINK. 2 Prepare the power source for your camcorder, then slide the POWER switch repeatedly to select the PLAY/ EDIT mode. Use the supplied AC Adaptor as the power source since it takes a few hours to create a 30 Other functions
-
 1
1 -
2
-
3
-
4
-
5
-
6
-
7
-
8
-
9
-
10
-
11
-
12
-
13
-
14
-
15
-
16
-
17
-
18
-
19
-
20
-
21
-
22
-
23
-
24
-
 25
25 -
 26
26 -
 27
27 -
 28
28 -
 29
29 -
 30
30 -
 31
31 -
 32
32 -
 33
33 -
 34
34 -
 35
35 -
36
-
37
-
38
-
39
-
40
-
41
-
42
-
43
-
44
 |
 |