Sony DCR-SR68 Operating Guide - Page 22
Sony DCR-SR68 - Hard Disk Drive Handycam Camcorder Manual
 |
UPC - 027242788701
View all Sony DCR-SR68 manuals
Add to My Manuals
Save this manual to your list of manuals |
Page 22 highlights
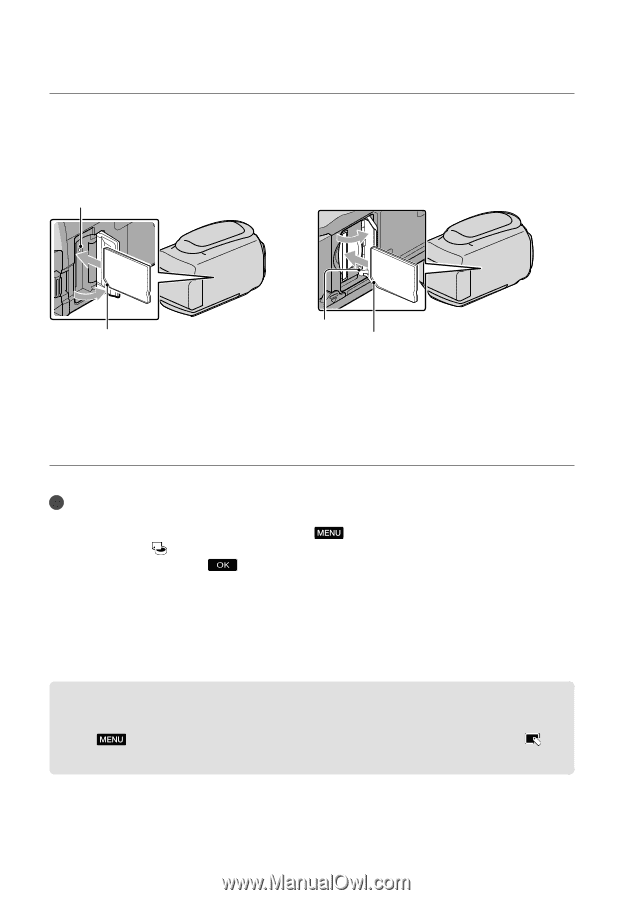
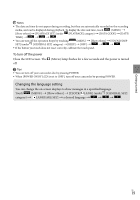
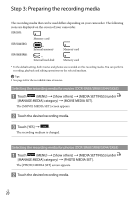
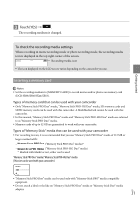
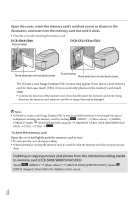
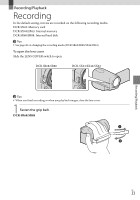
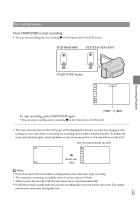
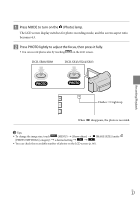
Open the cover, orient the memory card's notched corner as shown in the illustration, and insert into the memory card slot until it clicks. Close the cover after inserting the memory card. DCR-SR68/SR88 Access lamp DCR-SX43/SX44/SX63 A cc e s s lamp Note direction of notched corner. Note direction of notched corner. The [Create a new Image Database File.] screen may appear if you insert a new memory card. In that case, touch [YES]. If you record only photos on the memory card, touch [NO]. Confirm the direction of the memory card. If you forcibly insert the memory card in the wrong direction, the memory card, memory card slot, or image data may be damaged. Notes If [Failed to create a new Image Database File. It may be possible that there is not enough free space.] is displayed, initialize the memory card by touching (MENU) [Show others] [MEDIA FORMAT] (under [MANAGE MEDIA] category) [MEMORY CARD] (DCR-SR68/SR88/SX44/ SX63) [YES] [YES] . To eject the memory card Open the cover and lightly push the memory card in once. Do not open the cover during recording. When inserting or ejecting the memory card, be careful so that the memory card does not pop out and drop. Dubbing or copying movies and photos from the internal recording media to memory card (DCR-SR68/SR88/SX44/SX63) Touch (MENU) [Show others] [MOVIE DUB]/[PHOTO COPY] (under [EDIT] category), then follow the displays on the screen. US 22
-
 1
1 -
2
-
3
-
4
-
5
-
6
-
7
-
8
-
9
-
10
-
11
-
12
-
13
-
14
-
15
-
16
-
 17
17 -
 18
18 -
 19
19 -
 20
20 -
 21
21 -
 22
22 -
 23
23 -
 24
24 -
 25
25 -
 26
26 -
 27
27 -
28
-
29
-
30
-
31
-
32
-
33
-
34
-
35
-
36
-
37
-
38
-
39
-
40
-
41
-
42
-
43
-
44
-
45
-
46
-
47
-
48
-
49
-
50
-
51
-
52
-
53
-
54
-
55
-
56
-
57
-
58
-
59
-
60
-
61
-
62
-
63
-
64
-
65
-
66
-
67
-
68
-
69
-
70
-
71
-
72
-
73
-
74
-
75
-
76
-
77
-
78
-
79
-
80
-
81
-
82
-
83
-
84
-
85
-
86
-
87
-
88
-
89
-
90
-
91
-
92
-
93
-
94
-
95
-
96
-
97
-
98
-
99
-
100
-
101
-
102
-
103
-
104
-
105
-
106
-
107
-
108
-
109
-
110
-
111
-
112
-
113
-
114
-
115
-
116
-
117
-
118
-
119
-
120
-
121
-
122
-
123
-
124
-
125
-
126
-
127
-
128
-
129
-
130
-
131
-
132
-
133
-
134
-
135
-
136
-
137
-
138
-
139
 |
 |