Sony DSC-P200/R Operating Instructions - Page 62
Using the supplied software, Overview of the supplied, software, Installing the software
 |
View all Sony DSC-P200/R manuals
Add to My Manuals
Save this manual to your list of manuals |
Page 62 highlights
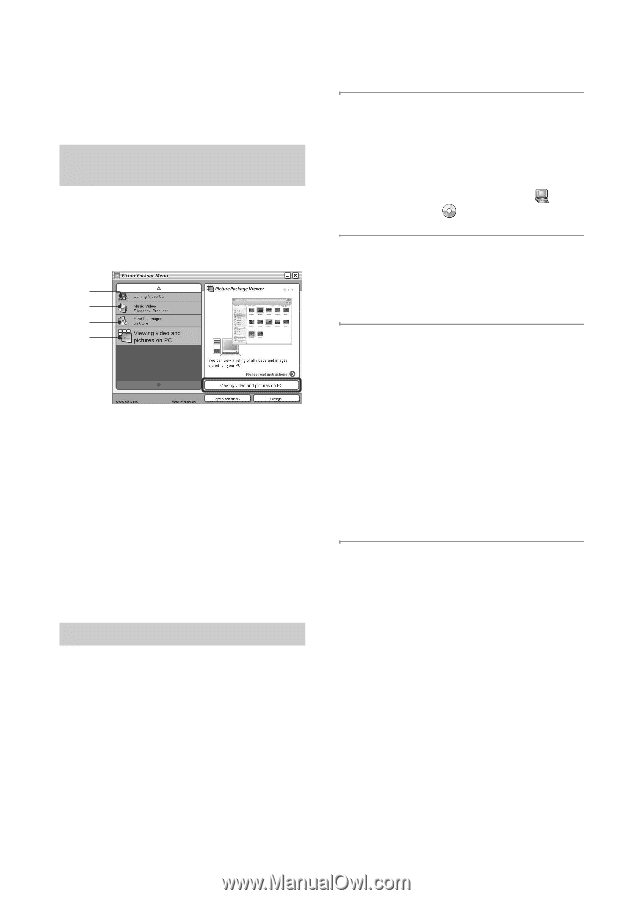
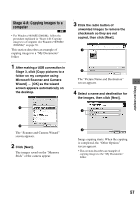
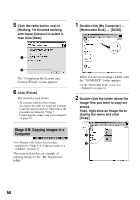
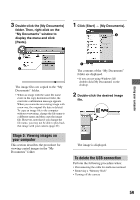
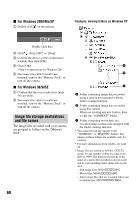
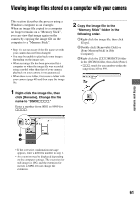
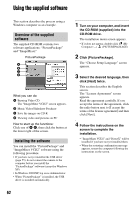
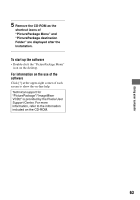
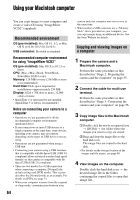
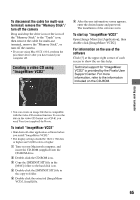
Using the supplied software This section describes the process using a Windows computer as an example. Overview of the supplied software The supplied CD-ROM contains two software applications: "PicturePackage" and "ImageMixer." PicturePackage A B C D What you can do: A Burning Video CD The "ImageMixer VCD2" screen appears. B Music Video/Slideshow Producer C Save the images on CD-R D Viewing video and pictures on PC How to start up the functions: Click one of A-D, then click the button at the lower right of the screen. Installing the software You can install the "PicturePackage" and "ImageMixer VCD2" software using the following procedure. • If you have not yet installed the USB driver (page 55), do not connect the camera to the computer before you install the "PicturePackage" software (except for Windows XP). • In Windows 2000/XP, log on as Administrator. • When "PicturePackage" is installed, the USB driver is installed automatically. 1 Turn on your computer, and insert the CD-ROM (supplied) into the CD-ROM drive. The installation menu screen appears. • If it does not appear, double-click (My Computer) t (PICTUREPACKAGE) 2 Click [PicturePackage]. The "Choose Setup Language" screen appears. 3 Select the desired language, then click [Next] twice. This section describes the English screen. The "License Agreement" screen appears. Read the agreement carefully. If you accept the terms of the agreement, click the radio button next to [I accept the terms of the license agreement] and then click [Next]. 4 Follow the instructions on the screen to complete the installation. • "ImageMixer VCD2" and "DirectX" will be installed if you have not yet installed them. • When the restarting confirmation message appears, restart the computer following the instructions on the screen. 62
-
 1
1 -
2
-
3
-
4
-
5
-
6
-
7
-
8
-
9
-
10
-
11
-
12
-
13
-
14
-
15
-
16
-
17
-
18
-
19
-
20
-
21
-
22
-
23
-
24
-
25
-
26
-
27
-
28
-
29
-
30
-
31
-
32
-
33
-
34
-
35
-
36
-
37
-
38
-
39
-
40
-
41
-
42
-
43
-
44
-
45
-
46
-
47
-
48
-
49
-
50
-
51
-
52
-
53
-
54
-
55
-
56
-
 57
57 -
 58
58 -
 59
59 -
 60
60 -
 61
61 -
 62
62 -
 63
63 -
 64
64 -
 65
65 -
 66
66 -
 67
67 -
68
-
69
-
70
-
71
-
72
-
73
-
74
-
75
-
76
-
77
-
78
-
79
-
80
-
81
-
82
-
83
-
84
-
85
-
86
-
87
-
88
-
89
-
90
-
91
-
92
-
93
-
94
-
95
-
96
-
97
-
98
-
99
 |
 |