Sony MHC-RXD5 Operating Instructions - Page 23
Recording on a tape, manually
 |
View all Sony MHC-RXD5 manuals
Add to My Manuals
Save this manual to your list of manuals |
Page 23 highlights
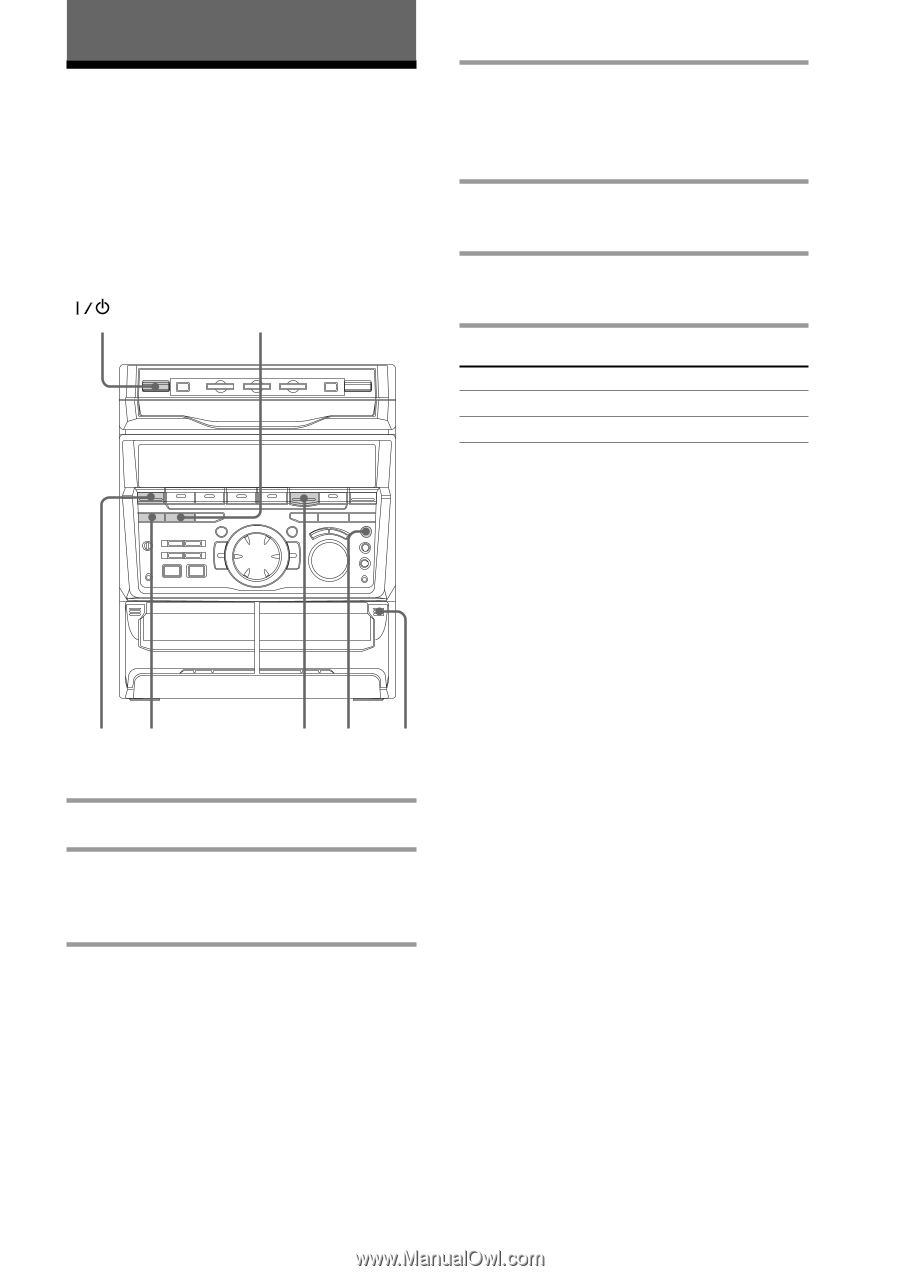
The Tape Deck Recording on a tape manually You can record from CD, tape, or radio as you like. For example, you can record just the songs you want or record from the middle of the tape. The recording level is adjusted automatically. (Power) DOLBY NR 4 Press DIRECTION repeatedly to select A to record on one side. Select ß (or RELAY) to record on both sides. 5 Press REC PAUSE/START. Recording starts. 6 Start playing the source to be recorded. To Stop recording Pause recording Press p. REC PAUSE / START. 6 24 6 p 3,5 1 Tips • If you want to record from the reverse side, press TAPE B 9 to light its indicator after pressing REC PAUSE/START in step 3. • When you want to reduce the hiss noise in lowlevel high-frequency signals, press DOLBY NR so that "DOLBY NR" appears after pressing REC PAUSE/START in step 3. • When recording from a CD, you can use the jog dial to select tracks during rec pause mode (after pressing REC PAUSE/START in step 3 and before pressing REC PAUSE/START in step 5). 1 Insert a blank tape into deck B. 2 Press FUNCTION repeatedly until the source you want to record (e.g., CD) appears. 3 Press REC PAUSE/START. Deck B stands by for recording. The indicator on TAPE B ( (for front side) lights up. 23
-
 1
1 -
2
-
3
-
4
-
5
-
6
-
7
-
8
-
9
-
10
-
11
-
12
-
13
-
14
-
15
-
16
-
17
-
 18
18 -
 19
19 -
 20
20 -
 21
21 -
 22
22 -
 23
23 -
 24
24 -
 25
25 -
 26
26 -
 27
27 -
 28
28 -
29
-
30
-
31
-
32
-
33
-
34
-
35
-
36
-
37
-
38
-
39
-
40
-
41
-
42
-
43
-
44
-
45
-
46
-
47
-
48
 |
 |