Sony VGC-RM1 User Guide - Page 87
Removing and Replacing Computer Panels, Removing and Replacing the Main Unit Top Panel
 |
View all Sony VGC-RM1 manuals
Add to My Manuals
Save this manual to your list of manuals |
Page 87 highlights
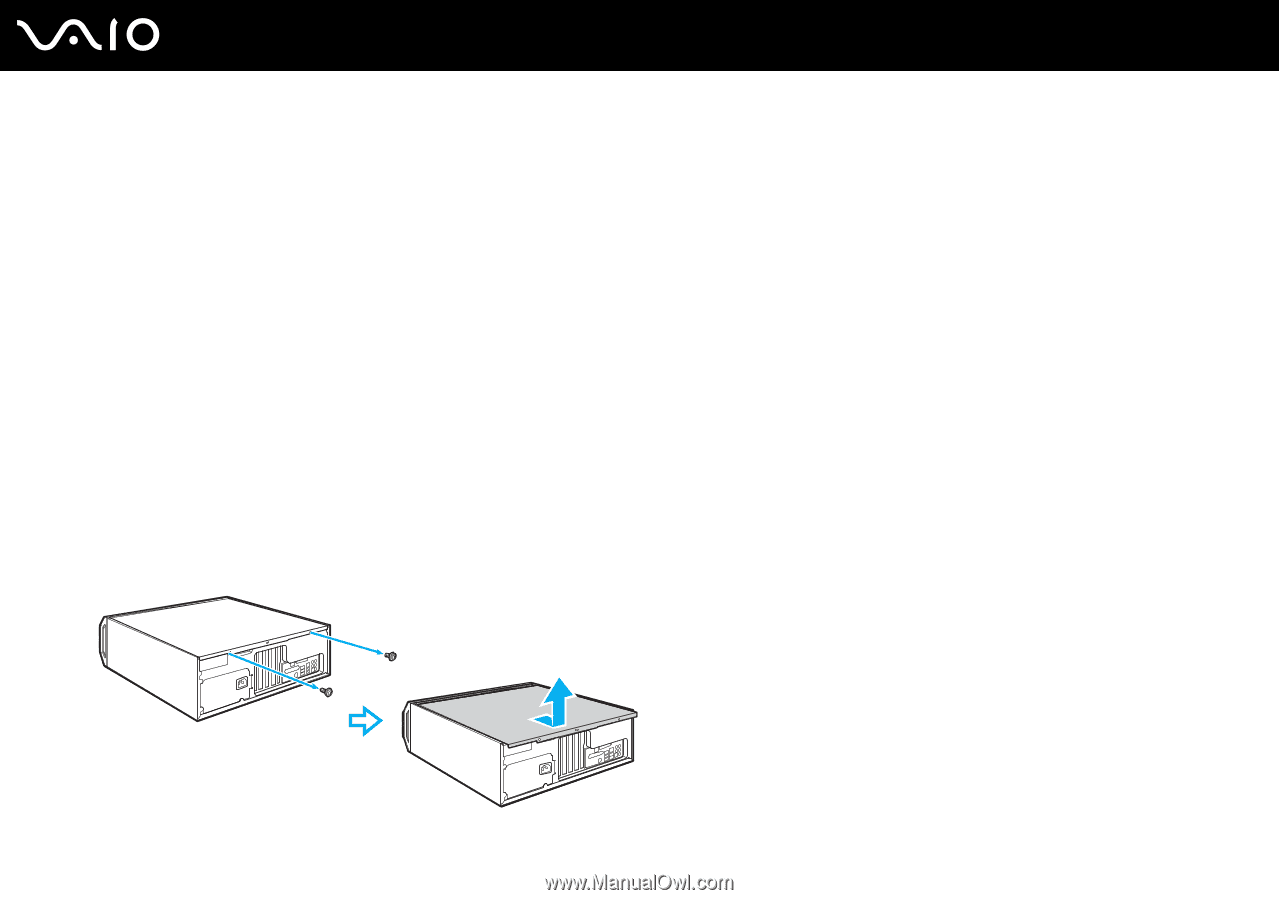
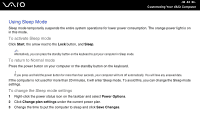
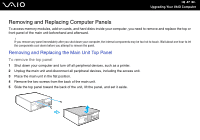
n 87 N Upgrading Your VAIO Computer Removing and Replacing Computer Panels To access memory modules, add-on cards, and hard disks inside your computer, you need to remove and replace the top or front panel of the main unit beforehand and afterward. ! If you remove any panel immediately after you shut down your computer, the internal components may be too hot to touch. Wait about one hour to let the components cool down before you attempt to remove the panel. Removing and Replacing the Main Unit Top Panel To remove the top panel 1 Shut down your computer and turn off all peripheral devices, such as a printer. 2 Unplug the main unit and disconnect all peripheral devices, including the access unit. 3 Place the main unit in the flat position. 4 Remove the two screws from the back of the main unit. 5 Slide the top panel toward the back of the unit, lift the panel, and set it aside.
-
 1
1 -
2
-
3
-
4
-
5
-
6
-
7
-
8
-
9
-
10
-
11
-
12
-
13
-
14
-
15
-
16
-
17
-
18
-
19
-
20
-
21
-
22
-
23
-
24
-
25
-
26
-
27
-
28
-
29
-
30
-
31
-
32
-
33
-
34
-
35
-
36
-
37
-
38
-
39
-
40
-
41
-
42
-
43
-
44
-
45
-
46
-
47
-
48
-
49
-
50
-
51
-
52
-
53
-
54
-
55
-
56
-
57
-
58
-
59
-
60
-
61
-
62
-
63
-
64
-
65
-
66
-
67
-
68
-
69
-
70
-
71
-
72
-
73
-
74
-
75
-
76
-
77
-
78
-
79
-
80
-
81
-
 82
82 -
 83
83 -
 84
84 -
 85
85 -
 86
86 -
 87
87 -
 88
88 -
 89
89 -
 90
90 -
 91
91 -
 92
92 -
93
-
94
-
95
-
96
-
97
-
98
-
99
-
100
-
101
-
102
-
103
-
104
-
105
-
106
-
107
-
108
-
109
-
110
-
111
-
112
-
113
-
114
-
115
-
116
-
117
-
118
-
119
-
120
-
121
-
122
-
123
-
124
-
125
-
126
-
127
-
128
-
129
-
130
-
131
-
132
-
133
-
134
-
135
-
136
-
137
-
138
-
139
-
140
-
141
-
142
-
143
-
144
-
145
-
146
-
147
-
148
-
149
-
150
-
151
-
152
-
153
-
154
-
155
-
156
-
157
-
158
-
159
-
160
-
161
-
162
-
163
-
164
-
165
-
166
-
167
-
168
-
169
-
170
 |
 |