TP-Link TL-PA8030P KIT TL-PA8030P KIT(US) V1 User Guide - Page 20
Network, 4.2.1 Rename the Powerline Device/Enter Password
 |
View all TP-Link TL-PA8030P KIT manuals
Add to My Manuals
Save this manual to your list of manuals |
Page 20 highlights
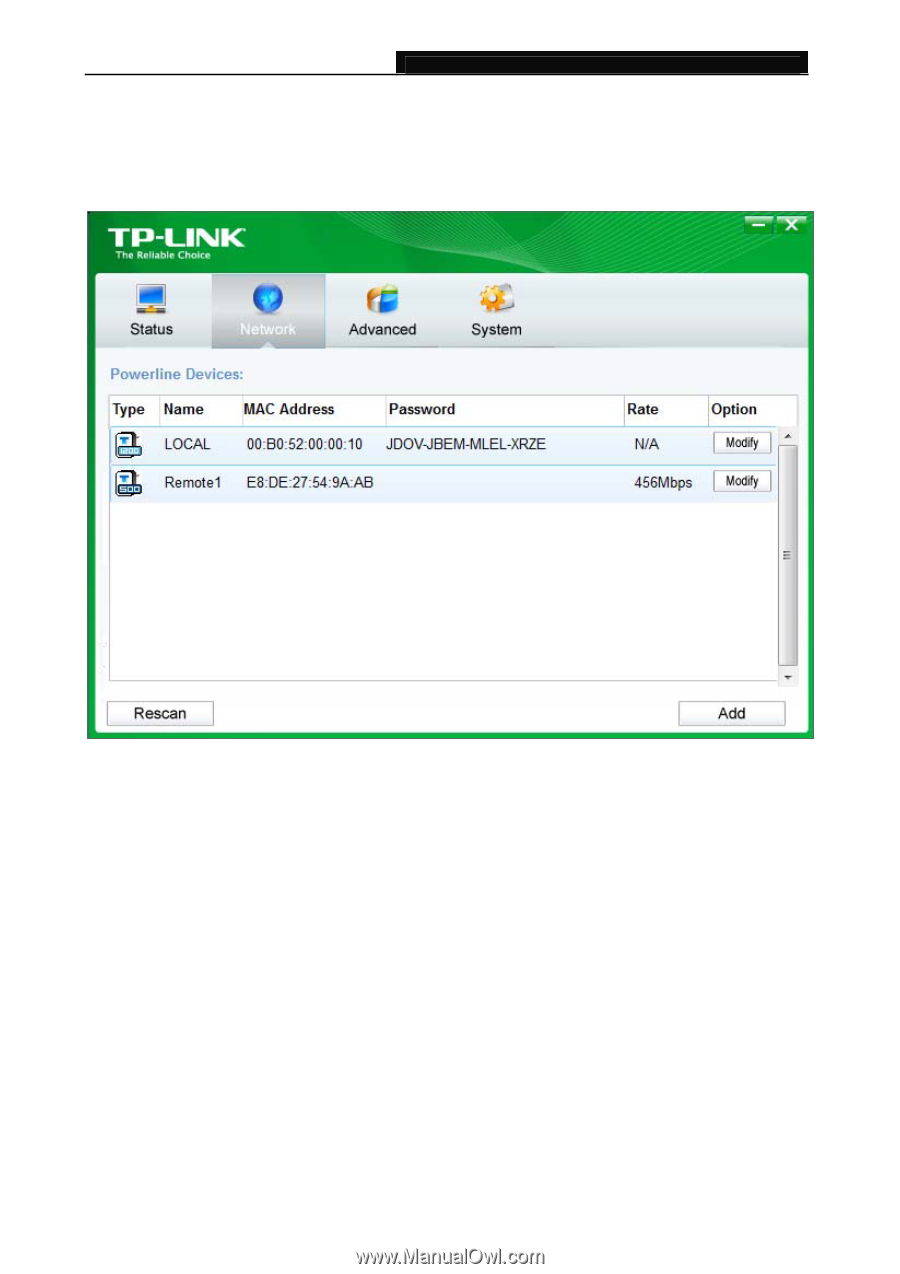
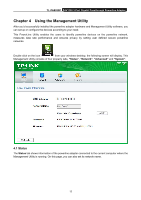
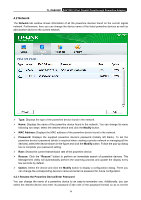
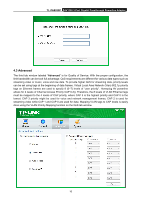
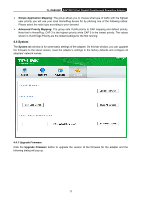
TL-PA8030P AV1200 3-Port Gigabit Passthrough Powerline Adapter 4.2 Network The Network tab window shows information of all the powerline devices found on the current logical network. Furthermore, here you can change the device name of the listed powerline devices as well as add another device to the current network. Type: Displays the type of the powerline device found in the network. Name: Displays the name of the powerline device found in the network. You can change its name following two steps: select the desired device and click the Modify button. MAC Address: Displays the MAC address of the powerline device found in the network. Password: Displays the supplied powerline device's password (Initially left blank). To set the powerline device's password (which is required when creating a private network or managing all the devices), select the device shown in the figure and click the Modify button. Follow the pop-up dialog box to complete your password setting. Rate: Shows the current transmission rate of the powerline device. Rescan: Click the "Rescan" button to perform an immediate search of powerline devices. The Management Utility will automatically perform the scanning process and update the display every few seconds by default. Option: Select the device and click the Modify button to display a configuration dialog. There you can change the corresponding device's name and enter its password for future configuration. 4.2.1 Rename the Powerline Device/Enter Password You can change the name of a powerline device to an easy-to-remember one. Additionally, you can select the desired device and enter its password (Take note of the password format) so as to set the 14
-
 1
1 -
2
-
3
-
4
-
5
-
6
-
7
-
8
-
9
-
10
-
11
-
12
-
13
-
14
-
 15
15 -
 16
16 -
 17
17 -
 18
18 -
 19
19 -
 20
20 -
 21
21 -
 22
22 -
 23
23 -
 24
24 -
 25
25 -
26
-
27
 |
 |