Toshiba 20HLV16 Owners Manual - Page 42
Auto power off, Understanding the Power Return feature, Adjusting the back lighting feature,
 |
View all Toshiba 20HLV16 manuals
Add to My Manuals
Save this manual to your list of manuals |
Page 42 highlights
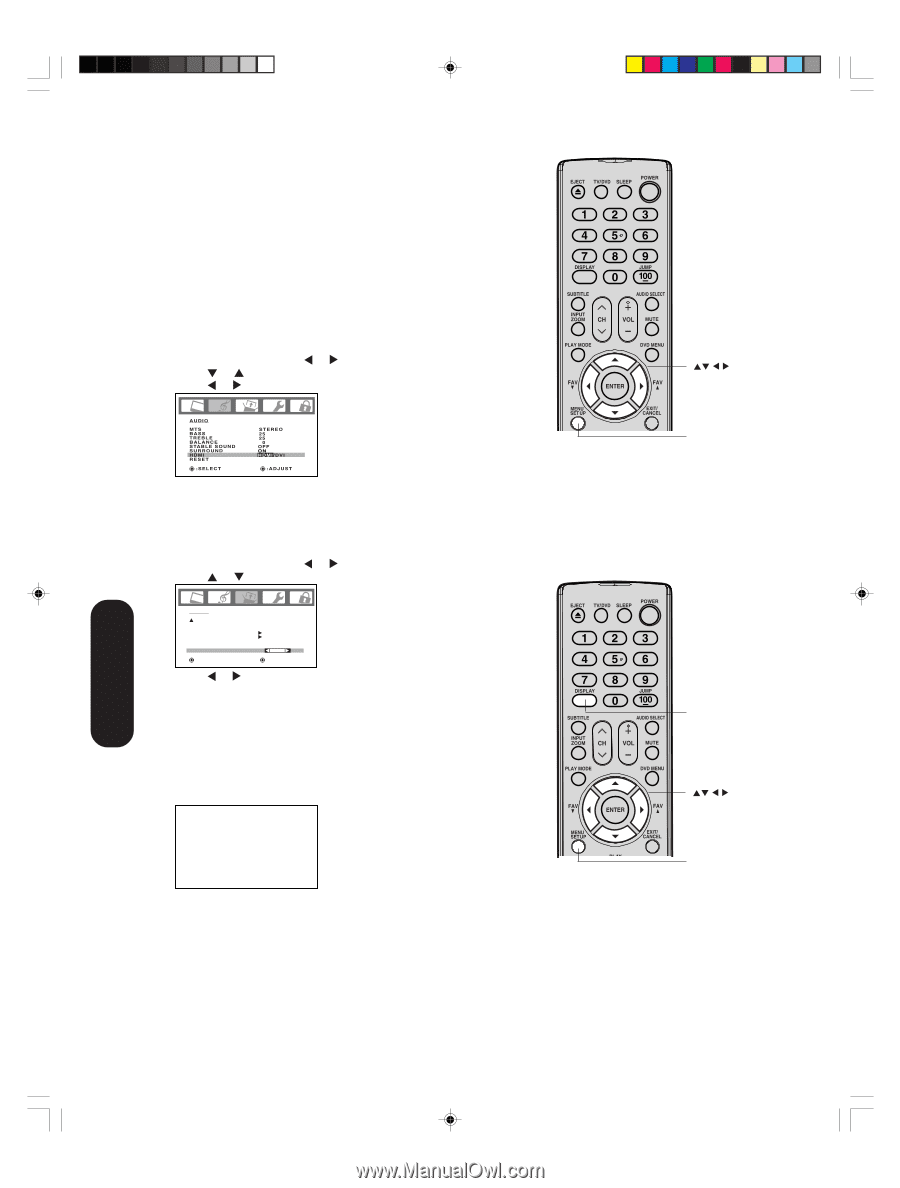
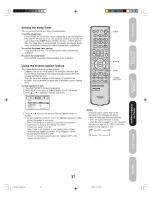
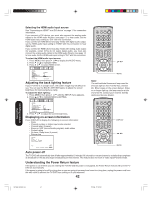
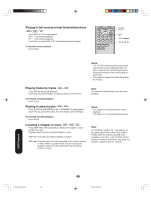
Selecting the HDMI audio input source See "Connecting an HDMITM or a DVI device" on page 17 for connection information. If you connect a DVI device, you must also connect the analog audio cables to the HDMI audio IN jacks (see page 17) to hear audio. Set the HDMI audio input setting to "DVI" with this connection. If you connect an HDMI device and play media with digital audio output, set the HDMI audio input setting to "HDMI" with this connection to hear digital audio . If you connect an HDMI device but play media with analog audio output (for example, certain CDVs do not output digital audio), you must also connect the analog audio cables to the HDMI audio IN jacks (see page 17) to hear audio. Set the HDMI audio input setting to "DVI" with this connection. To select the HDMI audio input source: 1. Press MENU, then press or to display the AUDIO menu. 2. Press or to highlight HDMI. 3. Press or to select HDMI or DVI. AUDIO MTS BASS TREBLE BALANCE S TA B L E S O U N D SURROUND HDMI RESET :SELECT STEREO 25 25 0 OFF ON HDMI/DVI :ADJUST Adjusting the back lighting feature If your TV/DVD is in a bright room, the screen image may be difficult to see. You can use the BACK LIGHTING feature to adjust the screen brightness for improved picture clarity. To adjust the back lighting: 1. Press MENU, then press or until the SETUP menu appears. 2. Press or to highlight BACK LIGHTING. MENU Note: The cold cathode fluorescent lamp used for the back light on this TV/DVD has a limited life. When areas on the screen darken, flicker, or no longer light up, the lamp may be at the end of its life. Contact your nearest Toshiba Authorized Service Station. SETUP CLOSED CAPTION PICTURE SIZE PICTURE SCROLL CINEMA MODE ASPECT BACK LIGHTING :SELECT OFF FILM ON 16 :ADJUST 3. Press or to adjust the screen brightness. Displaying on-screen information Press DISPLAY to display the following on-screen information: • Clock • Channel number or Video input mode selected • Channel label (if preset) • Stereo or SAP (second audio program) audio status • Content rating • On timer, Sleep timer (if preset) • Picture size STEREO SAP TV-PG L V ON TIMER 12:00AM SLEEP TIMER 2h00m DISPLAY FULL ANT ABCD 0 0 2 C L O C K 1 2 : 0 0 A M C A B L E MENU Auto power off The TV/DVD will automatically turn off after approximately 15 minutes if it is tuned to a vacant channel or a station that completes its broadcast for the day and stops broadcasting on that channel. This feature does not work in Video input/PC/DVD mode. Understanding the Power Return feature If the power is cut off while you are viewing the TV/DVD and the power is resupplied, the Power Return feature will turn the TV/ DVD on automatically. If the power is going to be off for a long time or you are going to be away from home for a long time, unplug the power cord from the wall outlet to prevent the TV/DVD from turning on in your absence. 42 Using the TV/DVD's Features 5X20601A(E)P41-43 42 17/3/06, 12:25 PM
-
 1
1 -
2
-
3
-
4
-
5
-
6
-
7
-
8
-
9
-
10
-
11
-
12
-
13
-
14
-
15
-
16
-
17
-
18
-
19
-
20
-
21
-
22
-
23
-
24
-
25
-
26
-
27
-
28
-
29
-
30
-
31
-
32
-
33
-
34
-
35
-
36
-
 37
37 -
 38
38 -
 39
39 -
 40
40 -
 41
41 -
 42
42 -
 43
43 -
 44
44 -
 45
45 -
 46
46 -
 47
47 -
48
-
49
-
50
-
51
-
52
-
53
-
54
-
55
-
56
-
57
-
58
-
59
-
60
-
61
-
62
-
63
-
64
-
65
-
66
-
67
-
68
-
69
-
70
-
71
-
72
 |
 |