Toshiba 52RV535U Owner's Manual - English - Page 39
To set the Channel Tuning Mode
 |
UPC - 022265001905
View all Toshiba 52RV535U manuals
Add to My Manuals
Save this manual to your list of manuals |
Page 39 highlights
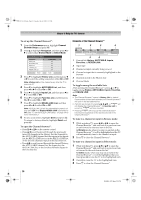
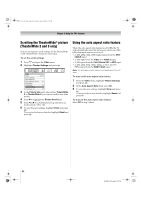
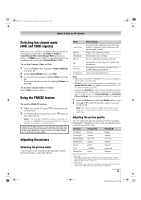
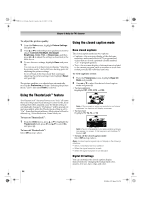
52RV535U_EN.book Page 39 Tuesday, July 22, 2008 5:25 PM Chapter 6: Using the TV's features Adding and clearing channels and inputs in the History List Adding channels and inputs to the History List: As a channel or input is tuned, the Channel Browser™ adds it to the History List and displays it on the "right side" of the Channel Browser™. Previously tuned channels/inputs are "shifted" to the left, eventually moving off the left side. Press 3 C to surf backward through the previously tuned channels/inputs. Any channel or input that is tuned repeatedly will not be repeated in the History List but instead will be moved to the end of the list on the right side of the Channel Browser™. The Channel Browser™ will store the following channels: • All channels that are tuned using the numeric buttons on the remote control. • All channels that are tuned for at least 5 seconds using < or , on the remote control. Note: Whenever an item is selected that cannot be tuned (for various reasons), the TV will automatically tune to the previously viewed channel or input. Clearing channels from the History List: • Reconfiguring the ANT/CABLE input will clear the History List. Note: See page 30 for details on configuring the antenna input. • Once 32 channels or inputs are stored in the History List, the oldest item will be removed from the list when a new channel or input is tuned. • Turning off the TV will clear the History List. Setting the Channel Tuning Mode This feature allows you to choose how tuning will be handled for analog and digital channels when the TV is in Antenna mode. Note: To use this feature, the Input Configuration must be set to Antenna (- page 30). The channel tuning mode has three options. Mode Description Standard Both analog and digital channels can be tuned normally Auto (default) Digital channels will have priority when manually entering a channel number using the Channel Number (0-9) on the remote control, analog channels can still be tuned by < / , if available Digital Only digital channels can be tuned Note: Digital mode will be most useful after analog channels are shut down by the government in 2009. To set the Channel Tuning Mode: 1 From the Setup menu, highlight Installation and press T. A new set of Installation menu icons will appear. 2 Open the Terrestrial menu, highlight Channel Tuning Mode, press c and B b to select your desired mode, and then press T. Note: • The Channel Add/Delete & Channels Block windows as well as the Channel Browser ANT/CABLE list will be updated automatically when you change the mode. Also, the History List will be cleared, but the Favorites List will be saved. • Even if the Channel Tuning Mode is set to Digital, analog channel 3 will still be the default channel to prevent the initial case where no digital channels have been found in prior channel scans. (Channel Add/Delete will not have anything listed until a scan is done.) Tuning to the next programmed channel To tune to the next programmed channel: Press < or , on the remote control or TV control panel. Note:This feature will not work unless you program channels into the TV's channel memory (- page 30). Tuning to a specific channel (programmed or unprogrammed) Tuning analog channels: Press the Channel Number (0-9) on the remote control. For example, to select channel 125, press 1, 2, 5, then T. Tuning digital channels: Enter the major Channel Number (0-9) on the remote control, followed by the dash (=) button and then the sub-channel number. For example, to select digital channel 125-1, press 1, 2, 5, -, 1, then T. Note: If a digital channel is not programmed-either through the automatic channel scan (- page 30) or the channel add/ delete function (- page 31)-you will have to tune the RF channel using the Physical Channel Number. (continued) 39 RV535U (E/F) Web 213:276
-
 1
1 -
2
-
3
-
4
-
5
-
6
-
7
-
8
-
9
-
10
-
11
-
12
-
13
-
14
-
15
-
16
-
17
-
18
-
19
-
20
-
21
-
22
-
23
-
24
-
25
-
26
-
27
-
28
-
29
-
30
-
31
-
32
-
33
-
 34
34 -
 35
35 -
 36
36 -
 37
37 -
 38
38 -
 39
39 -
 40
40 -
 41
41 -
 42
42 -
 43
43 -
 44
44 -
45
-
46
-
47
-
48
-
49
-
50
-
51
-
52
-
53
-
54
-
55
-
56
-
57
-
58
-
59
-
60
-
61
-
62
-
63
-
64
-
65
-
66
-
67
-
68
-
69
-
70
-
71
-
72
-
73
-
74
 |
 |