Toshiba SD-4200KU Owner's Manual - English - Page 19
English, JPEG Interval
 |
View all Toshiba SD-4200KU manuals
Add to My Manuals
Save this manual to your list of manuals |
Page 19 highlights
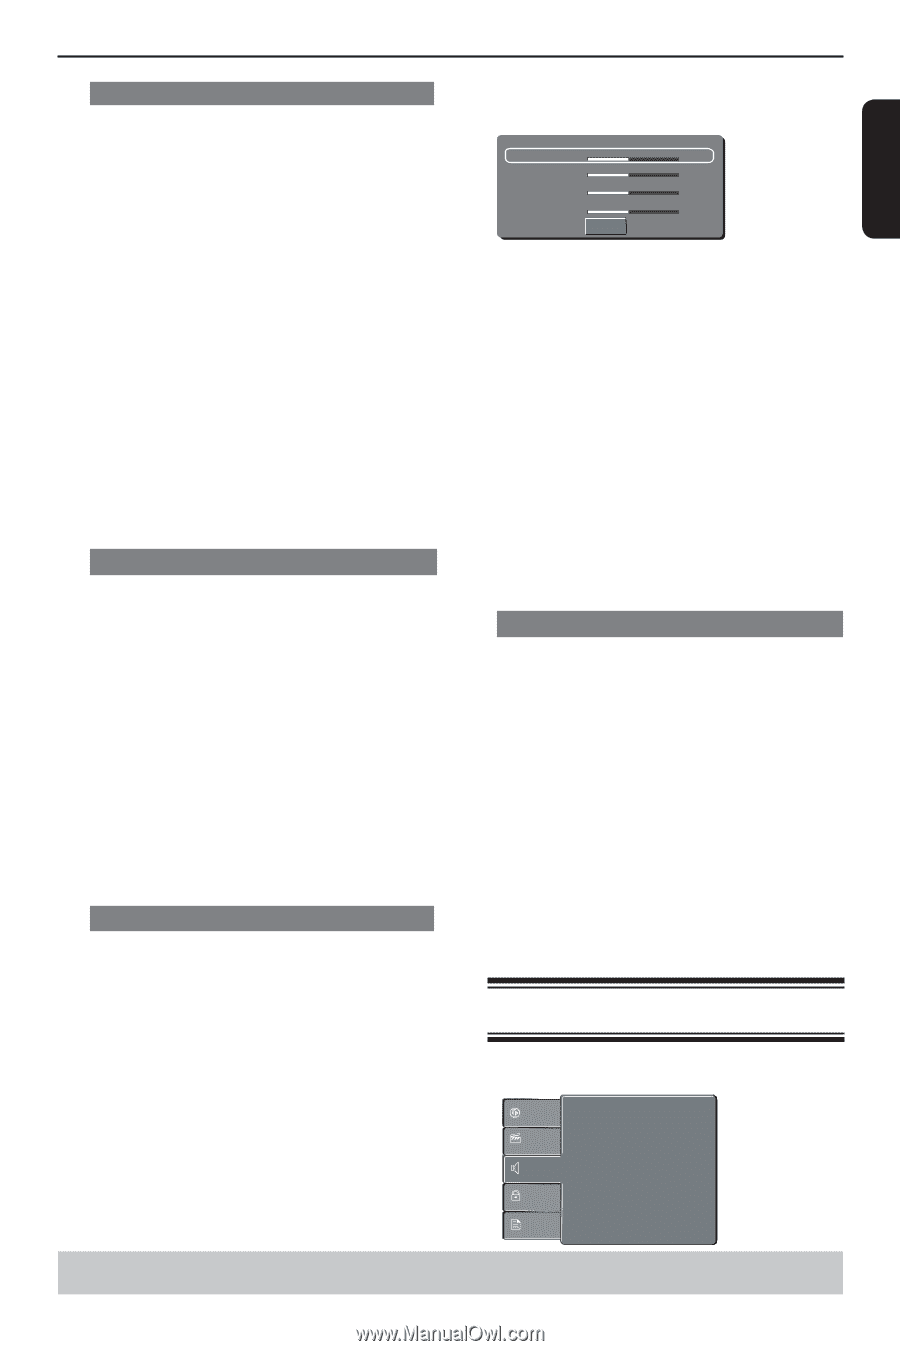
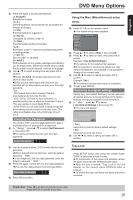
DVD Menu Options English View Mode Use view mode to scale an image that fits to the TV screen's width and height. A In ' Video ', press / to select { View Mode }, then press . { Fill } Fill the screen with decoded image. { Original } Display image as its original size. { Height Fit } Fit the screen height with image height. { Width Fit } Fit the screen width with image width. { Auto Fit } Automatically display the decoded image on screen at a suitable size. { Pan Scan } Automatically display decoded image on full screen without distortion. B Use / to select a setting and press OK to confirm. Tip: -Depending on the type of disc, you may not be able to view the mode as selected. Video Out The video output of the DVD player can be selected as " Component " or " P-Scan". A In 'Video', press / to select { Video Out }, then press . { Component } Select this for Video(CVBS) or component video connection. { P-Scan } Select this when you connect your DVD player to your TV, which has component video inputs that supports progressive scan. B Use / to select a setting and press OK to confirm. If the progressive scan feature is activated but the connected TV does not support progressive scan, press number button "1" with the disc tray opened to set the video output of the DVD player to "Component". Smart Picture This DVD player provides four predefined sets of picture color settings. A In ' Video ', press / to select {Smart Picture }, then press . { Standard } Select this for a preset standard picture setting. { Vivid } Select this to make the picture brighter. { Cool } Select this to make the picture softer. { Personal } Select this to personalize your picture color by adjusting the brightness, contrast, tint and color (saturation). B Use / to select a setting and press OK to confirm. C If you select { Personal }, then proceed to steps D~G. The setup menu appears. Brightness Contrast Tint Color 0 0 0 0 Close D Press / to highlight one of the following options. Brightness Increase the value to brighten the picture or vice versa. Choose zero (0) for average setting. Contrast Increase the value to sharpen the picture or vice versa. Choose zero (0) to balance the contrast. Tint Increase the value to darken the picture or vice versa. Choose zero (0) for average setting. Color Increase the value to enhance the color in your picture or vice versa. Choose zero (0) to balance the color. E Press / to adjust the setting that best suits your personal preference. F Repeat steps D~ E to adjust your picture preference. G Press / to select 'Close' and press OK to confirm. JPEG Interval You can continuously playback all JPEG files automatically. Set "JPEG Interval" to "5 Seconds", "10 Seconds" or "15 Seconds". A In ' Video ', press / to select { JPEG Interval }, then press . { Off } Plays back one file at a time. { 5 Seconds } Plays back images in the form of a slide show at 5 seconds intervals. { 10 Seconds } Plays back images in the form of a slide show at 10 seconds intervals { 15 Seconds } Plays back images in the form of a slide show at 15 seconds intervals B Use / to select a setting and press OK to confirm. Using the Audio setup menu A Press SETUP on the remote control. The system setup menu appears. Language Video Audio Digital Output Night Mode Down Sampling 3D Effects : All : Off : On : Off Rating Misc Helpful hint: Press to go back to previous menu item. Press SETUP to exit the menu item. 18
-
 1
1 -
2
-
3
-
4
-
5
-
6
-
7
-
8
-
9
-
10
-
11
-
12
-
13
-
 14
14 -
 15
15 -
 16
16 -
 17
17 -
 18
18 -
 19
19 -
 20
20 -
 21
21 -
 22
22 -
 23
23 -
 24
24 -
25
-
26
-
27
-
28
 |
 |