Toshiba Satellite L45-ASP4308WL Windows XP User Guide - Page 18
Installing Windows XP - 1: Preparation
 |
View all Toshiba Satellite L45-ASP4308WL manuals
Add to My Manuals
Save this manual to your list of manuals |
Page 18 highlights
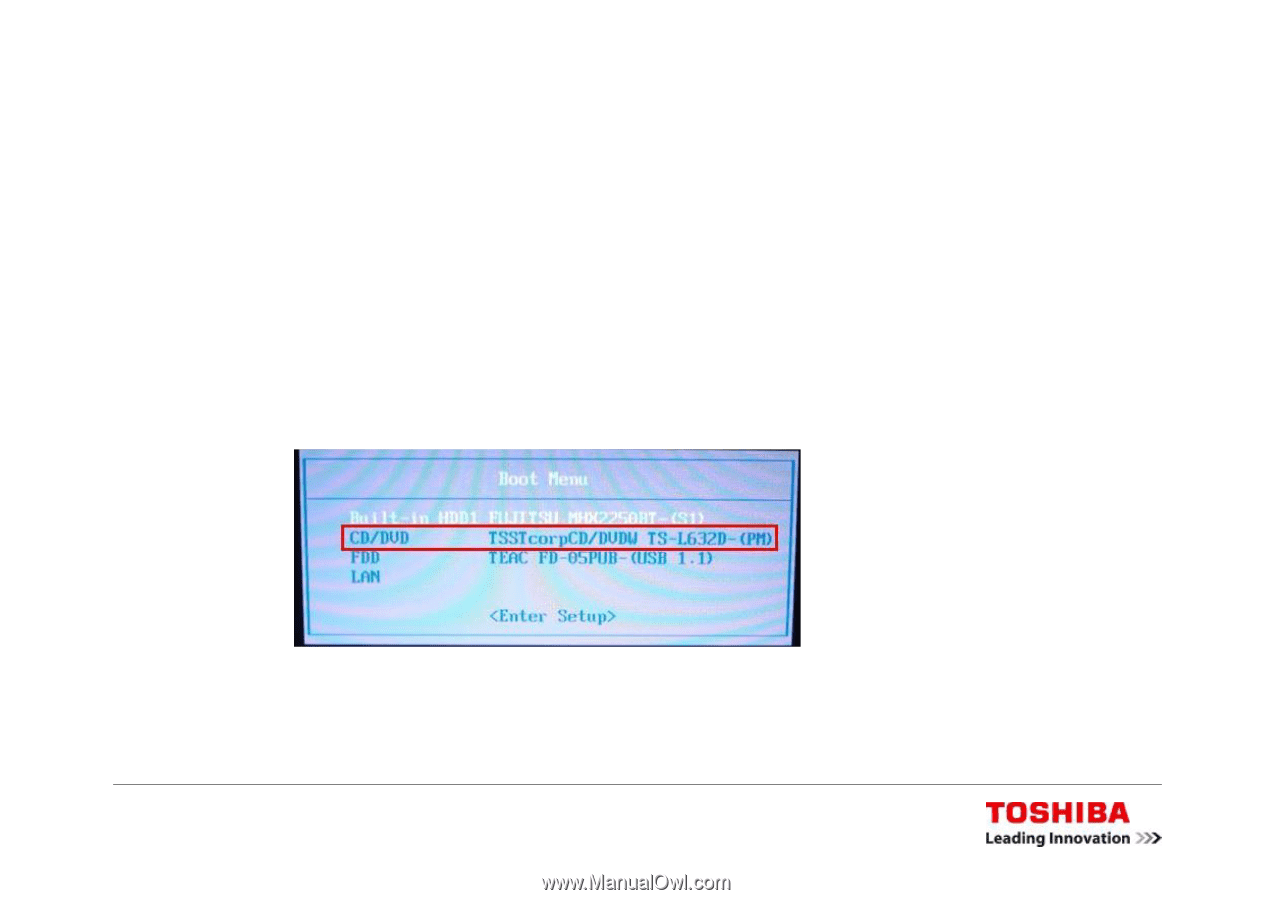
Installing Windows XP - 1: Preparation 1. Connect the USB FDD to your TOSHIBA Satellite L40. 2. Put the 3.5" floppy disk you prepared into the USB FDD. 3. Insert your genuine Windows XP CD in the DVD drive. 4. Press the power button of your TOSHIBA Satellite L40 to switch the notebook on. 5. Keep the F12 key pressed until the boot device menu comes up. 6. Select "CD/DVD" for boot device. How to Install Windows XP on a Satellite L40 Non-OS Model - Page 18
-
 1
1 -
2
-
3
-
4
-
5
-
6
-
7
-
8
-
9
-
10
-
11
-
12
-
 13
13 -
 14
14 -
 15
15 -
 16
16 -
 17
17 -
 18
18 -
 19
19 -
 20
20 -
 21
21 -
 22
22 -
 23
23 -
24
-
25
-
26
-
27
-
28
-
29
 |
 |
How to Install Windows XP on a Satellite L40 Non-OS Model - Page 18
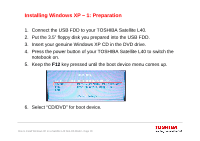
Installing Windows XP – 1: Preparation
1.
Connect the USB FDD to your TOSHIBA Satellite L40.
2.
Put the 3.5” floppy disk you prepared into the USB FDD.
3.
Insert your genuine Windows XP CD in the DVD drive.
4.
Press the power button of your TOSHIBA Satellite L40 to switch the
notebook on.
5.
Keep the
F12
key pressed until the boot device menu comes up.
6.
Select “CD/DVD” for boot device.