URC HDA-4100 Owners Manual - Page 8
InstallationInstructions
 |
View all URC HDA-4100 manuals
Add to My Manuals
Save this manual to your list of manuals |
Page 8 highlights
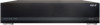
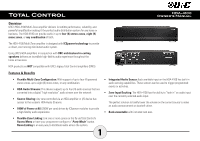
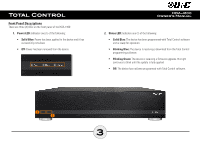
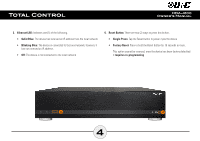
Total Control Installation Instructions The HDA-4100 Multi-Zone Amplifier comes with rack-mounting ears and can be installed in a 2U rack space. Installing the HDA-4100 in a Rack: 1. Using a cross-head screw driver, remove the HDA-4100's feet from the bottom of the device. 2. Attach the rack ears to the left and right sides of the amplifier using the supplied screws. Align the rack ears to the sides of the HDA-4100 aligning the three (3) screw inserts with the slots on the left and right sides of the devices. Turn all three (3) cross-styled screws clockwise until the rack ears are secured onto the device's chassis. 3. Install into the rack (2U rack space) and connect cabling. 4. Use the supplied cross-styled screws (4) to secure the HDA-4100 (with rack ears installed) to the equipment rack. 6 HDA-4100 Owner's Manual CAUTION! To prevent damage, maintain adequate ventilation space to the sides of the amplifier. Amplifiers can be stacked vertically, but assure that the device is NOT placed next to other components or against the side of a cabinet. Doing so may block ventilation openings.
-
 1
1 -
2
-
 3
3 -
 4
4 -
 5
5 -
 6
6 -
 7
7 -
 8
8 -
 9
9 -
 10
10 -
 11
11 -
 12
12 -
 13
13 -
14
-
15
-
16
-
17
-
18
-
19
 |
 |
