ViewSonic VP2365-LED VP2365-LED User Guide (English) - Page 11
Wall Mounting Optional
 |
View all ViewSonic VP2365-LED manuals
Add to My Manuals
Save this manual to your list of manuals |
Page 11 highlights
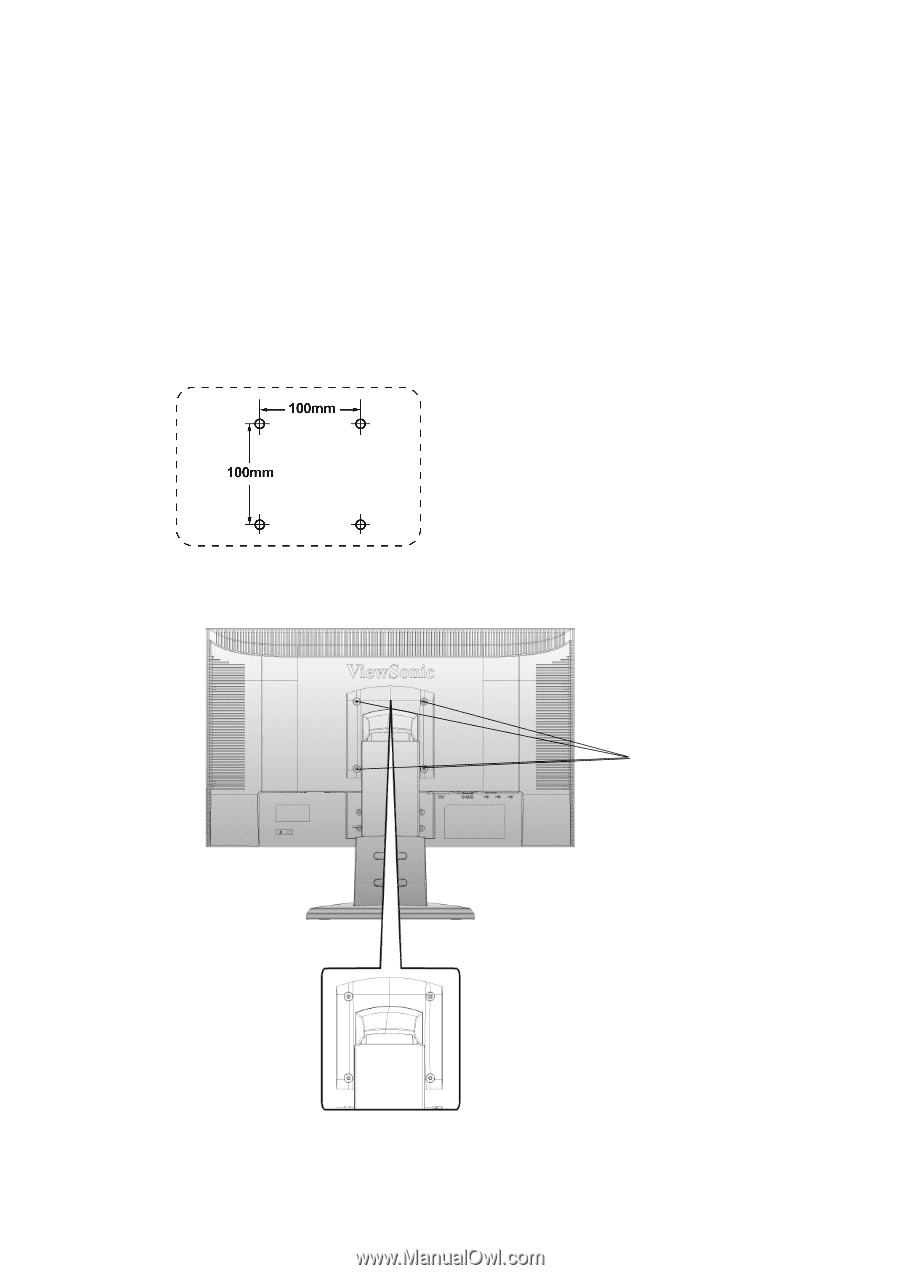
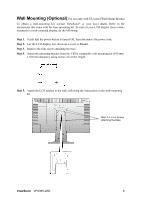
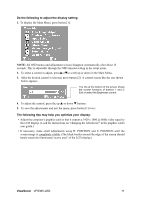
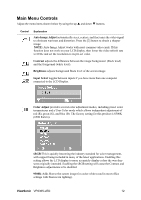
Wall Mounting (Optional) For use only with UL Listed Wall Mount Bracket To obtain a wall-mounting kit, contact ViewSonic® or your local dealer. Refer to the instructions that come with the base mounting kit. To convert your LCD display from a deskmounted to a wall-mounted display, do the following: Step 1. Verify that the power button is turned Off, then disconnect the power cord. Step 2. Lay the LCD display face down on a towel or blanket. Step 3. Remove the four screws attaching the base. Step 4. Attach the mounting bracket from the VESA compatible wall mounting kit (100 mm x 100 mm distance), using screws of correct length. Step 5. Attach the LCD display to the wall, following the instructions in the wall-mounting kit. Step 3-4. Four screws attaching the base ViewSonic VP2365-LED 8
-
 1
1 -
2
-
3
-
4
-
5
-
 6
6 -
 7
7 -
 8
8 -
 9
9 -
 10
10 -
 11
11 -
 12
12 -
 13
13 -
 14
14 -
 15
15 -
 16
16 -
17
-
18
-
19
-
20
-
21
-
22
-
23
-
24
-
25
-
26
-
27
 |
 |