Viking VCFW1000 Installation Instructions - Page 6
User - Maintenance Instructions, Service Information - manual
 |
View all Viking VCFW1000 manuals
Add to My Manuals
Save this manual to your list of manuals |
Page 6 highlights
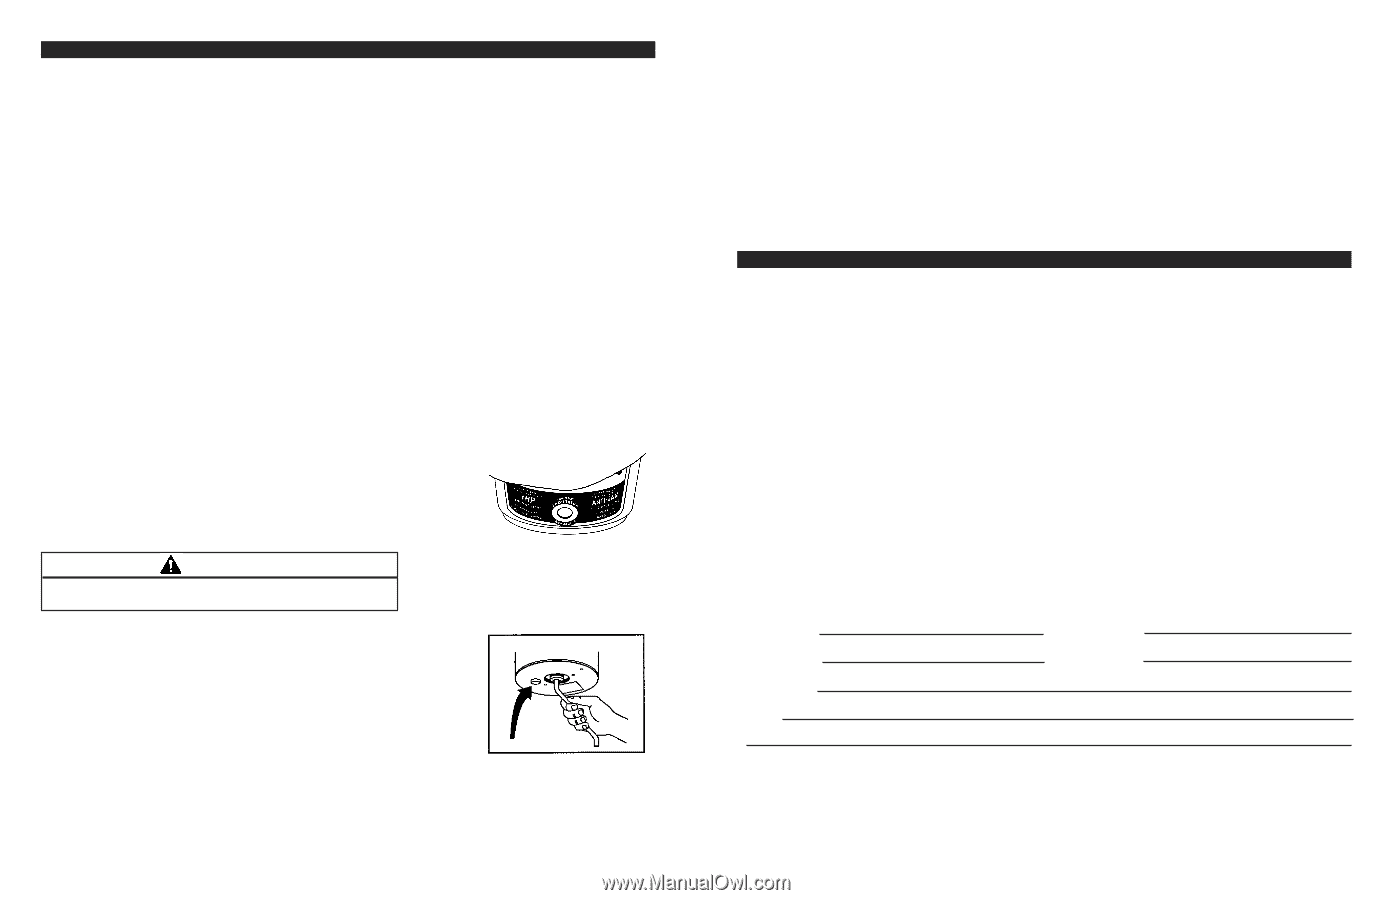
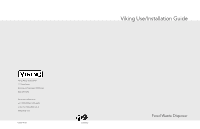
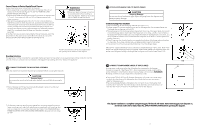
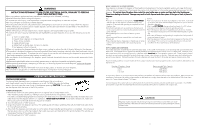
USER - MAINTENANCE INSTRUCTIONS CLEANING DISPOSER Over time, food particles may accumulate in the grind chamber and baffle. An odor from the disposer is usually a sign of grease and food buildup, caused by insufficient water flow during and after disposer use. To clean disposer: 1. Turn off disposer and disconnect power supply. 2. Reach through sink opening and clean underside of splash baffle and inside upper lip of grind chamber with scouring pad. 3. Place stopper in sink opening and fill sink halfway with warm water. 4. Mix 1/4 cup (.06 L) baking soda with water. Turn disposer on and remove stopper from sink at same time to wash away loose particles. WHAT IF YOUR DISPOSER JAMS Jams of any nature are not considered a product deficiency and are not covered by in-warranty service or labor. Each time the disposer is operated, the grind wheel moves in the opposite direction for greater efficiency and longer grinding element life. Should the disposer become jammed, the reversing action will help clear many jams. If your disposer appears to be jammed, the grind wheel inside the upper housing will not turn freely. Check the following procedure for each model before calling your dealer and possibly save the cost of a service call. Note: These disposers are equipped with built-in overload protection. If disposer is jammed for more than 30 seconds, an overload protector automatically cuts off current to the motor, preventing motor damage. See below for instructions on how to reset. Procedure for releasing jam: 1. Each time the disposer is operated, the grind wheel moves in the opposite direction. Should the disposer become jammed, the reversing action will help clear many jams. Flip the wall switch off and on. Repeat several times if necessary to clear the jam. 2. The exclusive Power Plus Jam-inatorTM button, (only available on 1000 model), uses a solid state control to vibrate the grind wheel back and forth 7000 times per minute. (See Figure B) This will eliminate almost any jam instantly. When a difficult jam occurs, follow these steps: -Make sure the wall switch is in the "ON" position and the disposer is "humming". -Press the Jam-inator button on the front side of the disposer and release DO NOT HOLD. -If the disposer is still jammed, repeat pressing and releasing the button until the disposer runs. Figure B CAUTION Personal Injury To prevent personal injury, turn disposer off before attempting to clear jams. 3. If the disposer is still jammed, turn off disposer and water. Insert one end of selfservice wrenchette into center hole on bottom of disposer (see Figure C). Work wrenchette back and forth until it turns one full revolution. Remove wrenchette. 4. Reach into disposer with tongs and remove object(s). Allow disposer motor to cool for 3 - 5 minutes and lightly push red reset button on the disposer bottom (see Figure C). (If motor remains inoperative, check service panel for tripped circuit breakers or blown fuses.) If the disposer is jammed too long (approximately 9 seconds), the thermal overload protector will stop the motor (the motor will not hum). Wait 3 to 5 minutes, then press Figure C the red reset button on the bottom of the disposer. If disposer has been running for an extended period of time, you may have to wait 20 to 25 minutes for the motor to cool before pressing the red reset button. Lightly push red reset button on bottom of the disposer. 10 Operation With the Dishwasher If your dishwasher drains through your disposer, run the disposer for a short time before starting the dishwasher. This will ensure that the disposer is free of any food waste. Such waste could cause a "backup" of the discharge water from the dishwasher. DO NOT OPERATE THE DISPOSER WHILE THE DISHWASHER IS IN OPERATION. After operating the dishwasher, run the disposer for a short time to clean and flush all particles discharged by the dishwasher into the disposer down the main drain line. When the dishwasher is in operation, we recommend the cover be placed in the DRAIN position. The will eliminate the possibility of water splash out. Use Energy Wisely A food waste disposer uses a negligible amount of energy. Total energy requirements associated with operating a food waste disposer will be minimized by following the recommendations in this manual. SERVICE INFORMATION If your disposer should fail to operate: 1. Is the grind wheel jammed? Make sure grind wheel is free to rotate. 2. Is the circuit breaker open, or is fuse blown? 3. Is the disposer wall switch turned "ON"? If Service is Required: 1. Call your dealer or authorized service agency. The name of the authorized service agency can be obtained from the dealer or distributor in your area. 2. Have the following information available: -Model number -Serial number -Date purchased -Name of dealer from whom you purchased the appliance. 3. Clearly describe the problem you are experiencing. If you are unable to obtain the name of an authorized service agency, or continue to have service problems, call Viking, (888) 845-4641, or write to: Viking Preferred Service 111 Front Street Greenwood, Mississippi 38930 USA Record the information indicated below. You will need it if service is ever required. The serial and model numbers for your disposer are located on an identification plate attached to the side at the bottom of the disposer. Model Number Serial Number Date Purchased Date Installed Dealer's Name Address If service requires installation of parts, use only authorized parts to ensure protection under the warranty. This manual should remain with the disposer for future reference. 11
-
 1
1 -
 2
2 -
 3
3 -
 4
4 -
 5
5 -
 6
6 -
 7
7 -
 8
8
 |
 |