Vtech Lil Critters Soothe & Sound Light User Manual - Page 6
Product Assembly, Instructions - rail
 |
View all Vtech Lil Critters Soothe & Sound Light manuals
Add to My Manuals
Save this manual to your list of manuals |
Page 6 highlights
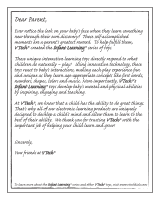
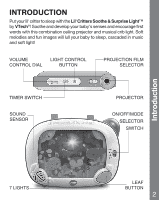
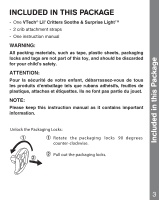
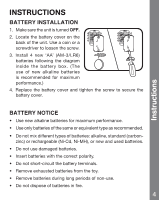
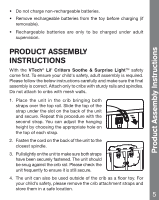
Product Assembly Instructions • Do not charge non-rechargeable batteries. • Remove rechargeable batteries from the toy before charging (if removable). • Rechargeable batteries are only to be charged under adult supervision. PRODUCT ASSEMBLY INSTRUCTIONS With the VTech® Lil' Critters Soothe & Surprise LightTM safety come first. To ensure your child's safety, adult assembly is required. Please follow the below instructions carefully and make sure the final assembly is correct. Attach only to cribs with sturdy rails and spindles. Do not attach to cribs with mesh walls. 1. Place the unit in the crib bringing both straps over the top rail. Slide the top of the strap under the slot on the back of the unit and secure. Repeat this procedure with the second strap. You can adjust the hanging height by choosing the appropriate hole on the top of each strap. 2. Fasten the cord on the back of the unit to the closest spindle. 3. Pull slightly on the unit to make sure both straps have been securely fastened. The unit should be snug against the crib rail. Please check the unit frequently to ensure it is still secure. 4. The unit can also be used outside of the crib as a floor toy. For your child's safety, please remove the crib attachment straps and store them in a safe location. 5
-
 1
1 -
 2
2 -
 3
3 -
 4
4 -
 5
5 -
 6
6 -
 7
7 -
 8
8 -
 9
9 -
 10
10 -
 11
11
 |
 |