Weslo Cadence 4.0 Treadmill Owners Manual - Page 6
Maintenance, Storage
 |
View all Weslo Cadence 4.0 Treadmill manuals
Add to My Manuals
Save this manual to your list of manuals |
Page 6 highlights
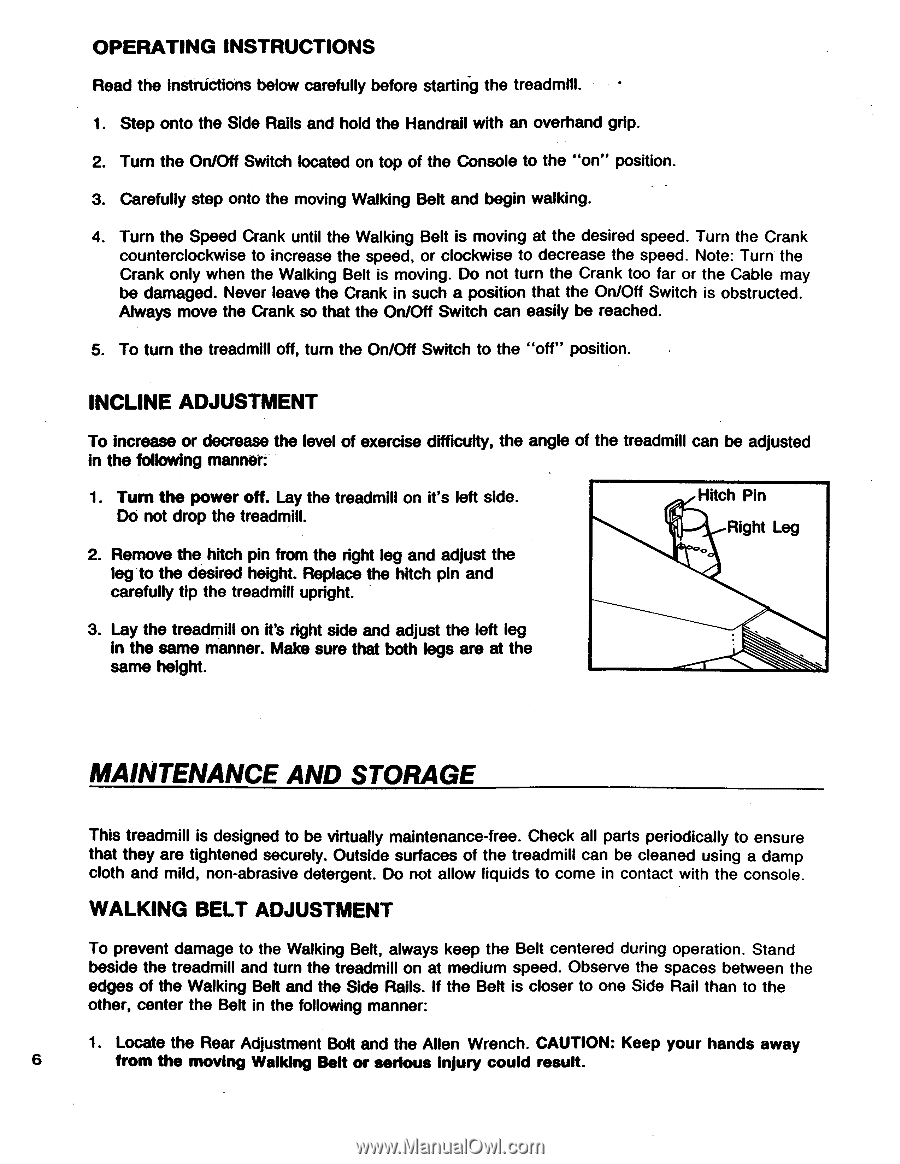
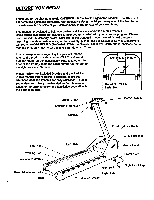
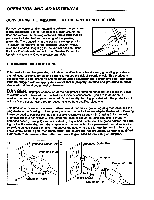
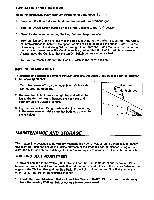
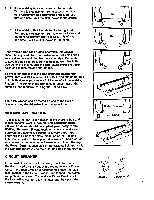
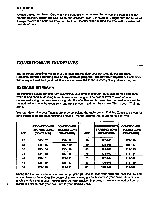
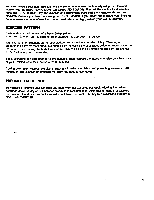
OPERATING INSTRUCTIONS Read the instrtictions below carefully before starting the treadmill. 1. Step onto the Side Rails and hold the Handrail with an overhand grip. 2. Turn the On/Off Switch located on top of the Console to the "on" position. 3. Carefully step onto the moving Walking Belt and begin walking. 4. Turn the Speed Crank until the Walking Belt is moving at the desired speed. Turn the Crank counterclockwise to increase the speed, or clockwise to decrease the speed. Note: Turn the Crank only when the Walking Belt is moving. Do not turn the Crank too far or the Cable may be damaged. Never leave the Crank in such a position that the On/Off Switch is obstructed. Always move the Crank so that the On/Off Switch can easily be reached. 5. To turn the treadmill off, turn the On/Off Switch to the "off" position. INCLINE ADJUSTMENT To increase or decrease the level of exercise difficulty, the angle of the treadmill can be adjusted in the following manner: 1. Turn the power off. Lay the treadmill on it's left side. Do not drop the treadmill. 2. Remove the hitch pin from the right leg and adjust the leg to the desired height. Replace the hitch pin and carefully tip the treadmill upright. Hitch Pin Right Leg 3. Lay the treadmill on it's right side and adjust the left leg in the same manner. Make sure that both legs are at the same height. MAINTENANCE AND STORAGE This treadmill is designed to be virtually maintenance-free. Check all parts periodically to ensure that they are tightened securely. Outside surfaces of the treadmill can be cleaned using a damp cloth and mild, non-abrasive detergent. Do not allow liquids to come in contact with the console. WALKING BELT ADJUSTMENT To prevent damage to the Walking Belt, always keep the Belt centered during operation. Stand beside the treadmill and turn the treadmill on at medium speed. Observe the spaces between the edges of the Walking Belt and the Side Rails. If the Belt is closer to one Side Rail than to the other, center the Belt in the following manner: 1. Locate the Rear Adjustment Bolt and the Allen Wrench. CAUTION: Keep your hands away 6 from the moving Walking Belt or serious injury could result.
-
 1
1 -
 2
2 -
 3
3 -
 4
4 -
 5
5 -
 6
6 -
 7
7 -
 8
8 -
 9
9 -
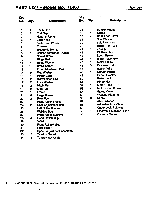 10
10 -
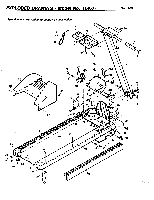 11
11 -
 12
12
 |
 |