Weslo Cadence Ct10 English Manual - Page 13
Weslo Cadence Ct10 Manual
 |
View all Weslo Cadence Ct10 manuals
Add to My Manuals
Save this manual to your list of manuals |
Page 13 highlights
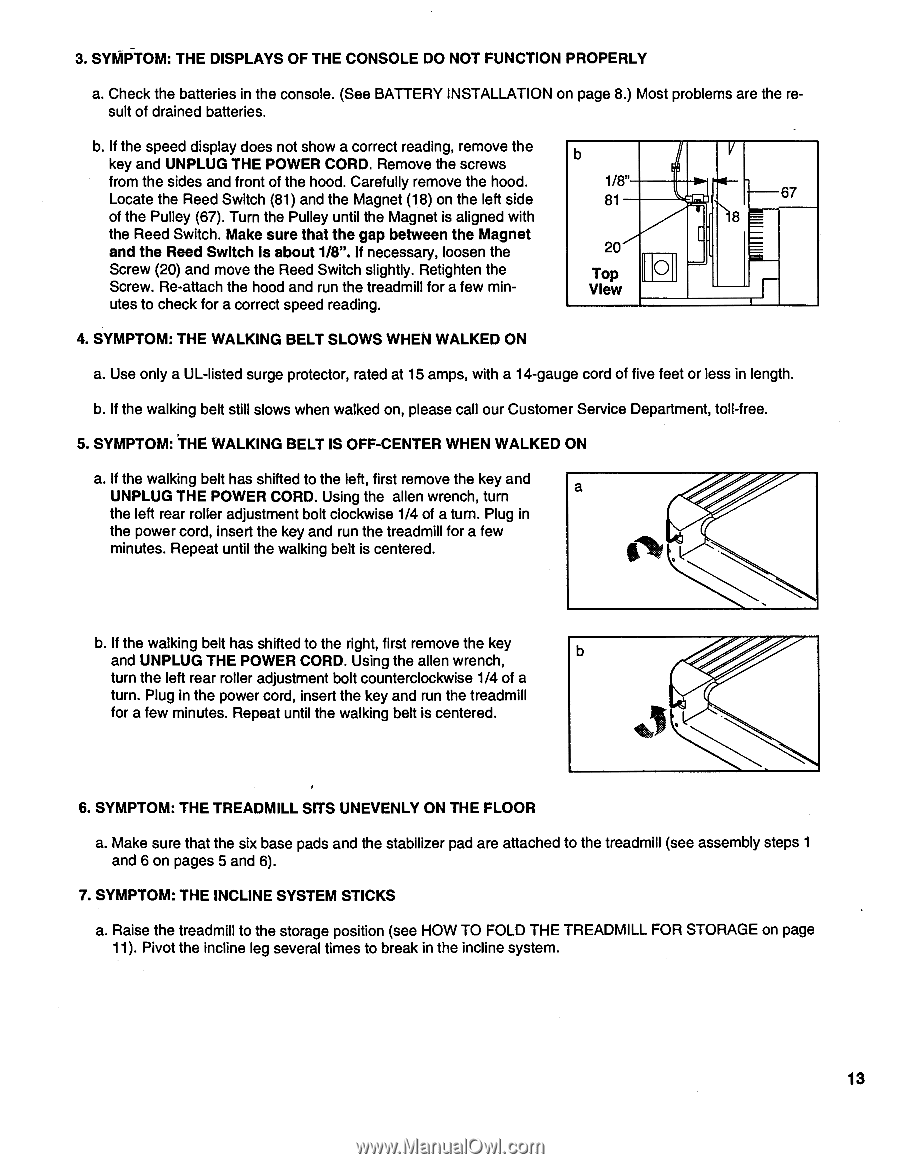
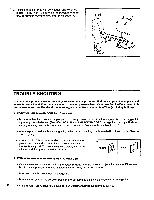
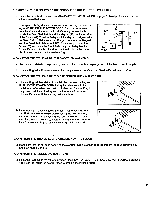
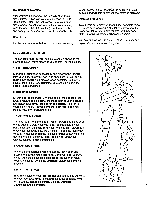
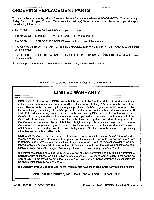
3. SYMPTOM: THE DISPLAYS OF THE CONSOLE DO NOT FUNCTION PROPERLY a. Check the batteries in the console. (See BATTERY INSTALLATION on page 8.) Most problems are the result of drained batteries. b. If the speed display does not show a correct reading, remove the key and UNPLUG THE POWER CORD. Remove the screws from the sides and front of the hood. Carefully remove the hood. Locate the Reed Switch (81) and the Magnet (18) on the left side of the Pulley (67). Turn the Pulley until the Magnet is aligned with the Reed Switch. Make sure that the gap between the Magnet and the Reed Switch is about 1/8". If necessary, loosen the Screw (20) and move the Reed Switch slightly. Retighten the Screw. Re-attach the hood and run the treadmill for a few minutes to check for a correct speed reading. b 1/8" 81 20 Top View V .4( 67 18 r 4. SYMPTOM: THE WALKING BELT SLOWS WHEN WALKED ON a. Use only a UL-listed surge protector, rated at 15 amps, with a 14-gauge cord of five feet or less in length. b. If the walking belt still slows when walked on, please call our Customer Service Department, toll-free. 5. SYMPTOM: THE WALKING BELT IS OFF-CENTER WHEN WALKED ON a. If the walking belt has shifted to the left, first remove the key and UNPLUG THE POWER CORD. Using the alien wrench, turn a the left rear roller adjustment bolt clockwise 1/4 of a turn. Plug in the power cord, insert the key and run the treadmill for a few minutes. Repeat until the walking belt is centered. b. If the walking belt has shifted to the right, first remove the key and UNPLUG THE POWER CORD. Using the alien wrench, turn the left rear roller adjustment bolt counterclockwise 1/4 of a turn. Plug in the power cord, insert the key and run the treadmill for a few minutes. Repeat until the walking belt is centered. 6. SYMPTOM: THE TREADMILL SITS UNEVENLY ON THE FLOOR a. Make sure that the six base pads and the stabilizer pad are attached to the treadmill (see assembly steps 1 and 6 on pages 5 and 6). 7. SYMPTOM: THE INCLINE SYSTEM STICKS a. Raise the treadmill to the storage position (see HOW TO FOLD THE TREADMILL FOR STORAGE on page 11). Pivot the incline leg several times to break in the incline system. 13
-
 1
1 -
2
-
3
-
4
-
5
-
6
-
7
-
 8
8 -
 9
9 -
 10
10 -
 11
11 -
 12
12 -
 13
13 -
 14
14 -
 15
15 -
 16
16 -
 17
17 -
 18
18 -
19
 |
 |