Weslo Cadence Sl20 Treadmill English Manual - Page 9
Distance/pulse
 |
View all Weslo Cadence Sl20 Treadmill manuals
Add to My Manuals
Save this manual to your list of manuals |
Page 9 highlights
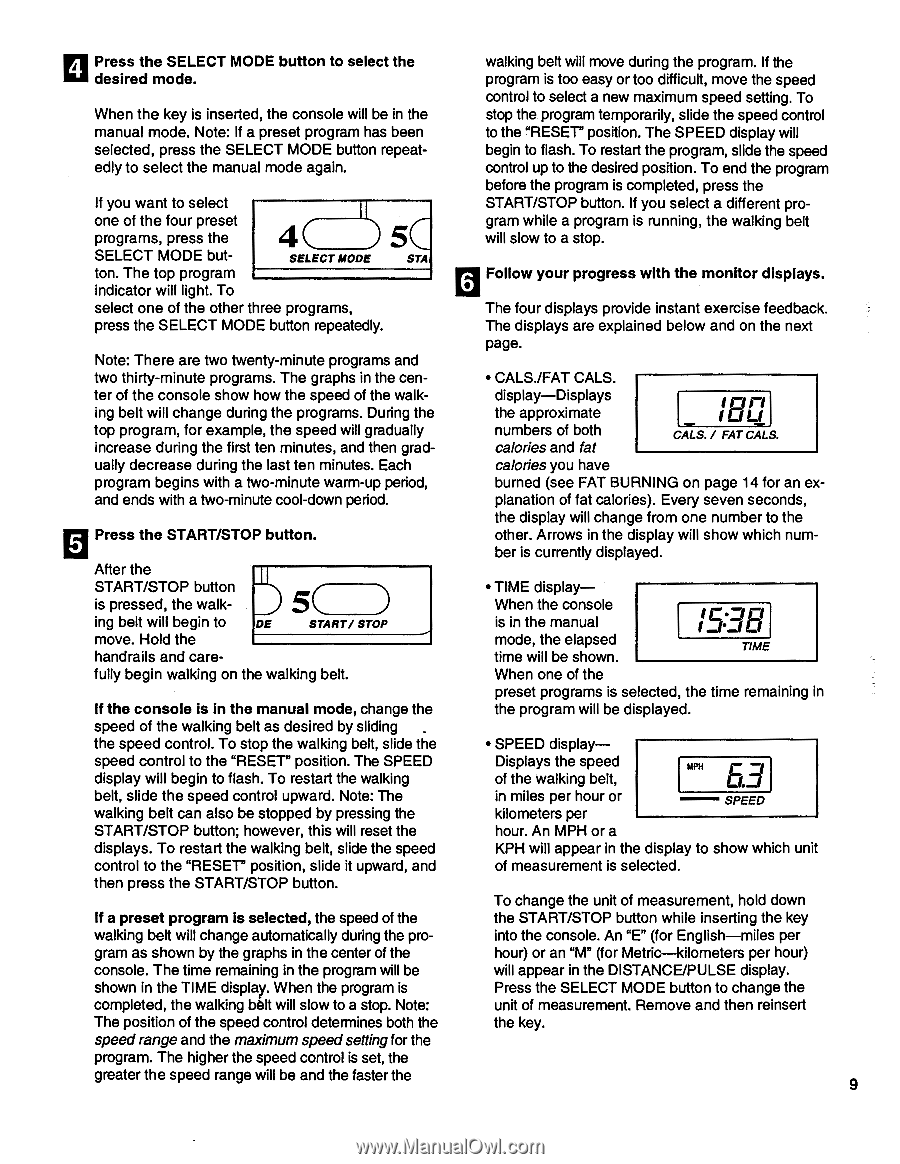
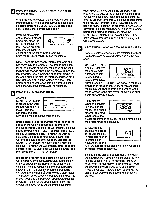
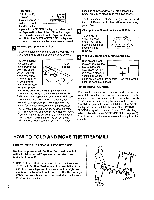
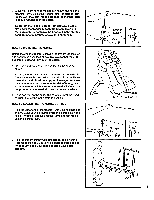
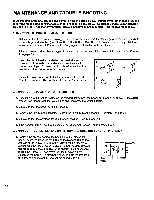
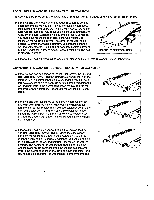
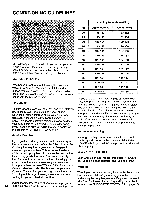
4 Press the SELECT MODE button to select the desired mode. walking belt will move during the program. If the program is too easy or too difficult, move the speed control to select a new maximum speed setting. To When the key is inserted, the console will be in the stop the program temporarily, slide the speed control manual mode. Note: If a preset program has been to the "RESET" position. The SPEED display will selected, press the SELECT MODE button repeat- begin to flash. To restart the program, slide the speed edly to select the manual mode again. control up to the desired position. To end the program before the program is completed, press the If you want to select START/STOP button. If you select a different pro- one of the four preset 1 gram while a program is running, the walking belt programs, press the SELECT MODE but- 4( ) sc SELECT MODE STA will slow to a stop. ton. The top program indicator will light. To 6 Follow your progress with the monitor displays. select one of the other three programs, The four displays provide instant exercise feedback. press the SELECT MODE button repeatedly. The displays are explained below and on the next page. Note: There are two twenty-minute programs and two thirty-minute programs. The graphs in the cen- • CALS./FAT CALS. ter of the console show how the speed of the walk- display-Displays ing belt will change during the programs. During the top program, for example, the speed will gradually increase during the first ten minutes, and then grad- the approximate numbers of both calories and fat 1Oi l CALS. / FAT CALS. ually decrease during the last ten minutes. Each calories you have program begins with a two-minute warm-up period, burned (see FAT BURNING on page 14 for an ex- and ends with a two-minute cool-down period. planation of fat calories). Every seven seconds, the display will change from one number to the El Press the START/STOP button. other. Arrows in the display will show which number is currently displayed. After the 3 50 START/STOP button is pressed, the walk- • TIME display- When the console ing belt will begin to DE START/ STOP is in the manual move. Hold the handrails and care- mode, the elapsed TIME time will be shown. fully begin walking on the walking belt. When one of the preset programs is selected, the time remaining in If the console is in the manual mode, change the the program will be displayed. speed of the walking belt as desired by sliding . the speed control. To stop the walking belt, slide the • SPEED display- speed control to the "RESET" position. The SPEED display will begin to flash. To restart the walking belt, slide the speed control upward. Note: The walking belt can also be stopped by pressing the Displays the speed of the walking belt, in miles per hour or kilometers per MPH C LL-i SPEED START/STOP button; however, this will reset the hour. An MPH or a displays. To restart the walking belt, slide the speed KPH will appear in the display to show which unit control to the "RESET" position, slide it upward, and of measurement is selected. then press the START/STOP button. To change the unit of measurement, hold down If a preset program is selected, the speed of the the START/STOP button while inserting the key walking belt will change automatically during the pro- into the console. An "E" (for English-miles per gram as shown by the graphs in the center of the hour) or an "M" (for Metric-kilometers per hour) console. The time remaining in the program will be will appear in the DISTANCE/PULSE display. shown in the TIME display. When the program is Press the SELECT MODE button to change the completed, the walking belt will slow to a stop. Note: unit of measurement. Remove and then reinsert The position of the speed control determines both the the key. speed range and the maximum speed setting for the program. The higher the speed control is set, the greater the speed range will be and the faster the 9
-
 1
1 -
2
-
3
-
 4
4 -
 5
5 -
 6
6 -
 7
7 -
 8
8 -
 9
9 -
 10
10 -
 11
11 -
 12
12 -
 13
13 -
 14
14 -
15
-
16
-
17
-
18
-
19
 |
 |