Western Digital WDXML1200UE User Manual (pdf) - Page 22
Initial NetCenter Configuration, Step 1-End User License Agreement.
 |
View all Western Digital WDXML1200UE manuals
Add to My Manuals
Save this manual to your list of manuals |
Page 22 highlights
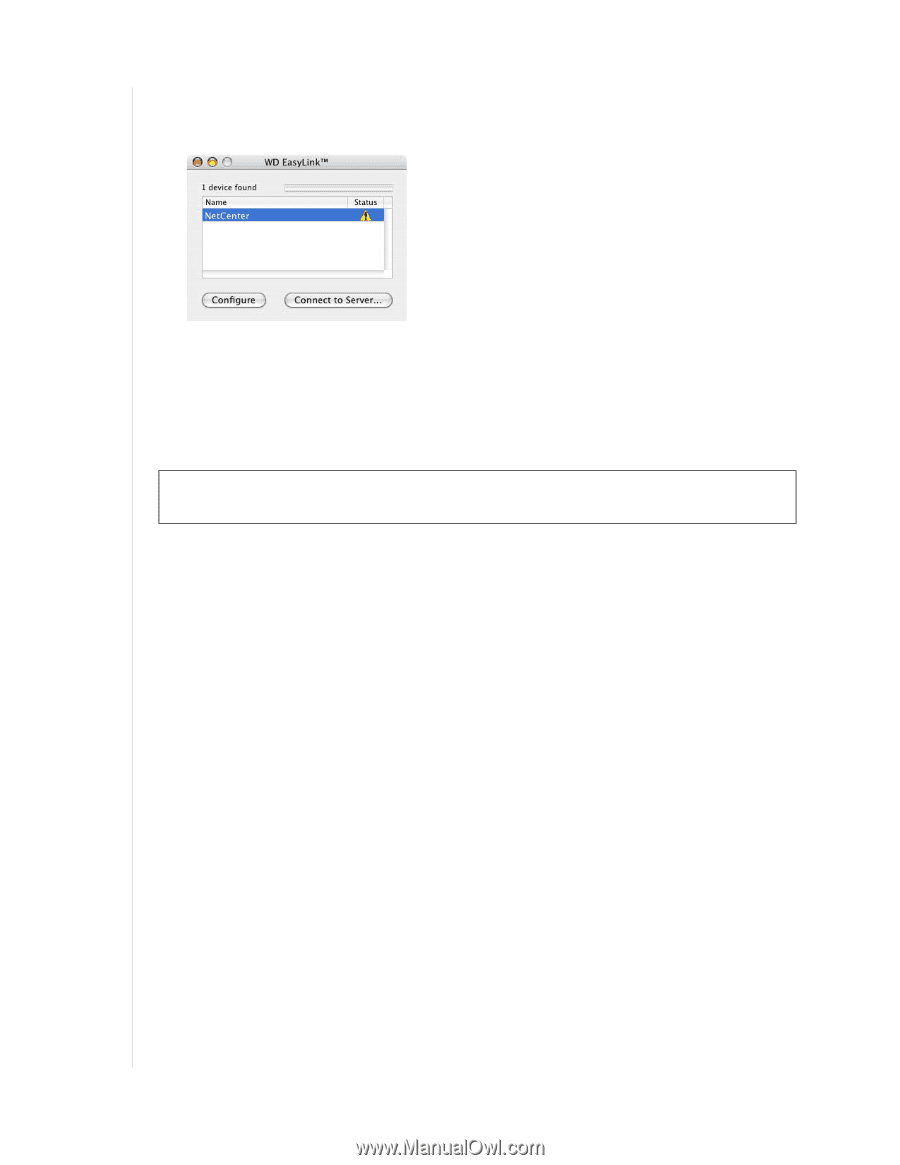
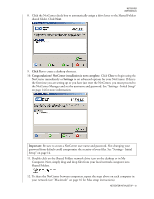
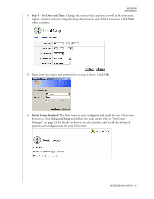
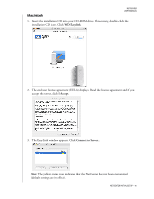
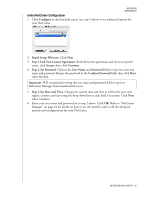
NETCENTER USER MANUAL Initial NetCenter Configuration 1. Click Configure in the EasyLink screen (see step 3 above) to set advanced options for your NetCenter. 2. Initial Setup-Welcome. Click Next. 3. Step 1-End User License Agreement. Read the license agreement and if you accept the terms, click Accept, then click Continue. 4. Step 2-Set Password. Click in the User Name and Password fields to type in a new user name and password. Retype the password in the Confirm Password field, then click Next when finished. Important: WD recommends setting the user name and password fields to protect NetCenter Manager from unauthorized access. 5. Step 3-Set Date and Time. Change the current date and time as well as the time zone region, country, and city using the drop-down lists in each field if necessary. Click Next when complete. 6. Enter your user name and password set in step 2 above. Click OK. Refer to "NetCenter Manager" on page 24 for details on how to use the interface and set all the advanced options and configurations for your NetCenter. NETCENTER INITIAL SETUP - 18
-
 1
1 -
2
-
3
-
4
-
5
-
6
-
7
-
8
-
9
-
10
-
11
-
12
-
13
-
14
-
15
-
16
-
 17
17 -
 18
18 -
 19
19 -
 20
20 -
 21
21 -
 22
22 -
 23
23 -
 24
24 -
 25
25 -
 26
26 -
 27
27 -
28
-
29
-
30
-
31
-
32
-
33
-
34
-
35
-
36
-
37
-
38
-
39
-
40
-
41
-
42
-
43
-
44
-
45
-
46
-
47
-
48
-
49
-
50
-
51
-
52
-
53
-
54
-
55
-
56
-
57
-
58
-
59
-
60
-
61
-
62
-
63
 |
 |